Our guide to jewellery polishing
Polishing is the "last 10% of the work that accounts for 90% of the perceived value." In the professional trade, finishing is seen as a subtractive process; you are systematically replacing deep scratches with shallower ones until they become invisible to the human eye.
If you're looking to get into jewellery making, or improve your existing techniques, you can find more useful information in our jewellery making guide.
Surface preparation
Professional finishing needs to follow a strict hierarchy in order for you to get a great quality result. If you skip a rung, the final polish will only highlight your previous mistakes, so it's important to tick each stage off as you go.
| Stage | Tool/Abrasive | Objective | Professional Tip |
| Clean-up | Vallorbe Needle Files (#2 or #4) | Remove sprue marks, flash, and solder. | File in one direction to keep "grain" consistent. |
| Coarse Sanding | 240 – 400 Grit Emery | Level the surface and remove file marks. | Cross-hatch: Sand at 90° to your file marks to see when they disappear. |
| Fine Sanding | 600 – 1200 Grit Emery | Eliminate all visible scratches. | Never skip more than 200 grit sizes at a time. |
| Pre-Polish | Tripoli / Brown Compound | "Cut" the metal to a dull, uniform glow. | This is where the "shape" is finalised. Watch your crisp edges! |
| Final Polish | Rouge / Luxi / Menzerna | Achieve the "Black Mirror" (specular) reflection. | Use very light pressure; let the compound do the work. |
Step 1: Clean the jewellery
Before polishing, remove dirt, grease and old residue. Use warm water, mild washing-up liquid and a soft brush. Dry thoroughly with a lint-free or microfibre cloth.
Polishing dirty jewellery can drag grit across the surface and create more scratches.
Step 2: Assess the surface
Look at the piece under good light. Decide whether it needs:
- Simple hand polishing
- Light pre-polishing
- Scratch removal
- Full refinishing
- A satin, matte or mirror finish
If the jewellery only looks dull, a polishing cloth may be enough. If there are visible scratches, you will need abrasives before polishing.
Step 3: Remove Scratches Gradually
For scratched metal, start with the finest abrasive that will do the job. Work in one direction and progress through finer grades until the surface is smooth.
A typical sequence might be:
- 600 grit for visible scratches
- 800 grit for refinement
- 1200 grit for smoothing
- 2000 grit or micro-mesh for pre-polish preparation
Do not jump straight from coarse sanding to final polishing, as deeper scratches will remain visible.
Step 4: Pre-Polish
Use a suitable pre-polishing compound, such as Tripoli or a medium-grade compound, with a felt wheel, calico mop or silicone polisher.
Work gently and keep the tool moving. Too much pressure can create heat, soften solder joins, damage stones or round off crisp details.
Step 5: Final Polish
For a mirror shine, use a clean soft mop with a final polishing compound such as rouge or an appropriate finishing compound for the metal.
Keep separate mops for different compounds. Mixing compounds on the same mop can contaminate the finish and make polishing less effective.
Step 6: Clean Off Polishing Compound
After polishing, remove residue with warm soapy water and a soft brush. For suitable pieces, an ultrasonic cleaner can help remove compound from settings and crevices.
Dry thoroughly, especially around stone settings, clasps and hollow areas.
Step 7: Final Buff
Finish with a clean microfibre cloth or untreated soft cloth. This removes any remaining haze and gives the piece a clean, professional appearance.
Understanding compounds
Polishing compounds consist of abrasive particles (aluminum oxide, Tripoli, or iron oxide) suspended in a wax or grease binder. Each has a different use during the polishing process, and knowing which properties they all possess will let you work faster once you've committed them to memory. It also lowers the chance of making a mistake by using the wrong compound for a polishing stage.
- Tripoli (Brown): The industry workhorse. It is aggressive enough to remove 600-800 grit scratches, but leaves a dull finish.
- Rouge (Red): This traditional iron oxide compound doesn’t "cut" much, it's used to burnish the surface for a high-colour glow on gold and silver.
- Dialux Brand: Colour-coded for specific metals (Blue for all metals, Green for stainless steel/platinum, White for silver).
- Luxi / Water-Based: A modern professional favourite. It is silica-free (which makes it safer for lungs) and washes off easily in an ultrasonic cleaner without heavy scrubbing.
Pro-Tip: Avoid cross-contamination between compounds. A tiny bit of Tripoli on a Rouge mop will ruin a final polish. Store your mops in labelled, individual resealable bags.
Tooling: torque, speed, and surface feet
While hand-polishing will definitely add character to your work, it's adding machinery to your creative process that moves you closer to achieving professional-quality work. To find out more about setting up a transitional hobbyist to semi-professional workshop, visit our guide.
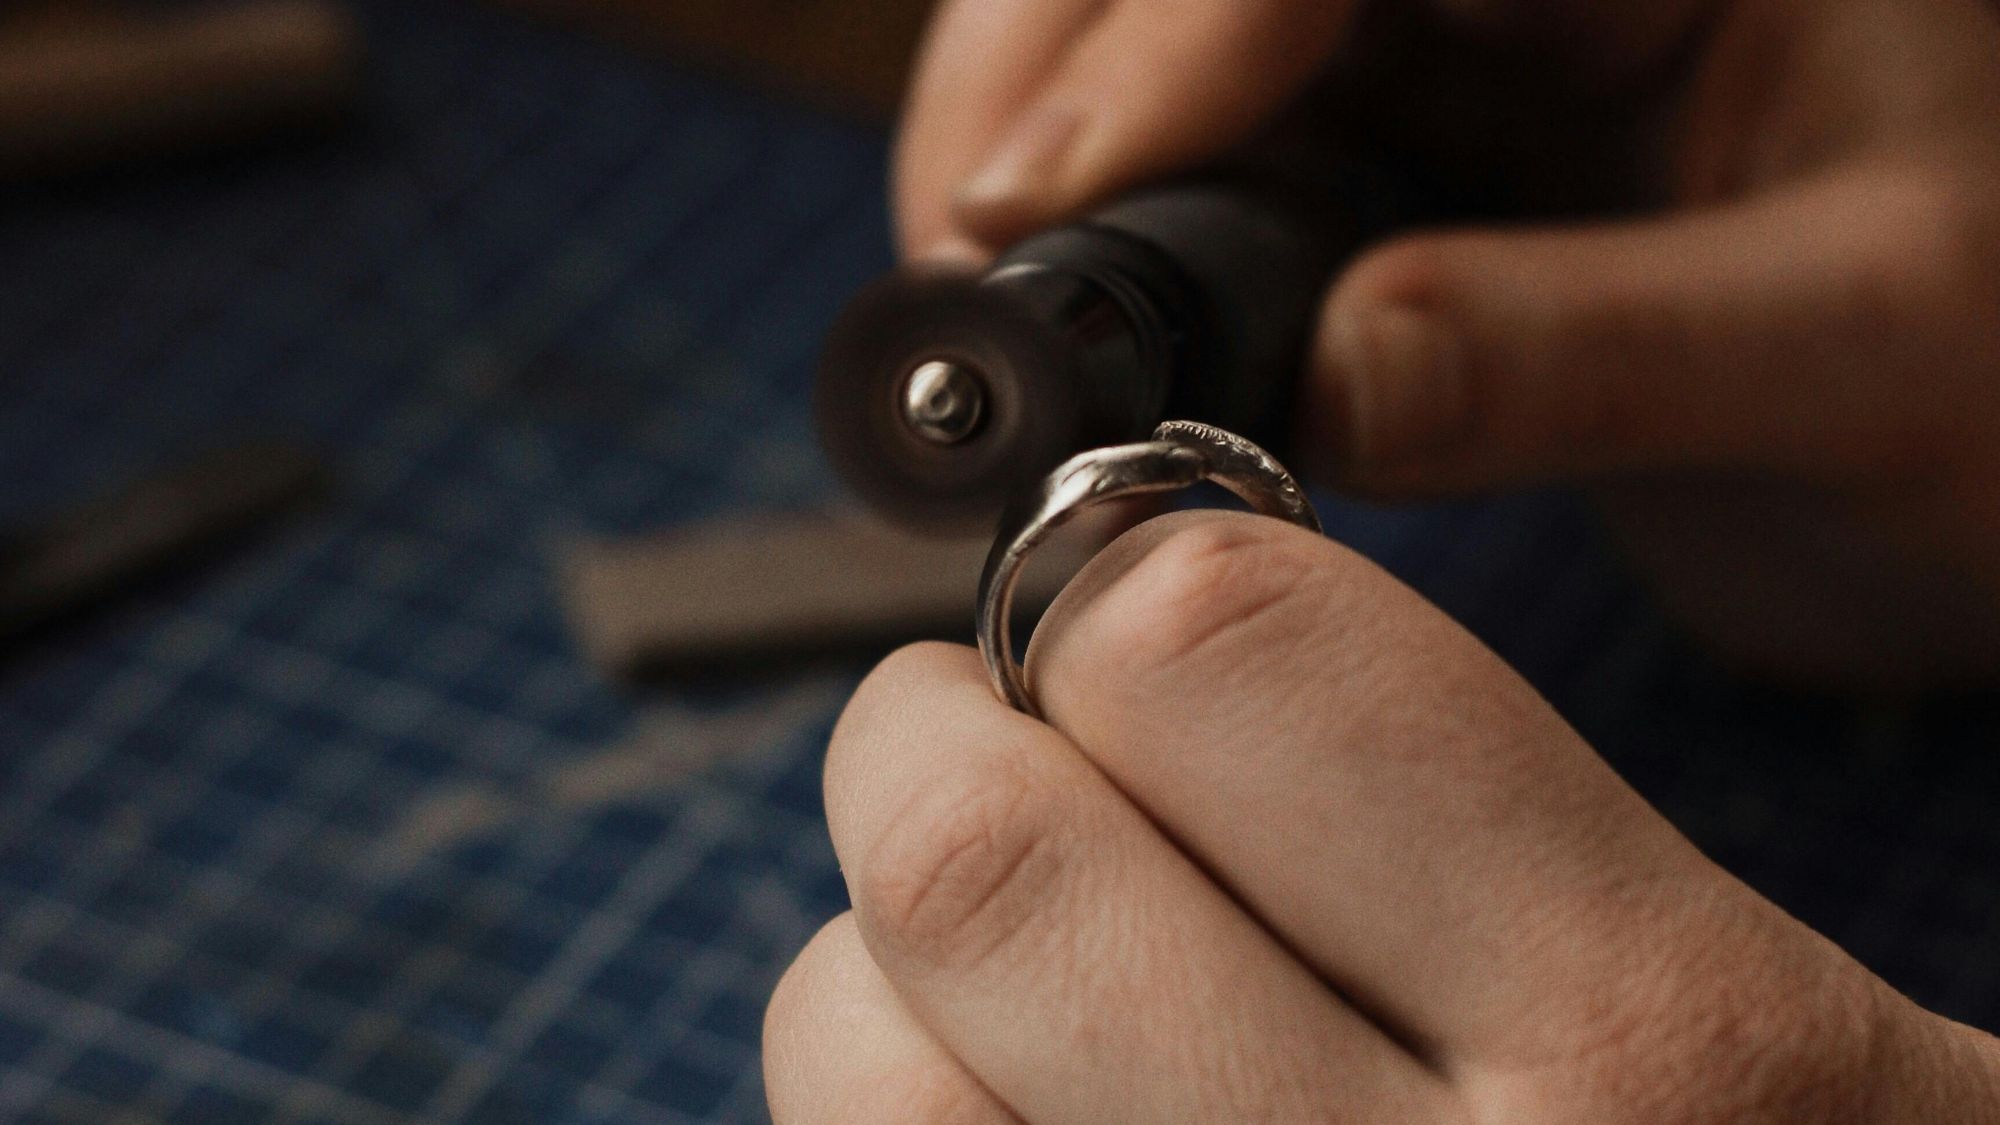
The pendant motor
Ideal for precision. Use this for "bright-cutting" inside settings or getting into tight filigree.
- Mandrel Safety: Ensure your polishing bobs are centered. An off-centre bob creates "chatter" marks that are a nightmare to remove.
The bench polisher
Ideal for power. The secret to a bench motor isn't just speed (RPM); it's Surface Feet Per Minute (SFPM). A larger wheel travels more distance per rotation than a small one, creating the heat and friction necessary to "flow" the metal surface.
Advanced finishes
A polished finish isn't the only option when working on your pieces. There are also finishes that are produced with different tools or techniques that can add a different look to your work.
- Satin/Brushed: Achieved using Scotch-Brite wheels or brass wire brushes (use with soapy water to avoid "burning" the metal).
- Sandblasted/Matte: Uses a grit-blasting cabinet for a completely non-reflective, contemporary look.
- Florentine: A series of hand-engraved parallel lines that create a silk-like texture.
Troubleshooting your jewellery polishing
The "orange peel" effect
The cause: Over-polishing or using a mop that is too hard with too much pressure. It stretches the surface "skin" of the metal.
The fix: Go back to 600-grit sanding and lighten your touch during the Tripoli stage.
Rounded edges
The cause: Using a soft buffing wheel on a flat surface or a crisp corner.
The fix: Use a felt lap or a hard-stitched mop for flat surfaces. Keep the piece moving to avoid "gouging."
Drag lines around stones
The cause: Polishing compound "dragging" behind a raised setting.
The fix: Change the direction of the wheel frequently. Polishing in only one direction creates "tails" behind obstructions.
The "clean room" protocol
A professional finish is only as good as your post-polish cleaning, and having the right equipment will definitely save time here.
- Ultrasonic cleaner: Use a specialised detergent at between 50 and 60°C to vibrate compound out of crevices.
- Steam cleaning: Removes the final microscopic film of grease.
- The "breath test": Fog the metal with your breath. If the fog clears evenly and instantly, the piece is chemically clean. If it "beads" or clears patchily, grease remains.
Your checklist for a professional finish
Follow this list and your work will have a top-quality finish every time. For your own safety, you should also make sure you're wearing a P3-rated dust mask and eye protection whenever you're polishing, to protect your lungs and eyes from the materials and compounds you'll be using.
- Did I remove all file marks with 400 grit?
- Did I change my sanding direction at every grit stage?
- Is my polishing mop dedicated to only one compound?
- Did I clean the piece thoroughly between Tripoli and Rouge?
Visit our jewellery-making hub
We've got a collection of articles dedicated to helping you master the art of jewellery-making, and you can find them all here. We stock a wide-range of jewellery-making supplies, and you can find them in our jewellery-making section.