
How to use a piercing saw for jewellery making
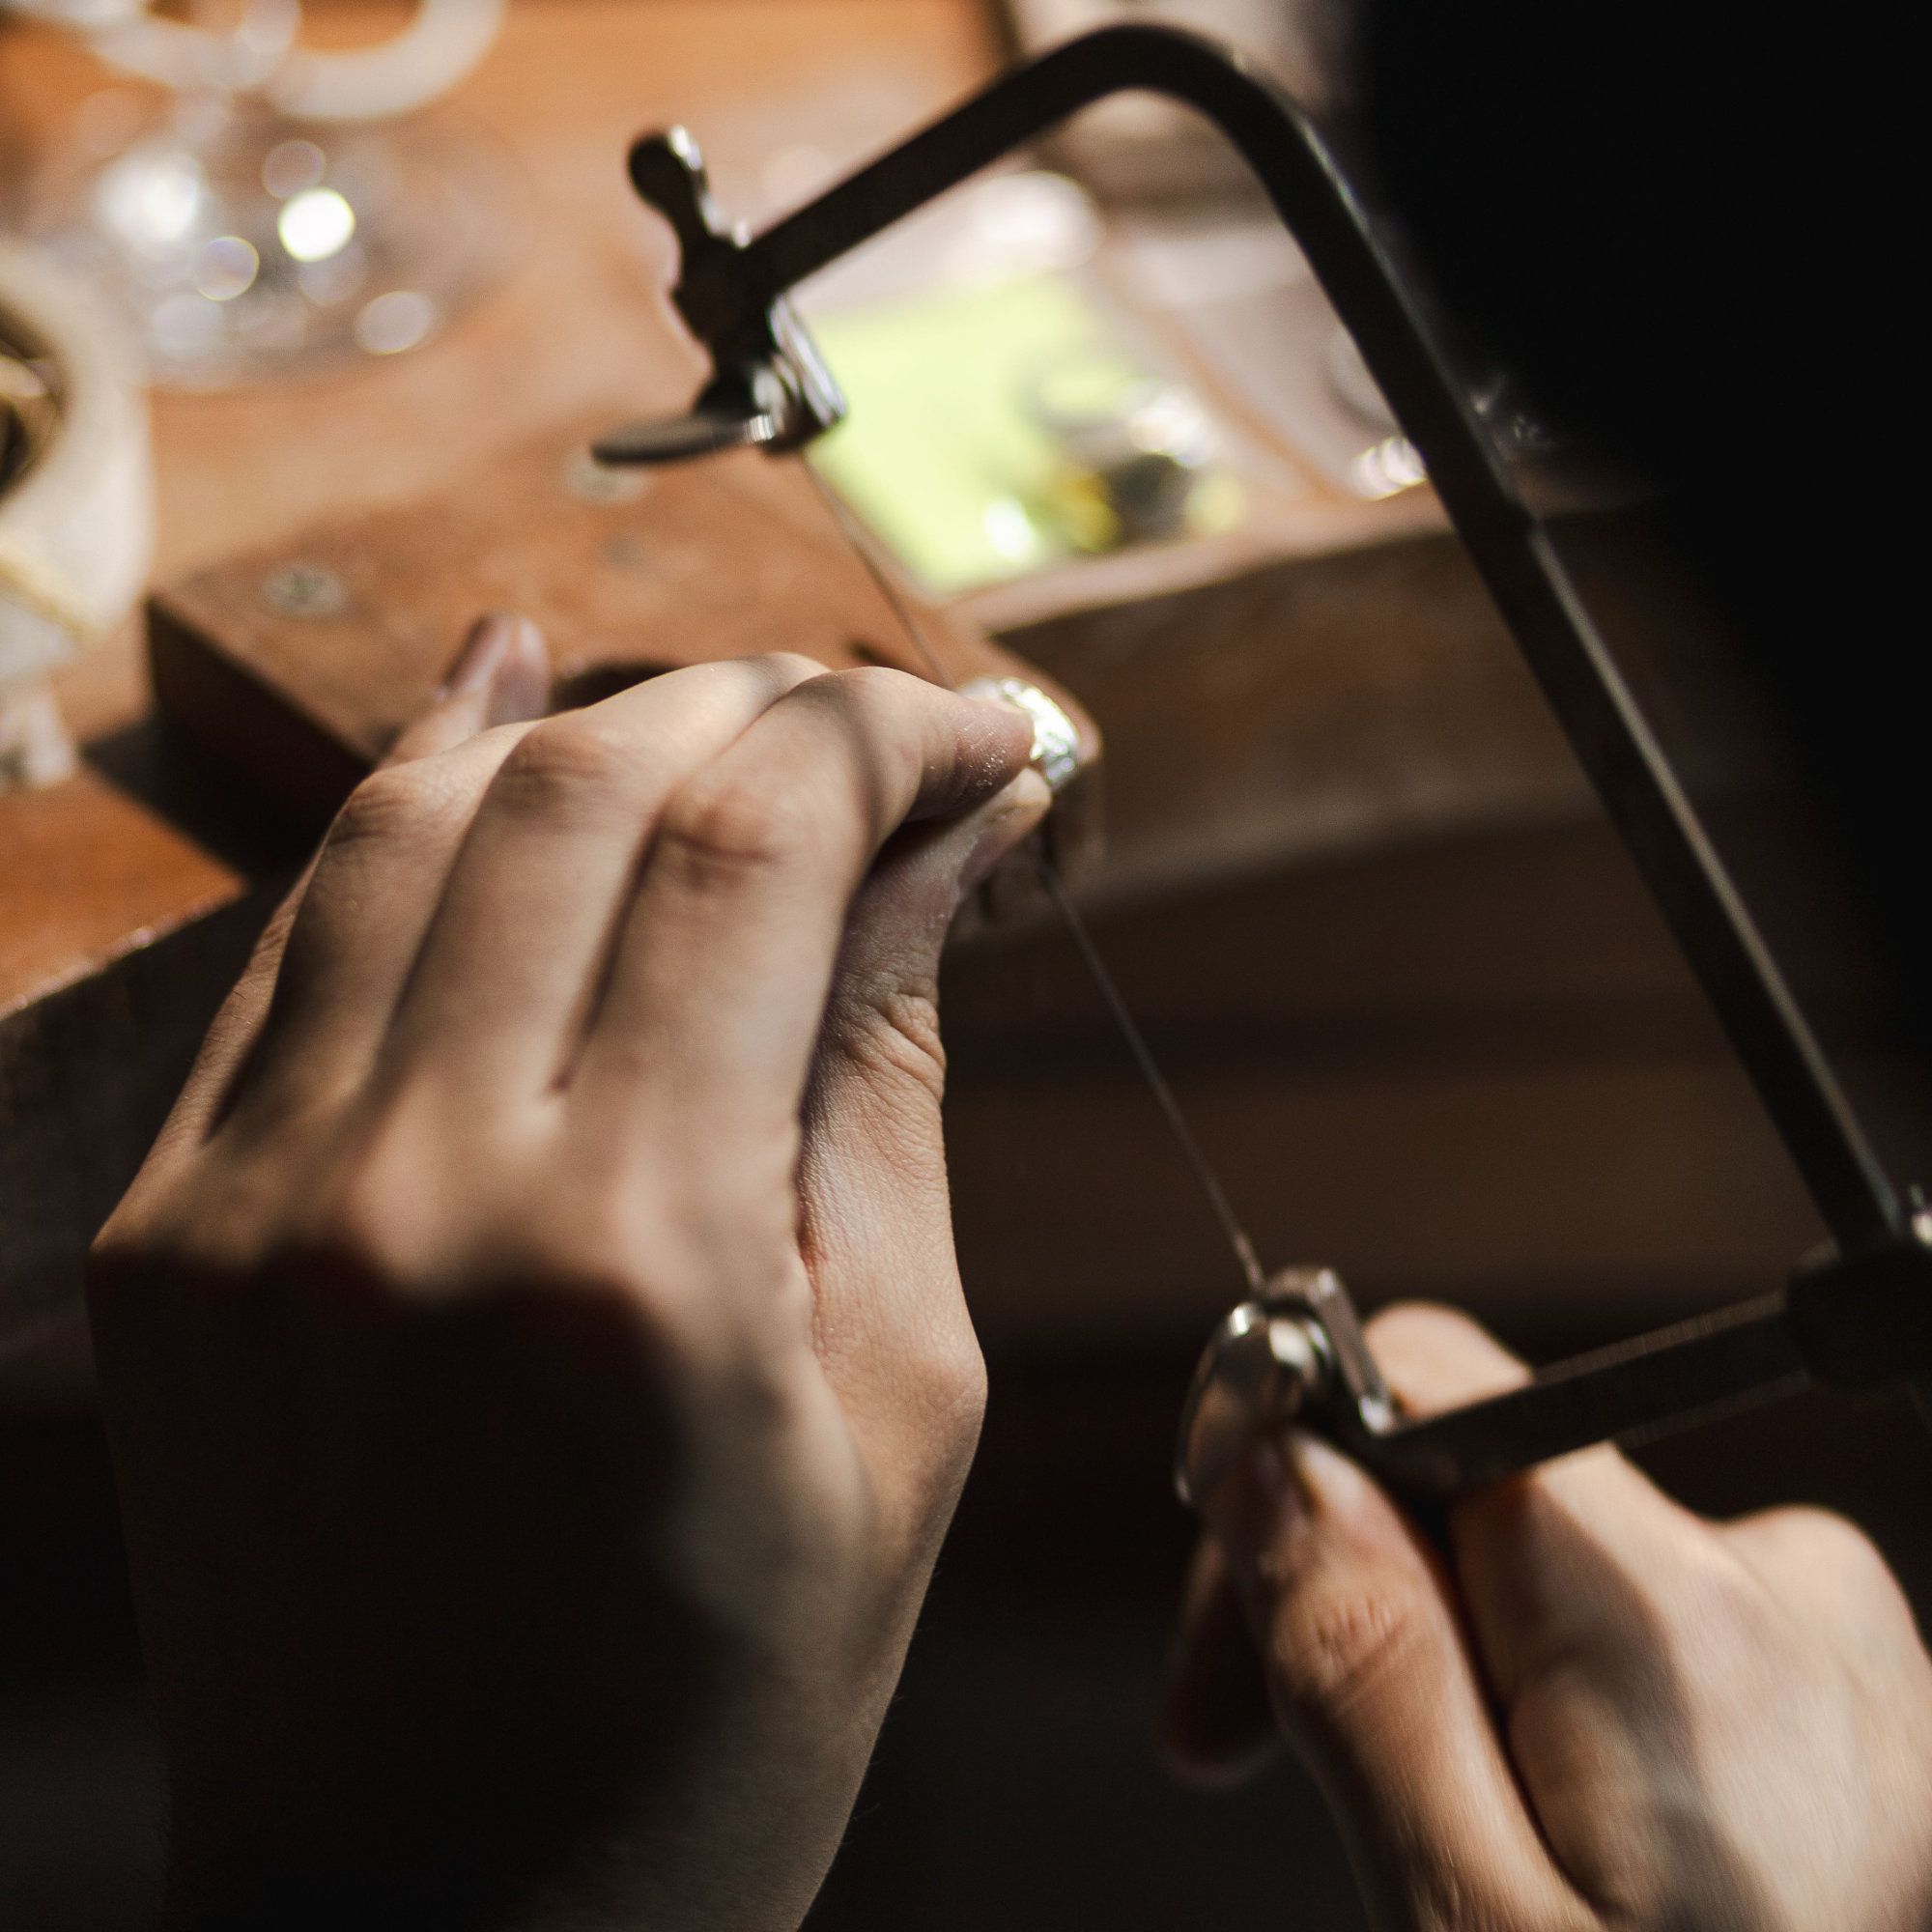
The piercing saw is both one of the first tools every jeweller should learn to use, and one they'll use for their entire career. It cuts sheet metal, wire and tube with more precision than shears, and it's the only hand tool that can cut shapes out of the middle of a sheet, which is where the "piercing" part of the name comes in.
The consensus is that it feels awkward to use at first as the blades snap, your cuts wander and the metal being worked will judder on the peg. But with the right setup and a few good habits, sawing quickly becomes one of the most satisfying parts of making jewellery.
In this guide, we'll cover everything you need to get started: choosing a saw frame, picking the right blade, fitting and tensioning it, setting up your bench peg, cutting technique and the common beginner mistakes to avoid.
Choosing the right saw frame
A piercing saw frame is a U-shaped bow, usually steel, with a handle at one end and a clamp at each end of the bow to hold the blade. The frame's job is to keep the blade straight and under tension, so a good frame makes a real difference to how accurately and comfortably you can cut. There are three main things to think about.
Fixed or adjustable?
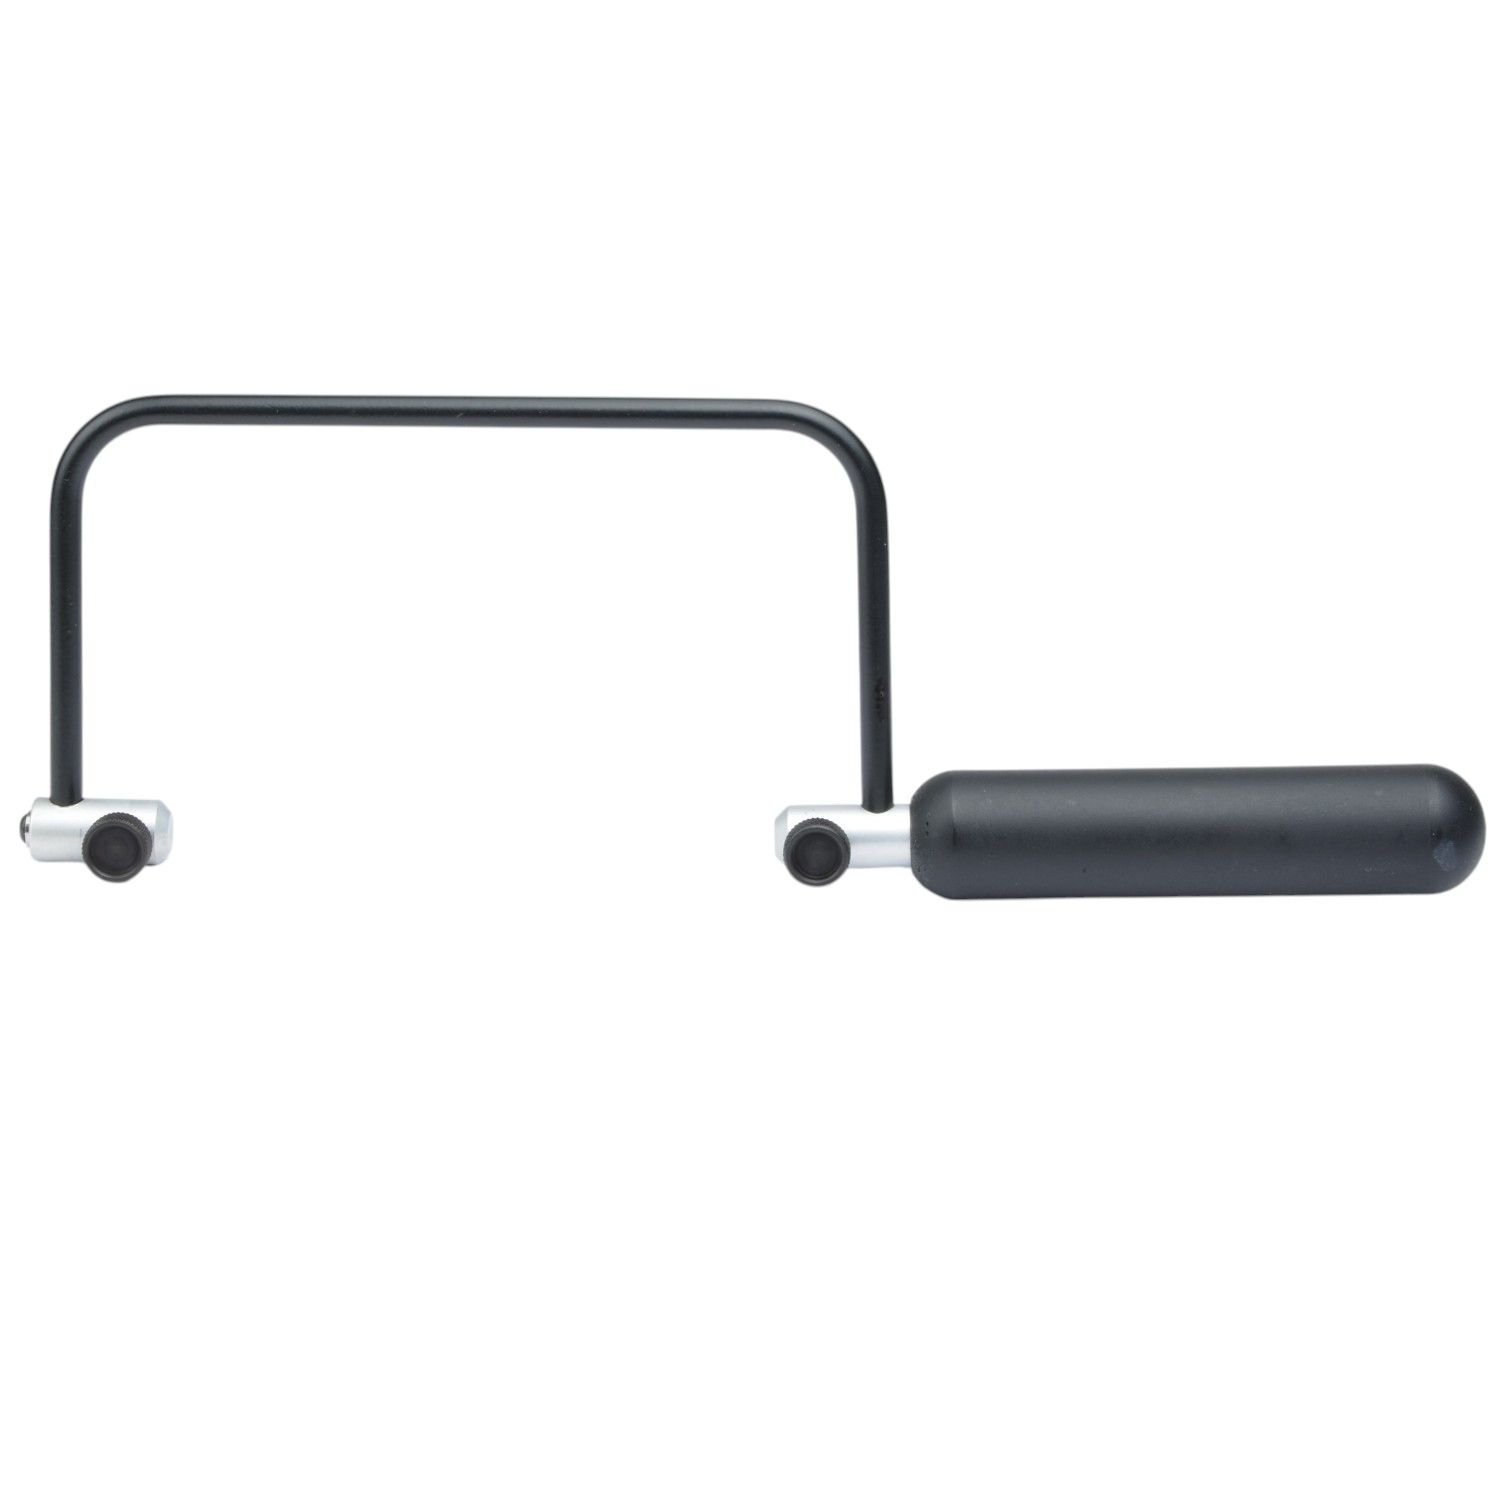
Fixed frames have a set length. They're simple, rigid and inexpensive, and many jewellers like the solid feel. The trade-off is that a fixed frame only takes full-length blades, so a snapped blade can't be reused. Examples include the Grobet Swiss fixed frame and the Eclipse fixed frame.
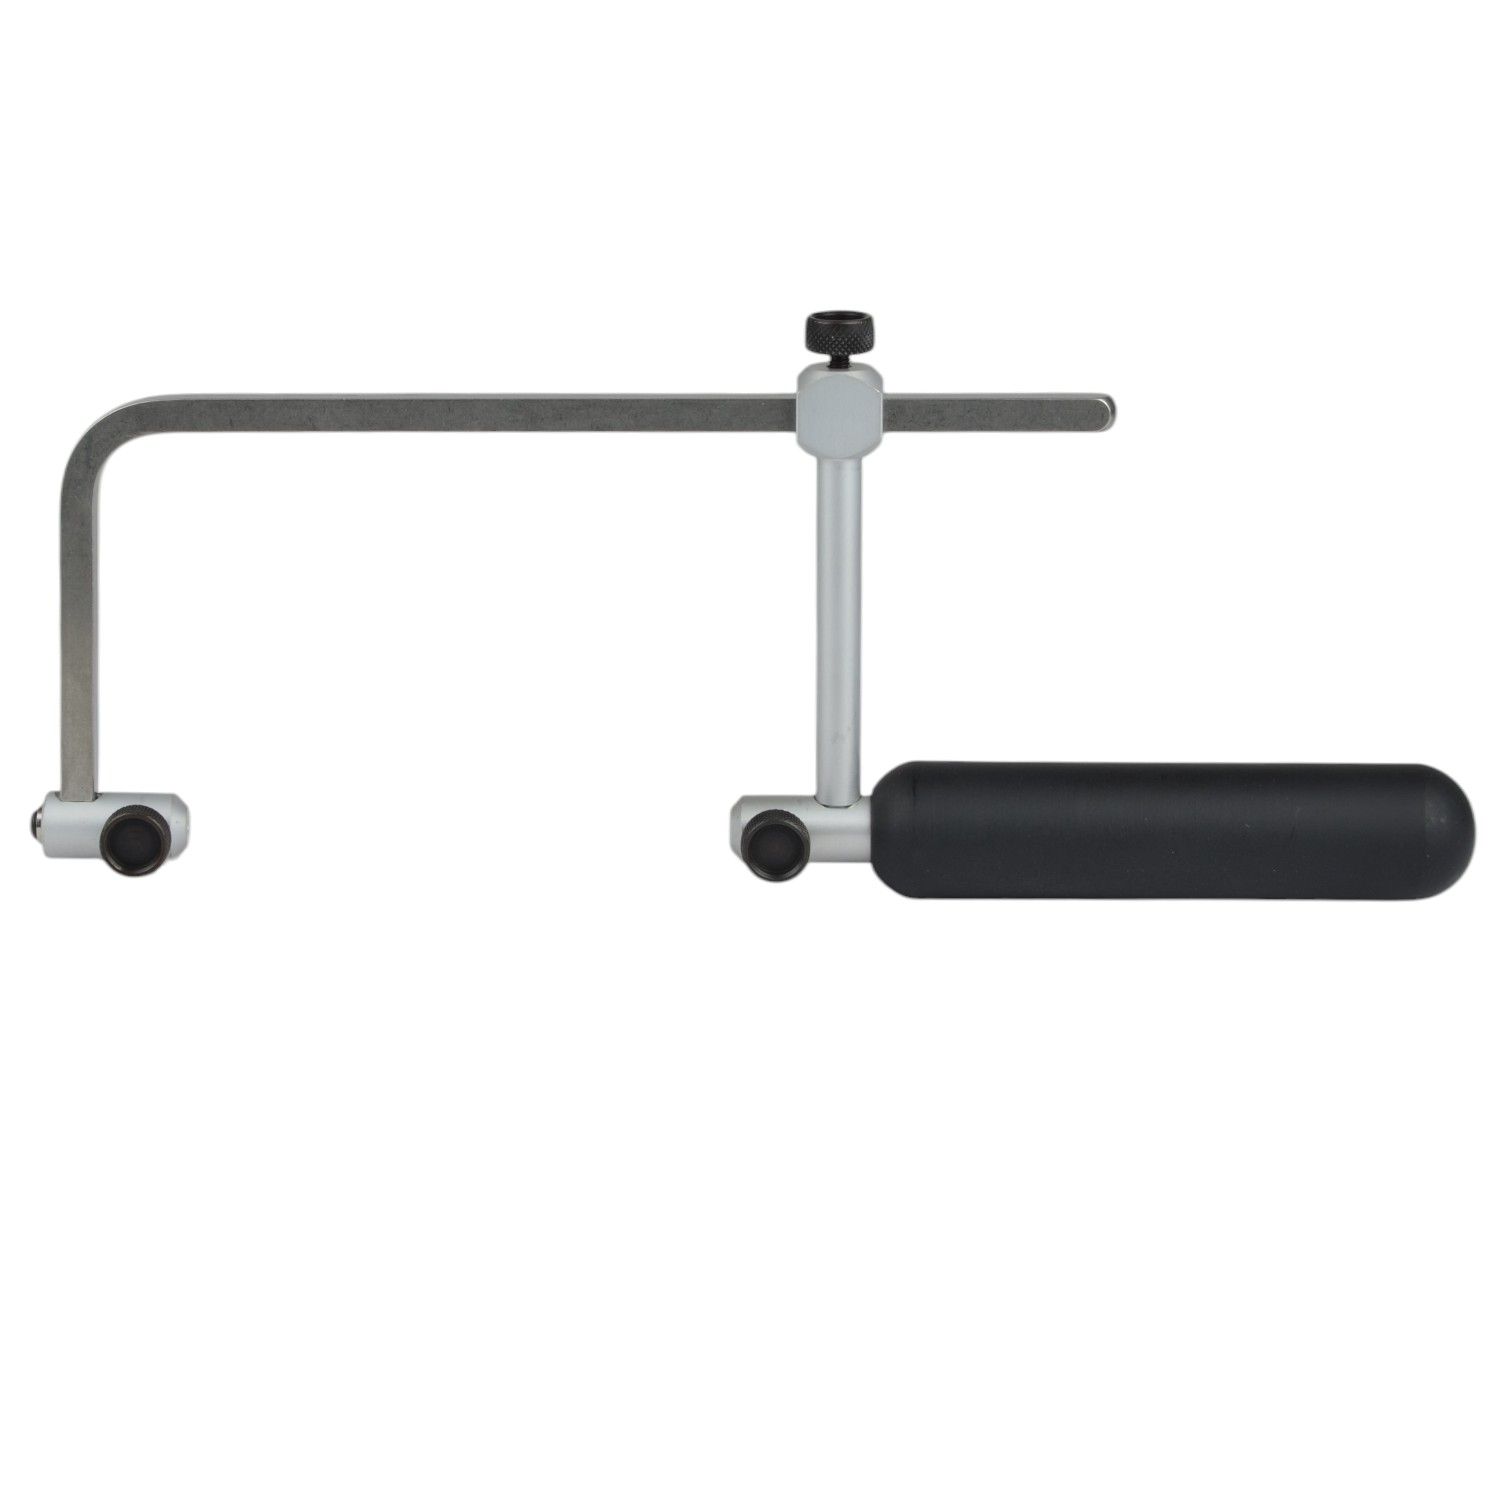
Adjustable frames have a sliding section that lets you change the length. That means you can keep using a blade that's broken partway along, and you can use the sliding section to set the tension. For most beginners, an adjustable frame such as the Grobet Swiss adjustable frame or our adjustable jewellers' piercing saw frame is the most practical choice.
Throat depth
The throat depth is the distance from the blade to the back of the frame. It decides how far into a sheet you can cut before the frame hits the edge of the metal.
- A 3-inch (75mm) frame is the most common choice. It's light, easy to control and deep enough for most rings, pendants and earrings.
- A 5-inch or deeper frame, such as our deep throat saw frame, lets you work further into larger sheets, which is useful for bigger pieces, silversmithing and cutting blanks from a full sheet. The extra length can feel less nimble for fine work.
Tensioning system
Traditional frames are tensioned by flexing the frame slightly before clamping the blade (we'll explain how below). Modern designs such as Knew Concepts saw frames use a lever or tension screw to set the tension for you. They're also very light and rigid, and some have swivel clamps that let you turn the blade to cut along a long strip. They cost more, but consistent tension is one of the best ways to reduce blade breakages, which is why many professionals use them.
Our advice: if you're just starting out, a 3-inch adjustable frame is a reliable, affordable first saw. If you saw every day, it's well worth considering a lever-tension frame once you know how you like to work.
Choosing the right blade size
Using the right blade for the job is the single biggest factor in clean cuts and fewer breakages. Piercing saw blades are graded by size, running from coarse (such as 4) down through 1 and then into the finer "aught" sizes written as 1/0, 2/0 and so on, up to around 8/0. The higher the number before the "/0", the finer the blade.
Finer blades are thinner, have more teeth and suit thinner metal and more detailed cuts. Coarser blades are stronger and cut thicker metal faster. Exact sizing varies slightly between manufacturers, but this is a simple guide:
| Blade size | Suits metal around | Typical uses |
|---|---|---|
| 8/0 to 6/0 | 0.4mm and thinner | Very fine detail, filigree and lettering |
| 4/0 to 3/0 | 0.4mm to 0.7mm | Detailed piercing in thin sheet |
| 2/0 to 1/0 | 0.6mm to 0.9mm | General piercing; the best all-round starting point |
| 1 to 2 | 0.8mm to 1.1mm | Thicker sheet, ring shanks and wire |
| 3 to 4 | 0.9mm to 1.3mm and above | Heavy sheet, thick wire and rough cutting |
The two-to-three teeth rule
A handy rule of thumb is that at least two or three teeth should be in contact with the edge of the metal at any time. If the teeth are too coarse for the thickness, a single tooth catches the edge, the blade snags and it'll often snap. If they're too fine for thick metal, the blade clogs and cuts very slowly.
Matching blades to drill holes
For internal piercing you'll need to drill a hole first to thread the blade through. Finer blades need only a small hole (around 0.5mm for a 2/0 blade), while coarser blades need a larger one. Keep the hole small and close to the line so there's less to tidy up later.
Our advice: if you only buy one size to begin with, make it 2/0. It's forgiving, versatile and suits the 0.6mm to 0.8mm sheet most beginners start with. Buy blades by the dozen or gross, because everyone breaks plenty while they're learning.
Fitting and tensioning the blade
A blade that's fitted the wrong way round or isn't tight enough will wander, bind and snap almost straight away. Getting this right takes less than a minute once you've done it a few times.
Which way do the teeth go?
The teeth should face outwards, away from the frame, and point down towards the handle. A piercing saw cuts on the downstroke, so this is the direction that does the work.
The teeth are very fine and can be hard to see. Run a fingertip gently along the blade: it should feel smooth stroking down towards the handle and catch slightly stroking up.
Tensioning a traditional frame
- Clamp the top first. Loosen the top thumbscrew, slide the blade into the clamp (about 5mm in is plenty) and tighten it firmly.
- Set the frame length. On an adjustable frame, slide the frame so the free end of the blade reaches about halfway into the bottom clamp, then lock it.
- Compress the frame. Rest the top of the frame against the edge of your bench or bench peg, with the handle against your chest. Lean in gently to flex the frame by a few millimetres.
- Clamp the bottom. While the frame is still compressed, tighten the bottom thumbscrew.
- Release and test. Ease off the pressure. As the frame springs back, it pulls the blade taut.
The ping test
Pluck the blade like a guitar string. A correctly tensioned blade gives a clear, high-pitched "ping". A dull thud, or a blade you can easily flex sideways, means it's too loose: release the bottom clamp and try again with a little more compression.
Be careful not to over-tighten. A blade under too much tension becomes brittle and can snap as soon as it meets the metal.
Lubricating the blade
A little lubricant reduces friction, stops the blade binding in the cut and helps it last longer. Beeswax is the traditional choice, and specialist blade lubricants do the same job.
Run the wax along the length of the blade a few times before you start, and top it up whenever the saw starts to feel sticky or sounds rough. Don't overdo it, though. Too much wax just clogs the teeth.
Professional jeweller’s technique: some jewellers keep a small block of wax pressed onto the corner of their bench peg, so they can drag the blade through it without stopping to pick anything up.
Setting up: bench peg, posture and lighting
A comfortable, stable setup makes sawing far easier to control. Many beginners imagine the problem is either their blades or their technique when the real issue is a wobbly peg or a bench at the wrong height.
Bench peg position
The bench peg (or bench pin) is the wooden wedge at the front of your bench that supports the metal while you saw. Most have a V-shaped slot that the blade runs through, so the metal is supported on both sides of the cut.
- Fix it solidly. If you don't have a jeweller's bench, a clamp-on option such as our bench peg and block combination anvil will turn any sturdy table into a workstation. Make sure it can't move or rock, as even a small amount of movement makes the blade twist and snap.
- Get the height right. The peg should sit roughly level with your upper chest when you're seated. That way you can look straight down the blade without hunching, and your sawing arm can move freely. A purpose-built jeweller's bench is designed with the peg at this height.
- Choose your side. Pegs usually have a flat side and a sloping side. Many jewellers saw with the flat side up and file with the slope up, but use whichever gives your work the most support.
- Shape it to suit you. A bench peg is meant to be cut, filed and drilled to suit your work. Over time you'll probably add notches and extra slots for specific jobs.
Posture
Sit square to the bench with your feet flat on the floor. Hold the metal flat on the peg with your non-sawing hand, fingers spread either side of the V-slot and close to the cut, but well clear of the blade's path. Keep your sawing arm, shoulder and grip relaxed. Tension in your arm travels straight down to the blade.
Lighting and eye protection
Good light makes a big difference to accuracy. A daylight lamp positioned in front of you and slightly to one side will light the line without casting the frame's shadow across it. Magnifiers can help with very fine work.
Always wear safety glasses. Blades can snap without warning, and small fragments of metal and blade can flick up towards your face.
Professional jeweller’s technique: hang a bench skin, leather apron or tray beneath your peg. It'll catch filings and offcuts, so precious metal scrap can be collected and recycled rather than swept away, and it'll catch the tiny pieces you'll inevitably drop.
Cutting technique
Good sawing is all about rhythm and a light touch. The saw should do the cutting, your job is to guide it, not power it through the metal with brute force.
Holding the saw
Hold the handle loosely, as you would a pen rather than a hammer. Keep the frame upright, with the blade at 90° to the metal, and avoid tilting it forwards, backwards or to the side. A tilted blade cuts a slanted edge and is much more likely to bind and snap.
Starting the cut
- Rest the blade against the edge of the metal, just on the waste side of your marked line.
- Make a few gentle upward strokes to nick the edge, which gives the blade something to grip.
- Once the blade has bitten, begin sawing with full, even strokes.
Some jewellers find it easier to start with the frame tilted forward very slightly for the first few strokes, then bring it back upright once the cut is established.
Sawing straight lines
Use long, smooth strokes that use most of the blade's length. Short, fast strokes wear out the middle of the blade while the rest stays sharp. Keep a steady pace and let the saw move straight up and down through the V-slot of the peg, moving the metal towards you as you progress.
Sawing curves
To follow a curve, turn the metal, not the saw. Keep the frame facing forwards and sawing steadily while you slowly rotate the work into the direction of the cut. Twisting the frame to steer puts sideways pressure on the blade, which is the most common cause of breakages.
Turning tight corners
For sharp corners and tight curves, keep the saw moving up and down on the spot, without pushing forwards, while you gradually turn the metal. The blade slowly widens the cut until there's room to turn and head off in the new direction.
Internal piercing
To cut a shape from the middle of a sheet:
- Centre-punch a small dent inside the area you want to remove, close to the line.
- Drill a hole just big enough for your blade to pass through.
- Release the bottom clamp, thread the blade through the hole from the top of the metal and let the metal slide up the blade towards the top clamp.
- Re-tension the blade and do the ping test again.
- Saw out the shape, then release the blade to remove the metal.
Our advice: if a piece has both internal and external cuts, saw the internal ones first. The larger sheet is easier to hold steady, and there's less risk of the piece bending.
Listen to your saw
Experienced jewellers say they listen to the sound of their saw as much as they watch it. A smooth, steady rasp means everything's going well. A grinding, juddering or snagging sound is an early warning that something's off: you may be pushing too hard, the blade may have drifted off vertical or it may need more lubricant.
Common piercing saw mistakes and how to fix them
Every jeweller breaks blades and wanders off the line when they're learning. The good news is that most problems come down to a handful of causes, and they're all easy to put right.
| Problem | Likely cause | How to fix it |
|---|---|---|
| Blade snaps as soon as you start | Blade too loose, too tight or fitted upside down | Check the teeth point down towards the handle, re-tension and do the ping test |
| Blade keeps breaking mid-cut | Pushing forwards, twisting the frame or a wobbly peg | Use a lighter touch, turn the metal rather than the saw and fix the peg firmly |
| Blade sticks or binds | No lubricant, or the frame is tilted | Wax the blade and keep the frame at 90° to the metal |
| Blade snags and judders | Teeth too coarse for the metal | Switch to a finer blade so two or three teeth touch the edge at once |
| Cutting is very slow | Blade too fine for the metal, worn or clogged | Use a coarser blade, wax it, or fit a fresh one |
| Cut wanders off the line | Tilted frame, rushing or poor visibility | Slow down, keep the blade upright and improve your lighting |
| Edges are slanted, not square | Blade leaning to one side | Look down the blade from above as you saw to keep it vertical |
| Metal vibrates on the peg | Metal not held firmly, or cutting too far from the peg | Hold the metal flat and keep the cut close to the V-slot |
| Blade gets trapped in the cut | Sawing backwards or the cut has closed up | Saw back out with gentle up-and-down strokes; don't yank the frame |
Professional jeweller’s technique: when a blade gets stuck, resist the urge to pull it out. Keep sawing gently up and down while easing it back along the cut, or release the top clamp and slide the blade out of the metal. Pulling hard is a sure way to snap it, and can bend thin work too.
Finally, don't be discouraged by broken blades. They're a normal part of learning, and even experienced jewellers break them regularly – they are all essentially a long, thin piece of metal that’s going to be worked hard, so they do not often live a long life. Keep a good supply to hand and treat each as a lesson in making the next one last even longer.
Quick checklist before you saw
- Right blade for the metal thickness (2/0 if unsure)
- Teeth facing out and pointing down towards the handle
- Blade tensioned and passing the ping test
- Blade lightly waxed
- Bench peg fixed solidly at chest height
- Good light on your marked line
- Safety glasses on
Find your piercing saw at HS Walsh
With the right frame, the right blades and a little practice, the piercing saw will soon become one of the most-used tools on your bench. Browse our full range of piercing saw frames and saw blades, from affordable adjustable frames for beginners to Knew Concepts frames for daily professional use. If you're not sure which to choose, call our friendly team on +44 (0)1959 543660.