Mastering jewellery soldering
Learning how to solder is the quantum leap between basic jewellery-making and becoming a professional. It’s the process of joining two pieces of metal using a metal alloy (solder) that melts at a lower temperature than the pieces being joined, leaving you with a seamless connection that’s tough enough to stand being worn.
Before you know what you’re doing, it looks like an intimidating process of melting metal. Once you’ve mastered it, you’ll understand the precise science involving chemistry, heat control, and physics.
Our Guide to Jewellery Making has lots of information on getting started and mastering your skills.
How soldering works
Unlike glue, solder doesn't just sit on the surface of the thing it's sticking together. When the metal reaches the correct temperature, something called capillary action occurs. The molten solder is drawn into the microscopic gaps of the joint, creating a molecular bond.
One rule to rule them all (sorry): Solder follows heat, so heating the metal, not the solder itself, is the key to a quality result. If you heat the solder, it will ball up, but if you heat the metal, the solder will flow toward the hottest point.
Essential tools & materials for soldering
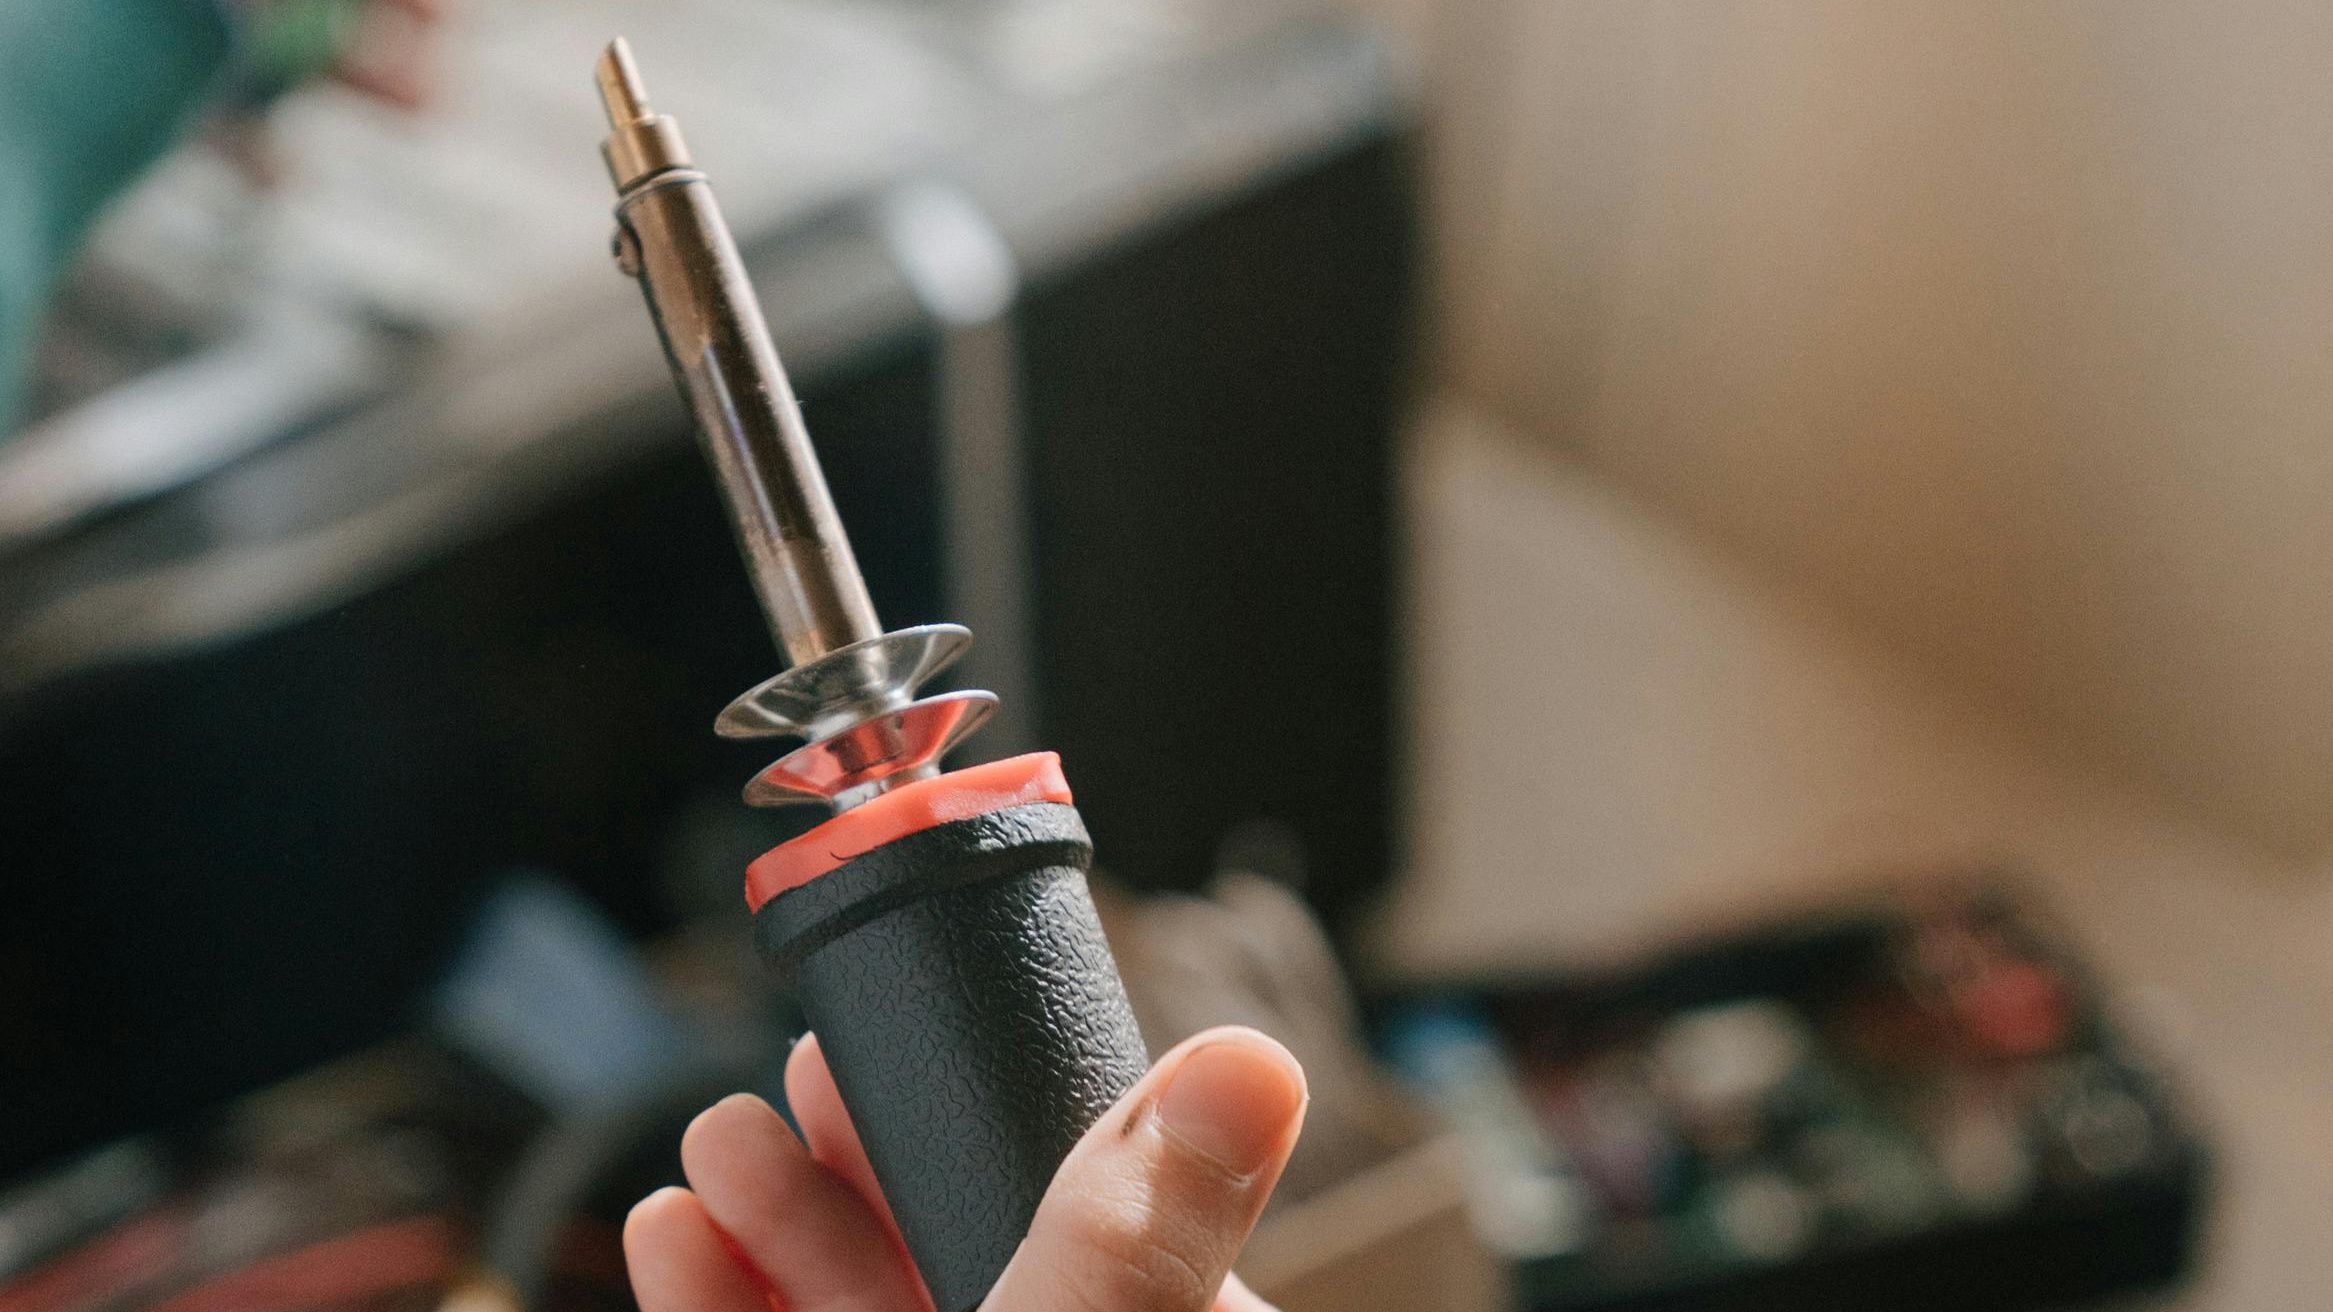
The Heat Source (Torches)
Butane Hand Torches: Best for beginners or small tasks like closing jump rings and soldering thin bands. They are affordable but there’s a good chance they’ll struggle with large items like heavy bangles.
Propane/Oxygen (e.g., the Smiths Little Torch): These are the industry standard. These offer a concentrated, needle-point flame that allows for surgical precision and high heat for larger silver pieces.
The Three Types of Solder
In jewellery, makers use Hard, Medium, and Easy solders. They are formulated to melt at different temperatures, allowing you to perform multiple joins on one piece without melting previous work.
| Solder Grade | Melt Temperature | Best Use |
| Hard | Highest (745 degrees c) | The first join; strongest bond and best colour match. |
| Medium | Mid-range (700 degrees c) | Second or third joins (e.g., adding a bezel to a backplate). |
| Easy | Lowest (650 degrees c) | Final joins or small repairs where heat must be kept low. |
Flux: The Chemical Shield
Flux is a liquid or paste applied to the metal before heating, and it serves two purposes:
Prevents Oxidation: It creates a barrier that stops oxygen from reacting with the metal (which creates "fire scale").
Surface Tension: It reduces the surface tension of the molten solder, allowing it to "flow" into the join.
The Soldering Surface
Charcoal Blocks: Reflect heat back into the metal, making it easier to reach temperature. Great for gold and silver.
Honeycomb Ceramic Blocks: Durable and excellent for pinning work in place.
Soldering Grain (Heat-reflecting pebbles): Useful for nesting irregular shapes so they stay level.
The 5-step process for a perfect join
1. Make sure the sides of the join fit
Solder can’t bridge gaps. If you see light through your join, it’s not going to last. Use a needle file or saw to ensure the two surfaces meet perfectly with no visible space.
2. Clean before soldering
Solder will not flow on grease or fingerprints. Clean your metal with a scouring pad or a brief dip in the pickle pot before you begin. Do not touch the join with your fingers after cleaning.
3. Put flux in the right place
Apply flux to the join and your solder "pallions" (tiny cut pieces). Place the solder directly on the seam using a fine brush or a soldering pick.
4. Heat the item properly
Move your torch in a circular motion around the entire piece. You must bring the base metal up to temperature before the solder.
Watch the flux, which will bubble (this is the water evaporating), then turn into a clear, glassy liquid.
The "Flash": Once the metal hits the right temperature, the solder will suddenly melt and "flash" along the seam. Remove the heat instantly.
5. Quench and Pickle
Drop the piece into water (quenching) to cool it, then place it in a Pickle Pot (a warm acid bath). The pickle removes the glassy flux and oxidation, leaving the metal clean.
Common welding issues to watch out for
Solder balls up: You might think a "solder balls-up" means your soldering hasn’t gone very well, and that's right in a way. The specific meaning, however, is that you’ve heated the solder instead of the metal and it’s “balled up”. Move the flame away from the solder and focus on the surrounding metal and everything should start to right itself.
Solder won't flow: Either the join is dirty, or you haven't used enough flux. Alternatively, your torch may be too small for the size of the piece (creating a “heat sink” effect).
"Pitting" or holes: This happens if you "cook" the solder by keeping it under the flame for too long after it has already flowed.
Joint Re-opening: You used the same grade of solder for the second join. Always "step down" (Hard > Medium > Easy).
Workshop safety
Ventilation: Flux fumes and soldering gases can be toxic. Work near a window or use a dedicated fume extractor. Proper workspace ventilation is essential.
Eye Protection: Use safety glasses to protect against "spitting" flux or accidental splashes. You really don’t want molten metal near your eye.
Fireproofing: Ensure your soldering station is on a non-flammable surface (like a steel tray or cement board) away from household clutter.
Building your setup – the essentials
Starter: Butane torch, ceramic block, "Easy" solder wire, and citric acid pickle.
Professional: Propane/Oxygen torch, charcoal block, full solder suite (H/M/E), and a dedicated soldering pick for "pick soldering" techniques.
Visit our jewellery making guide
If you're looking to build on your jewellery making skills, our comprehensive guide has everything you need. Find it here.