Upgrading your jewellery studio: what you’ll need
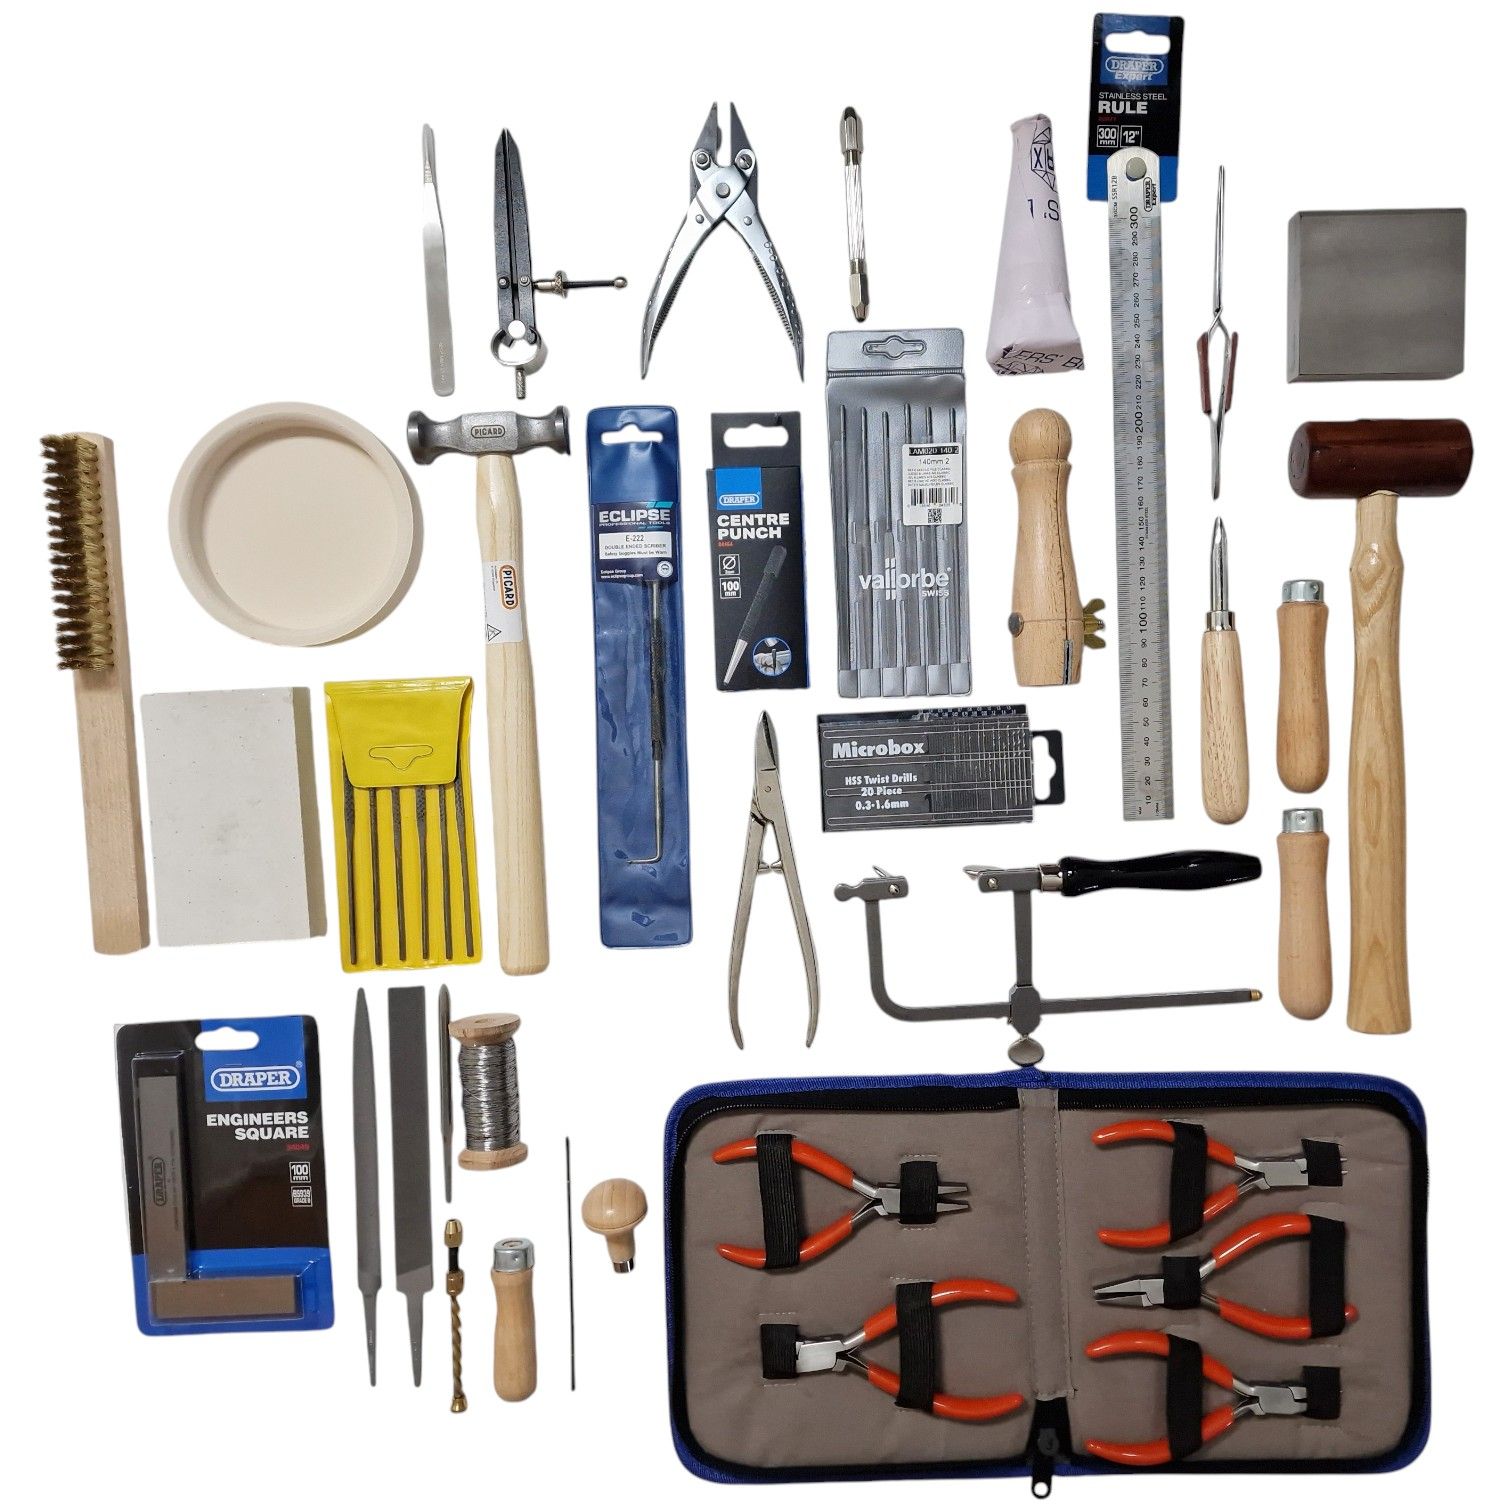
As your skill improves to professional level, your workshop should be full of tools that increase efficiency when crafting jewellery.
The point of making this investment is to minimise the time spent hunting for a particular burr, squinting to try and find a solder join, or clearing accumulated clutter from your work, leaving you to get on with producing jewellery.
You can find more information on jewellery making in our guide.
The ergonomics of the bench
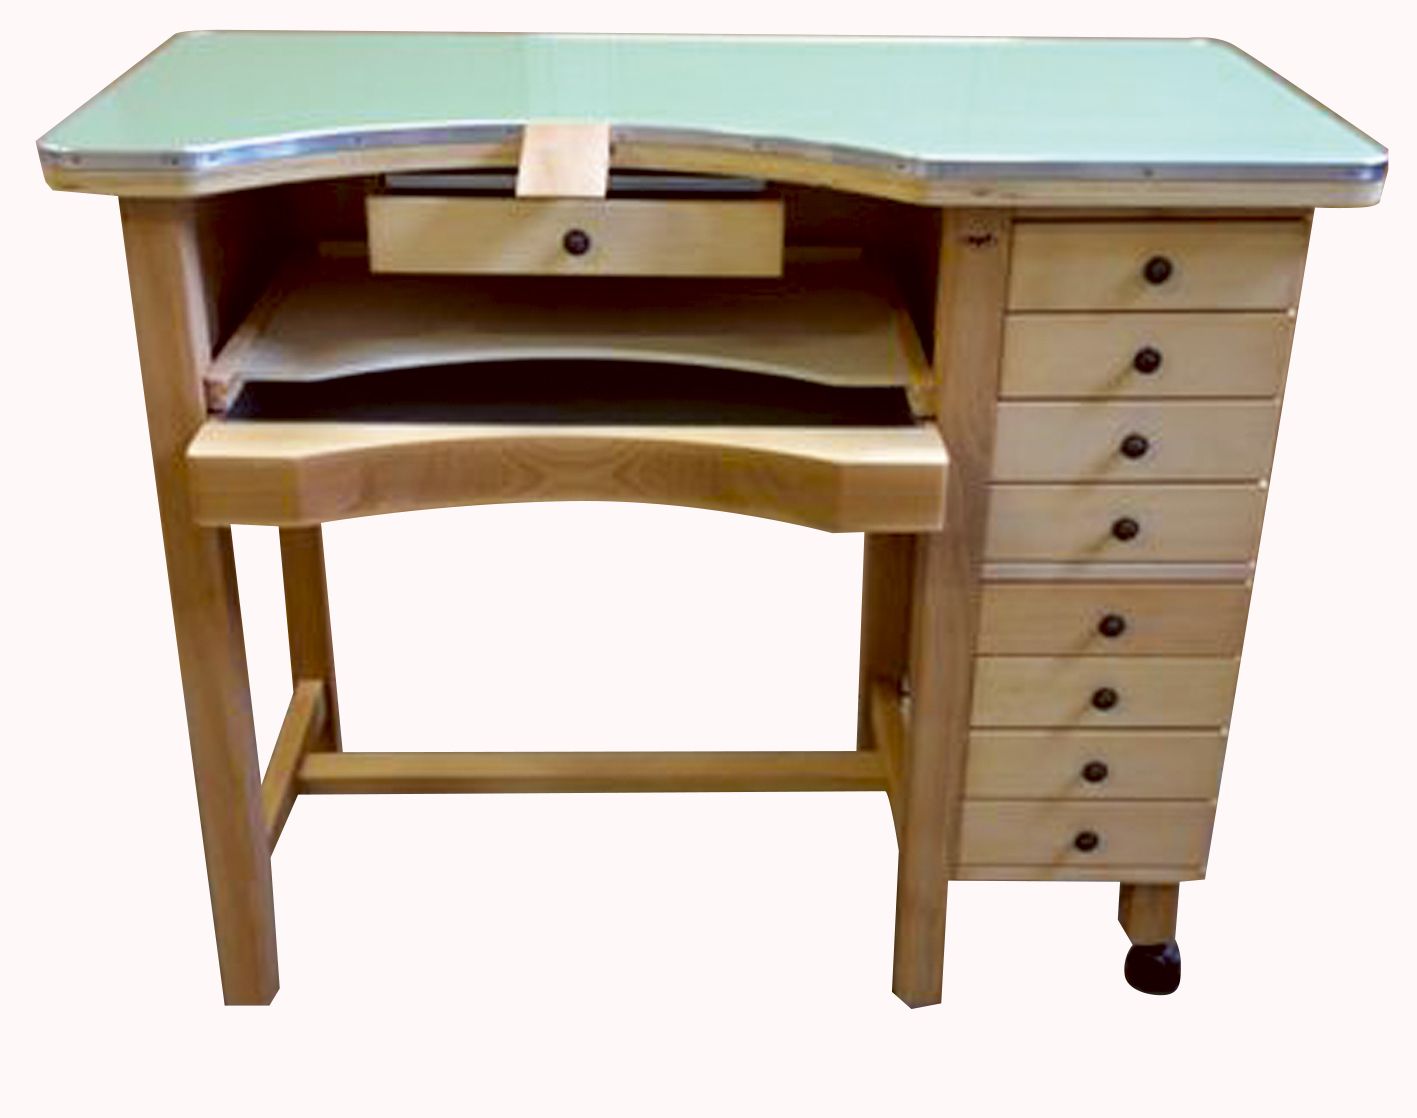
In jewellery making, your bench is the foundation, ideally giving you a comfortable workplace that either already has, or can be expanded to have, every feature you might need. Standard desks are too low; a professional jewellery bench is designed to bring the work to eye level to prevent chronic neck and back strain.
- Bench Height: Ideally 90 - 97 cm. This allows you to sit upright while using the bench peg.
- The "Skin" (Catch Tray): A professional bench features a semi-circular cutout with a suspended leather or metal "skin" to catch precious metal filings (lemel).
- Stability: The bench must be heavy enough to withstand the vibrations of a rolling mill or the strike of a heavy forging hammer without shifting.
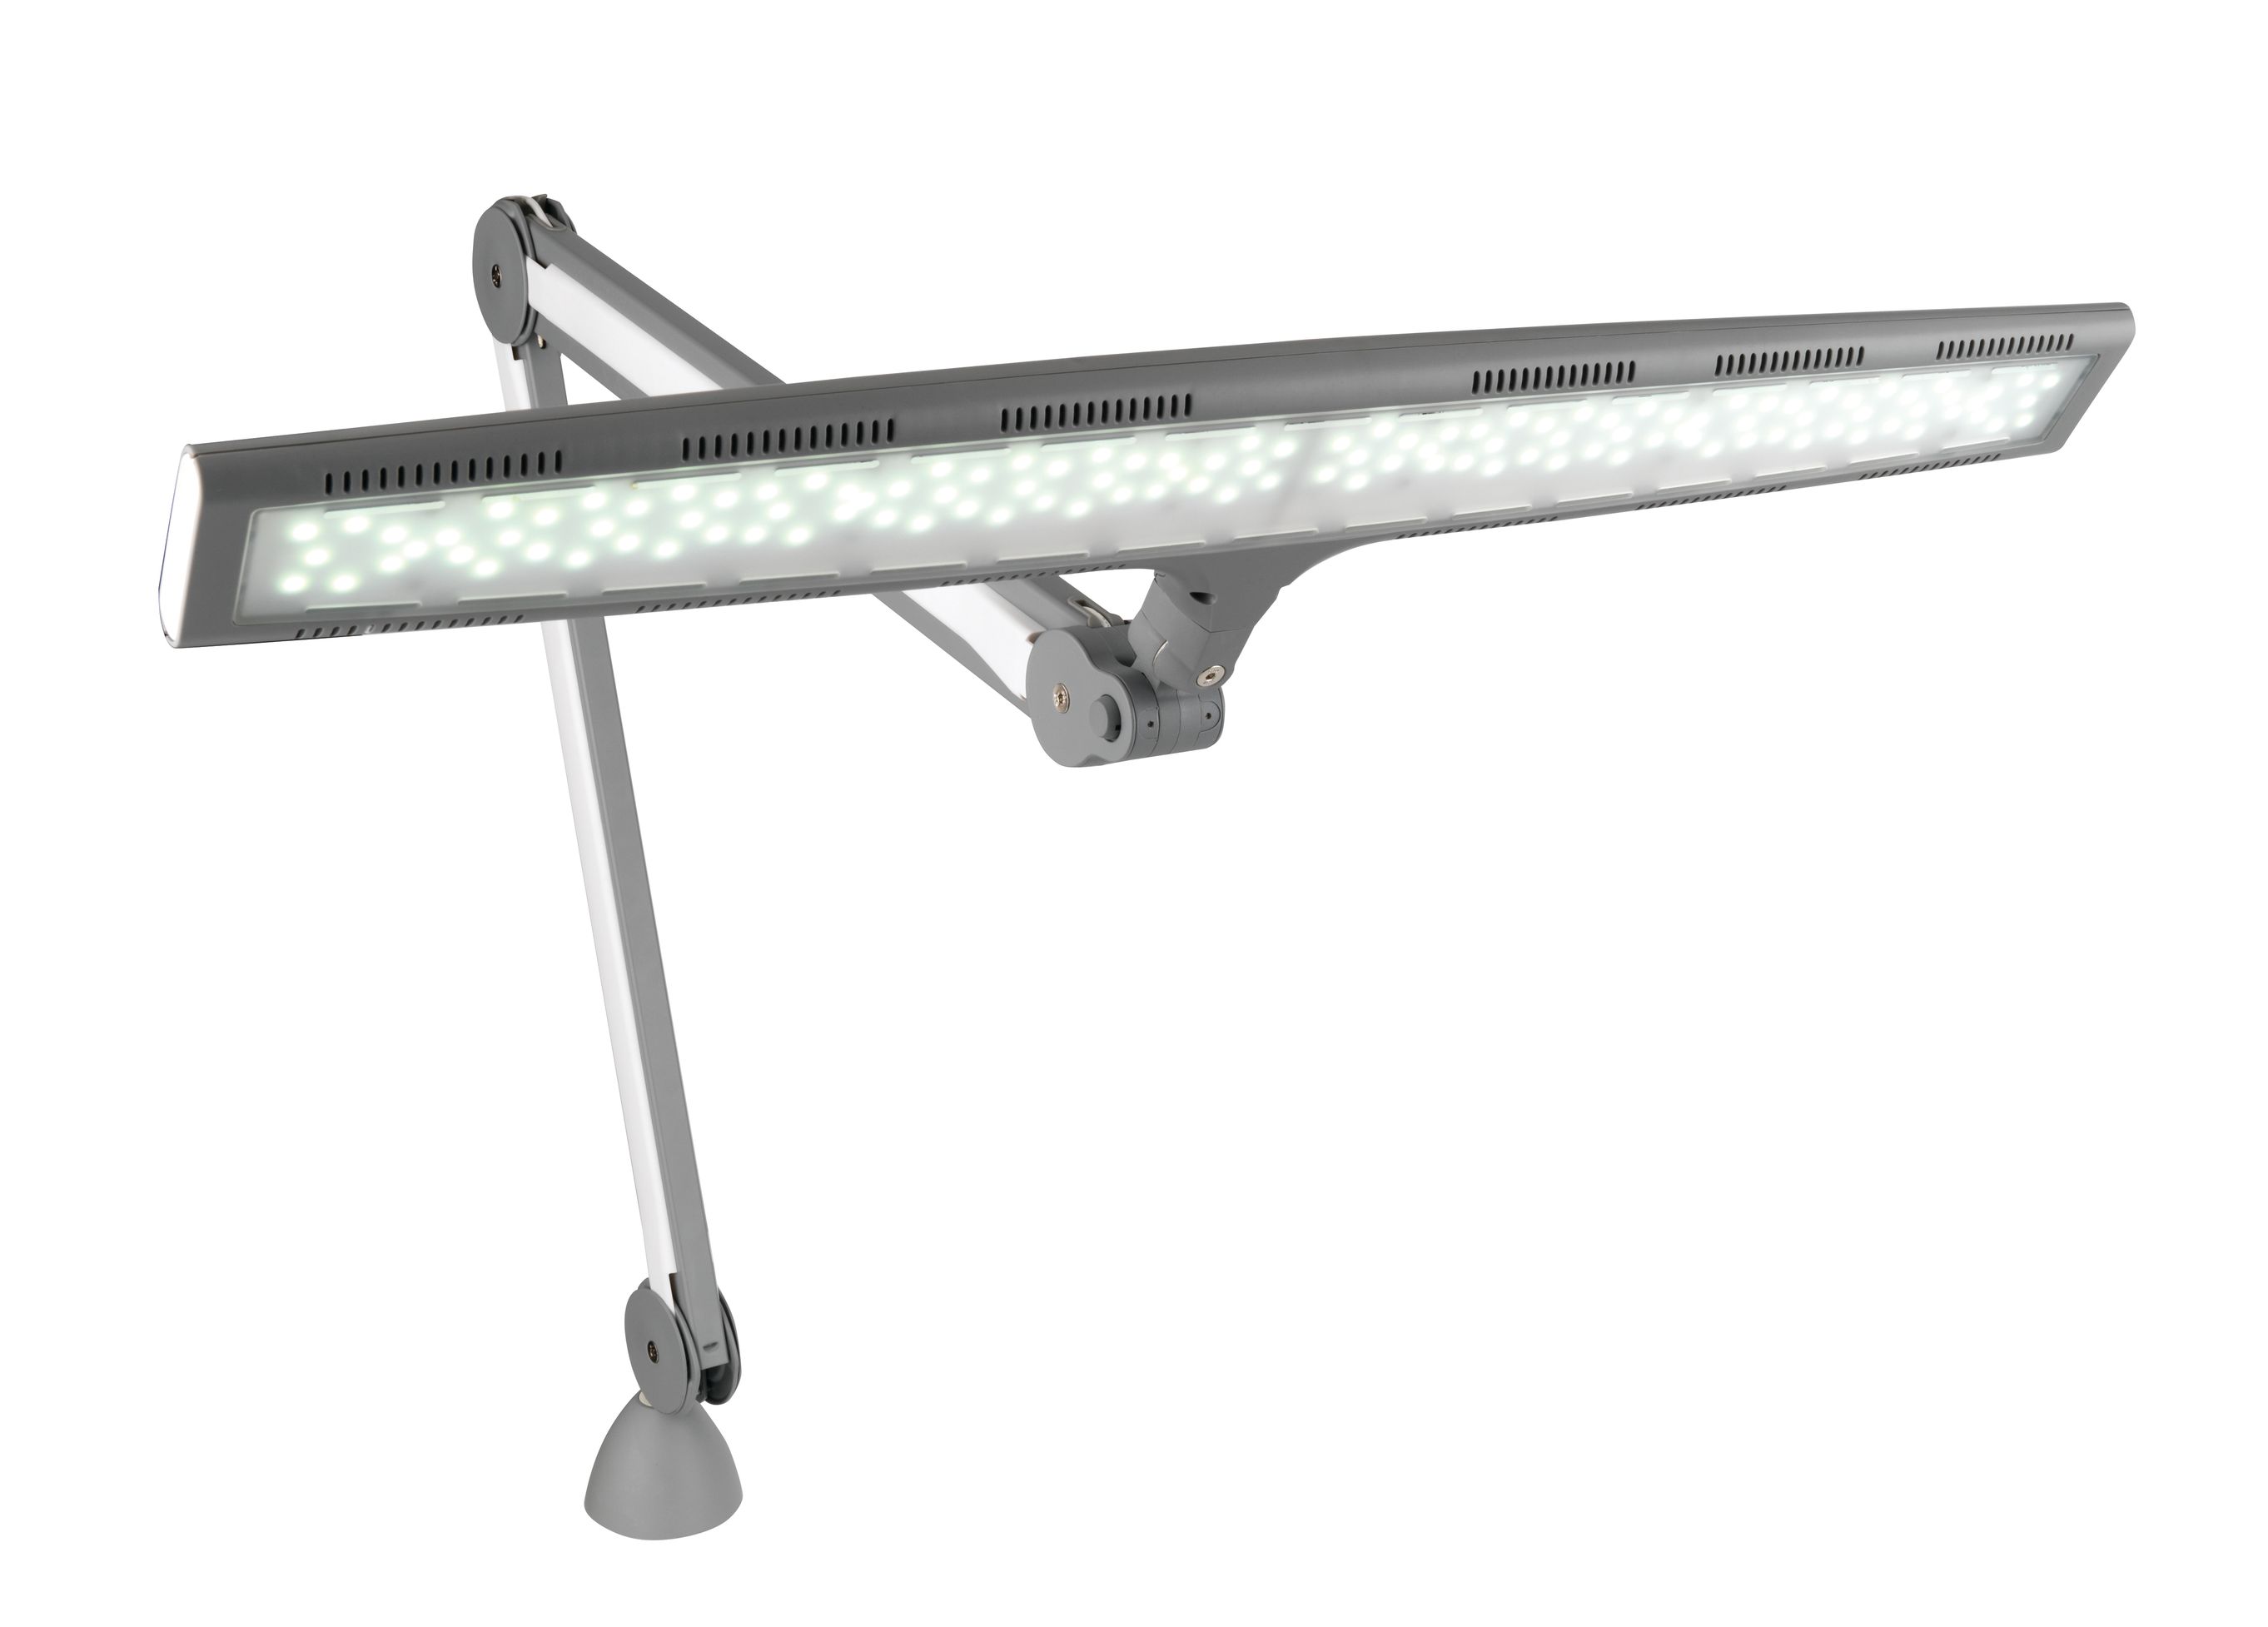
Advanced lighting: the kelvin and CRI factor
If you're already making jewellery, you'll know how important a well-lit area is, but even having good light to work in is only half of the battle. For stone setting and colour grading, you need Color Rendering Index (CRI) accuracy, and that involves specific technology if you want it to provide day and night consistency.
- Task Lighting: Look for LED lamps with a CRI of 90+ and a colour temperature of 5000K - 5500K (equivalent to daylight). This ensures that the "fire" in a gemstone or the oxidation on silver is seen accurately.
- Diffused vs. Focal: Use diffused overhead lighting to reduce harsh glares on polished metal, paired with a focal "swing-arm" lamp for high-magnification work. In the wrong light, flaws can be invisible, so getting your lighting right should be top of the list.
Soldering and atmospheric safety
A professional soldering station is about more than just having a safe bit of board to work on. You'll need to setup a dedicated “fire zone” that makes working with naked flame as safe as possible.
What you need for a professional soldering station
- Surface: A rotating soldering hearth on a non-combustible surface (like a cement-fibre board). Occasionally an old asbestos board can find itself doing this job, so we would always recommend buying a new one to make sure you aren't accidentally exposing yourself to hazardous materials.
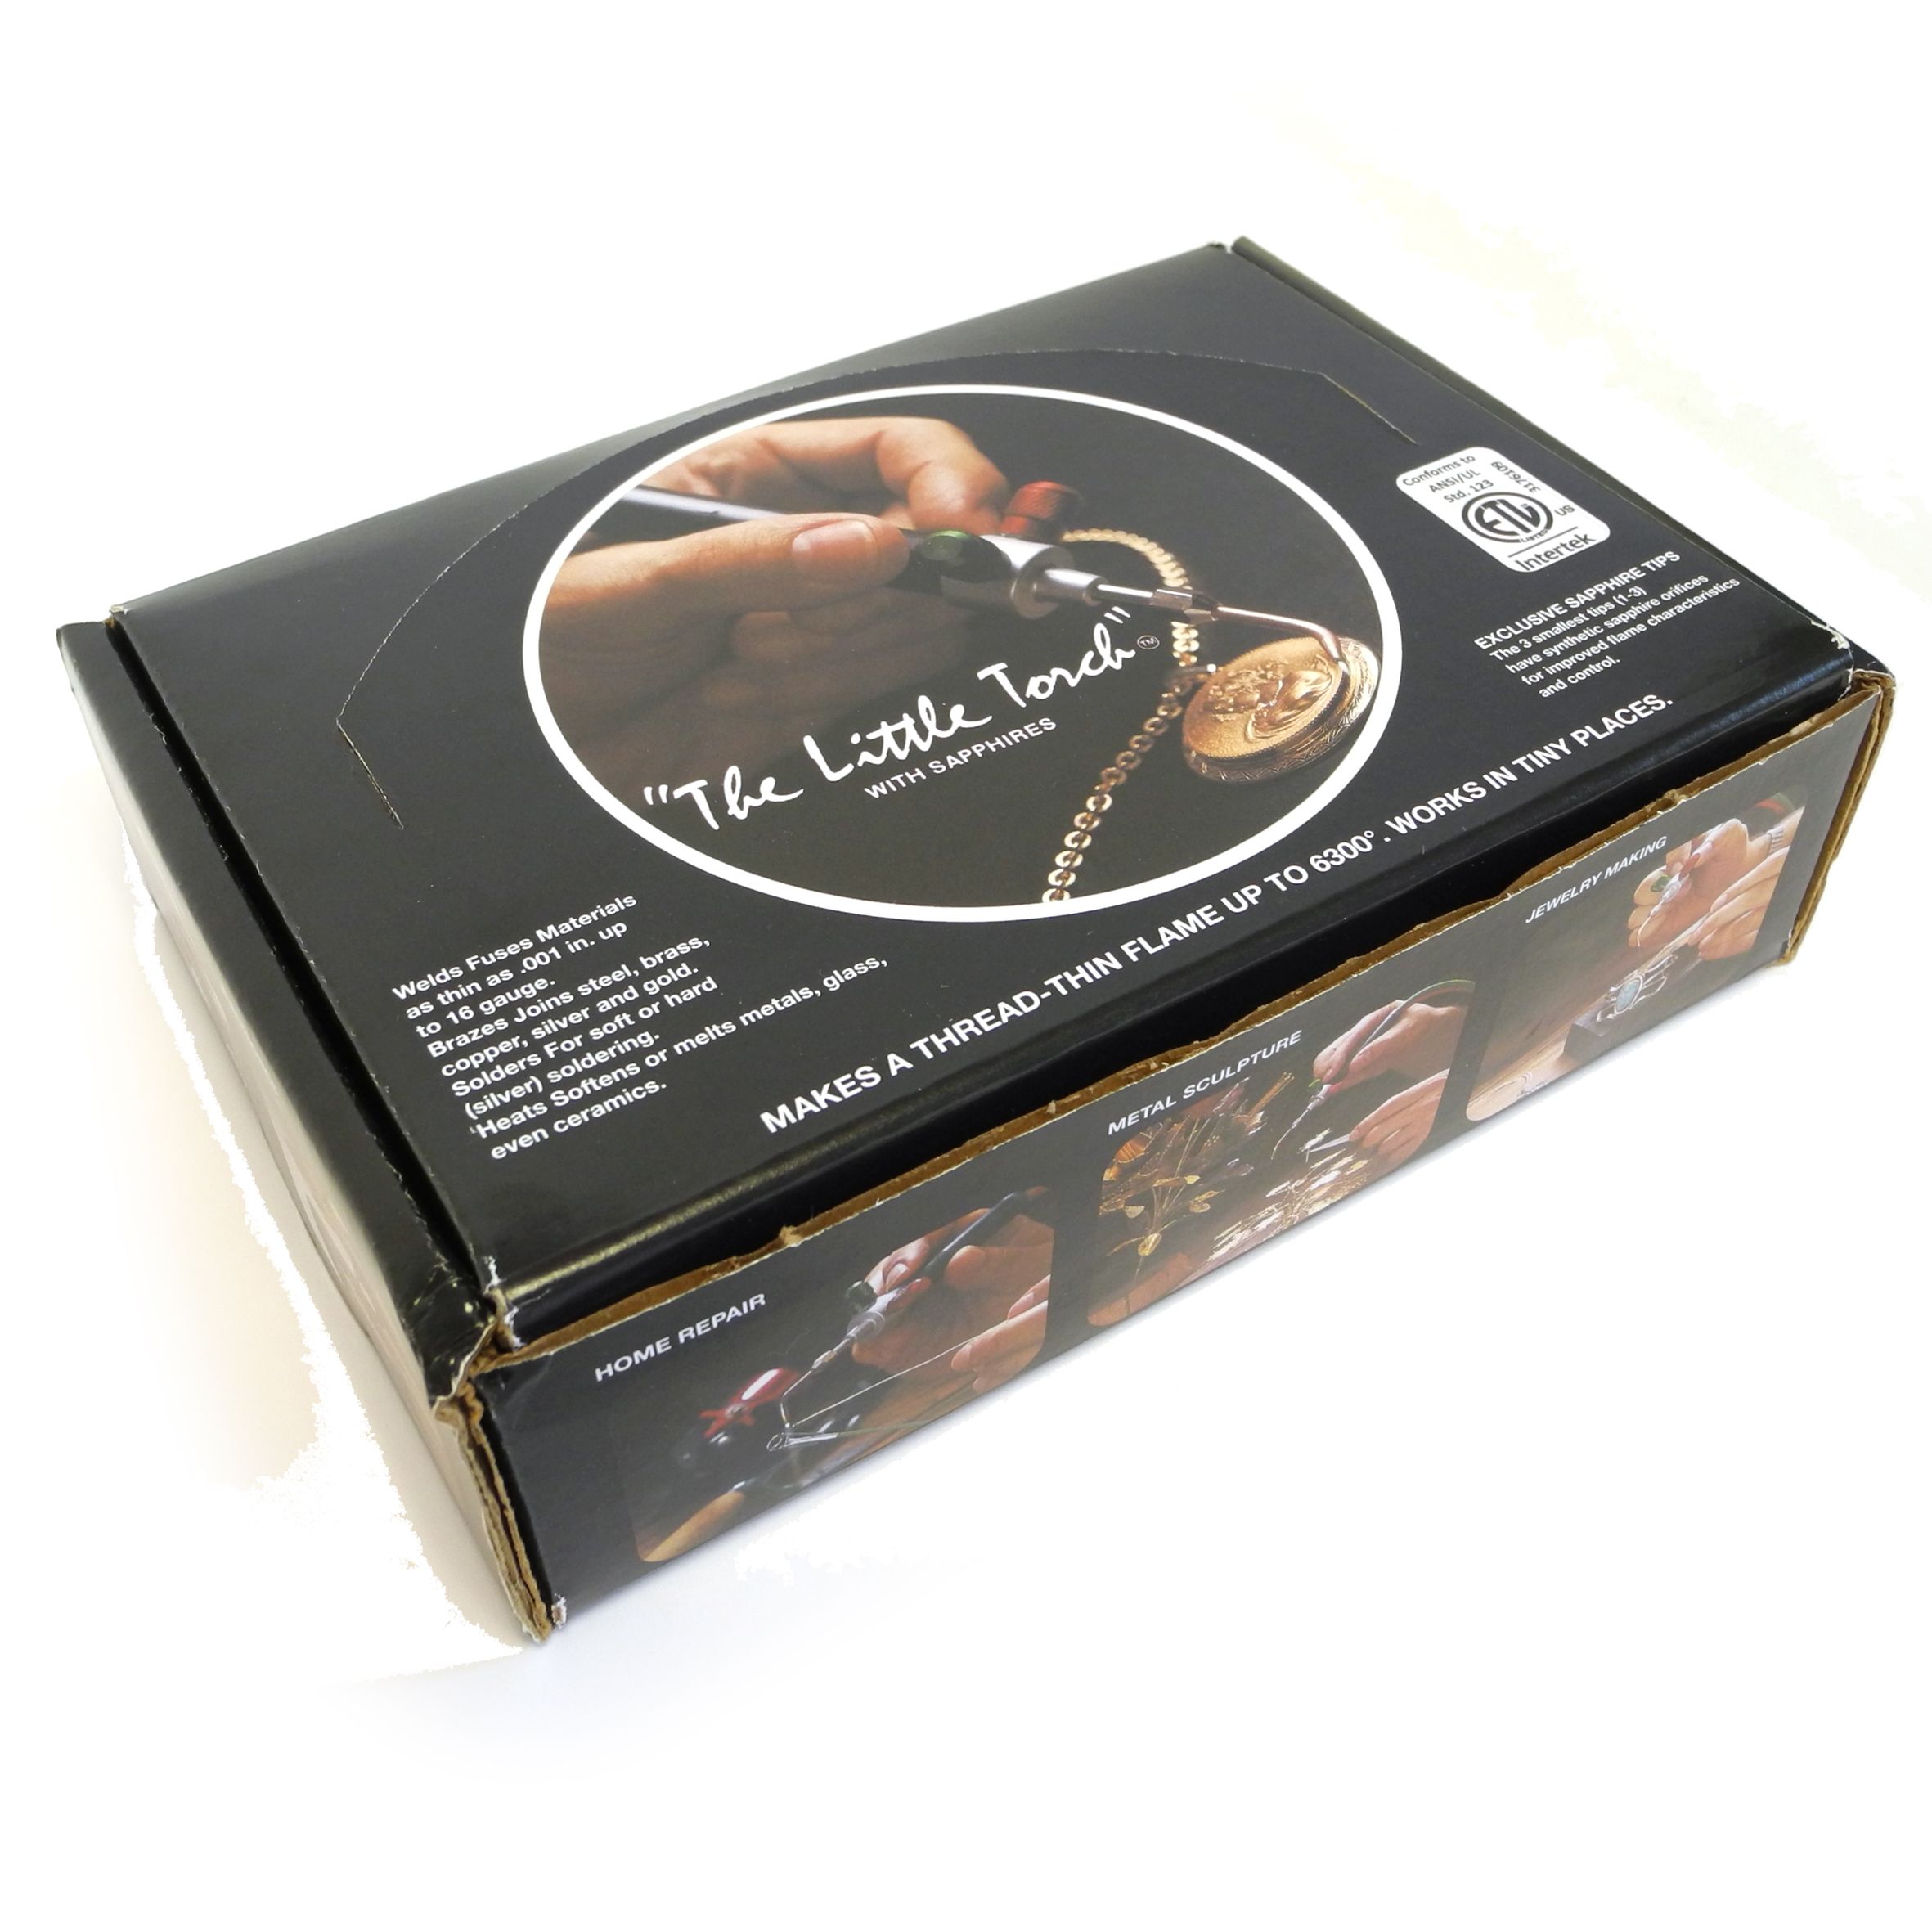
- Gas Management: For semi-pro setups, move from butane handheld torches to oxygen/propane or oxygen/hydrogen (water torch) systems. These provide a needle-point flame for delicate settings and a bushy flame for annealing.
- Flashback arrestors: Non-negotiable safety valves that prevent the flame from traveling back into the gas hoses, which is even more dangerous than it sounds.
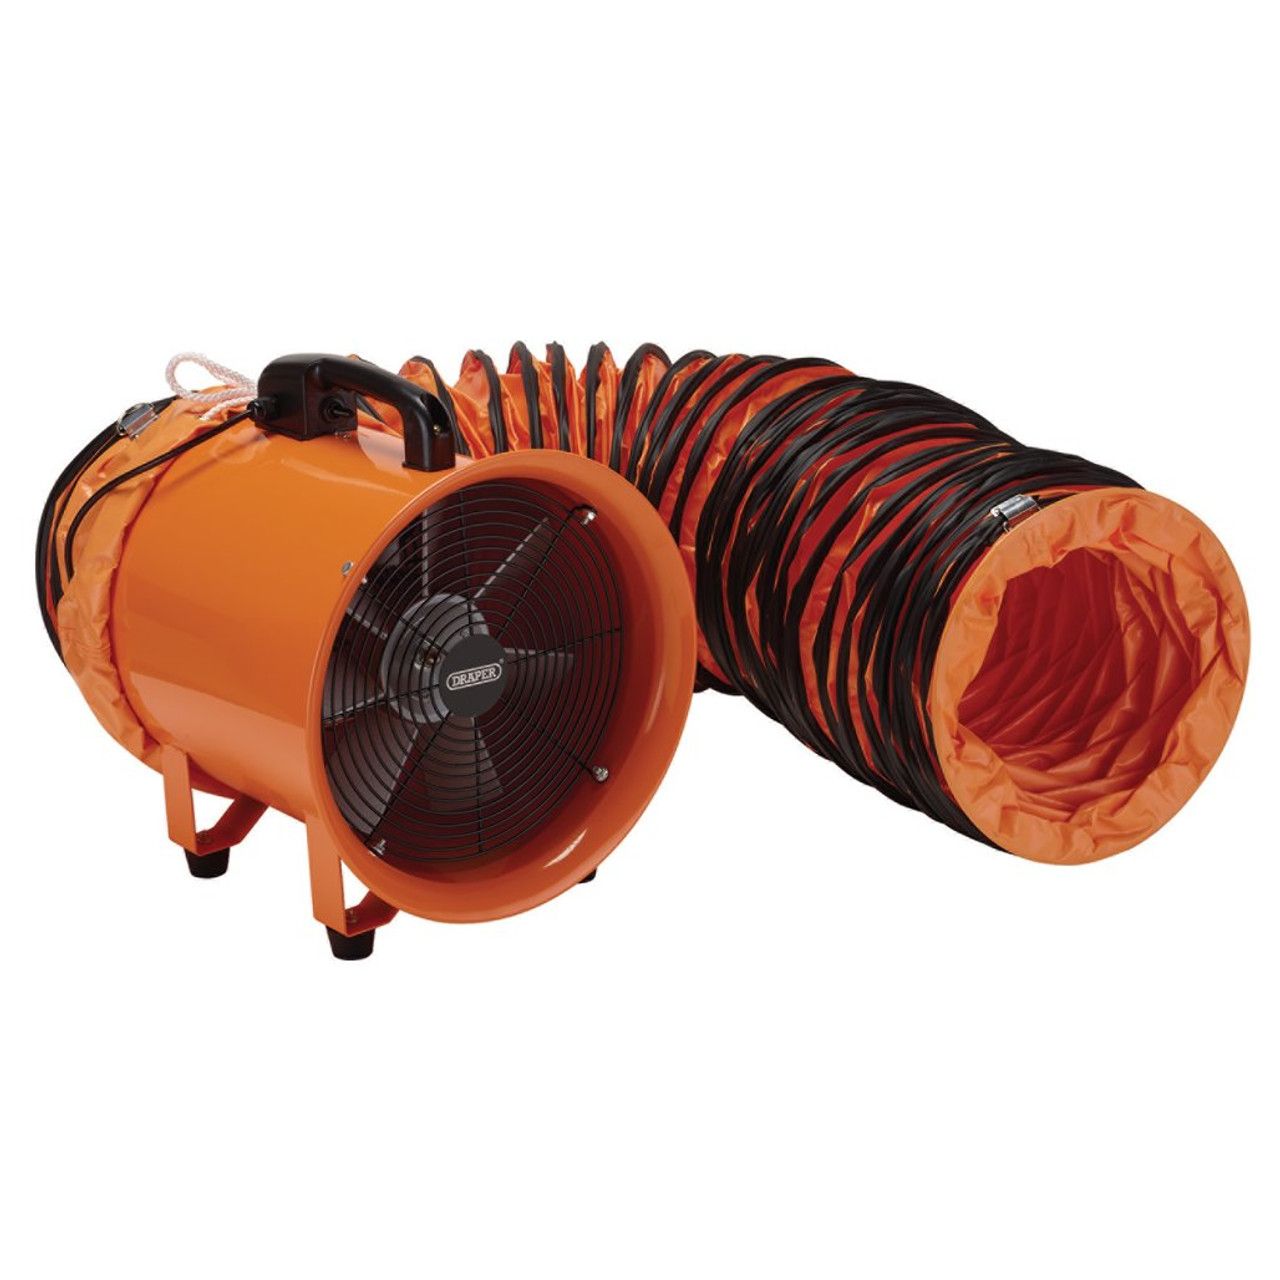
Ventilation (LEV)
Local Exhaust Ventilation (LEV) is the industry standard. A window fan isn't enough for cadmium-bearing solders or pickling acid fumes, and these are chemicals that can have a serious effect on your health if not used safely.
The rule is that the extractor hood should be within 6-10 inches of the torch flame to capture 99% of particulates and fumes that are released, and we recommend that you follow it to the letter.
Divide your workshop between “clean” and “dirty” work
Something essential to get right when progressing to a professional studio is the physical separation of processes to prevent contamination.
Dividing your workshop into zones means you can reduce the area that needs to be cleaned, saving you time and helping to keep your work pristine.
| Zone | Activity | Technical Requirements |
| Zone A: The Bench | Fabrication, Piercing, Setting | High-torque power outlets for pendant motors. |
| Zone B: The Hearth | Soldering, Melting, Annealing | Fire-rated walls, LEV ventilation, quenching bowls. |
| Zone C: The Wet Zone | Pickling, Ultrasonic, Tumbling | Chemical-resistant surfaces, proximity to a sink. |
| Zone D: The Dirty Zone | Polishing, Grinding, Sanding | High-volume dust extraction (HEPA filtered). |
Tools to scale up with
As you move into semi-professional production, these three tools become the "Force Multipliers" of your studio
You can read more about our tool recommendations based on skill level in this article.
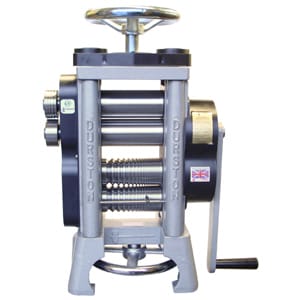
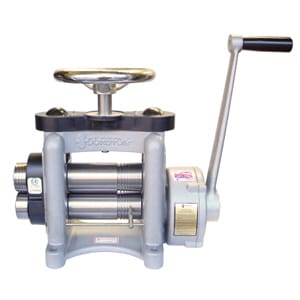
The Rolling Mill
Essential for reducing wire gauge or creating sheet metal from scrap. It pays for itself by allowing you to recycle your own silver.
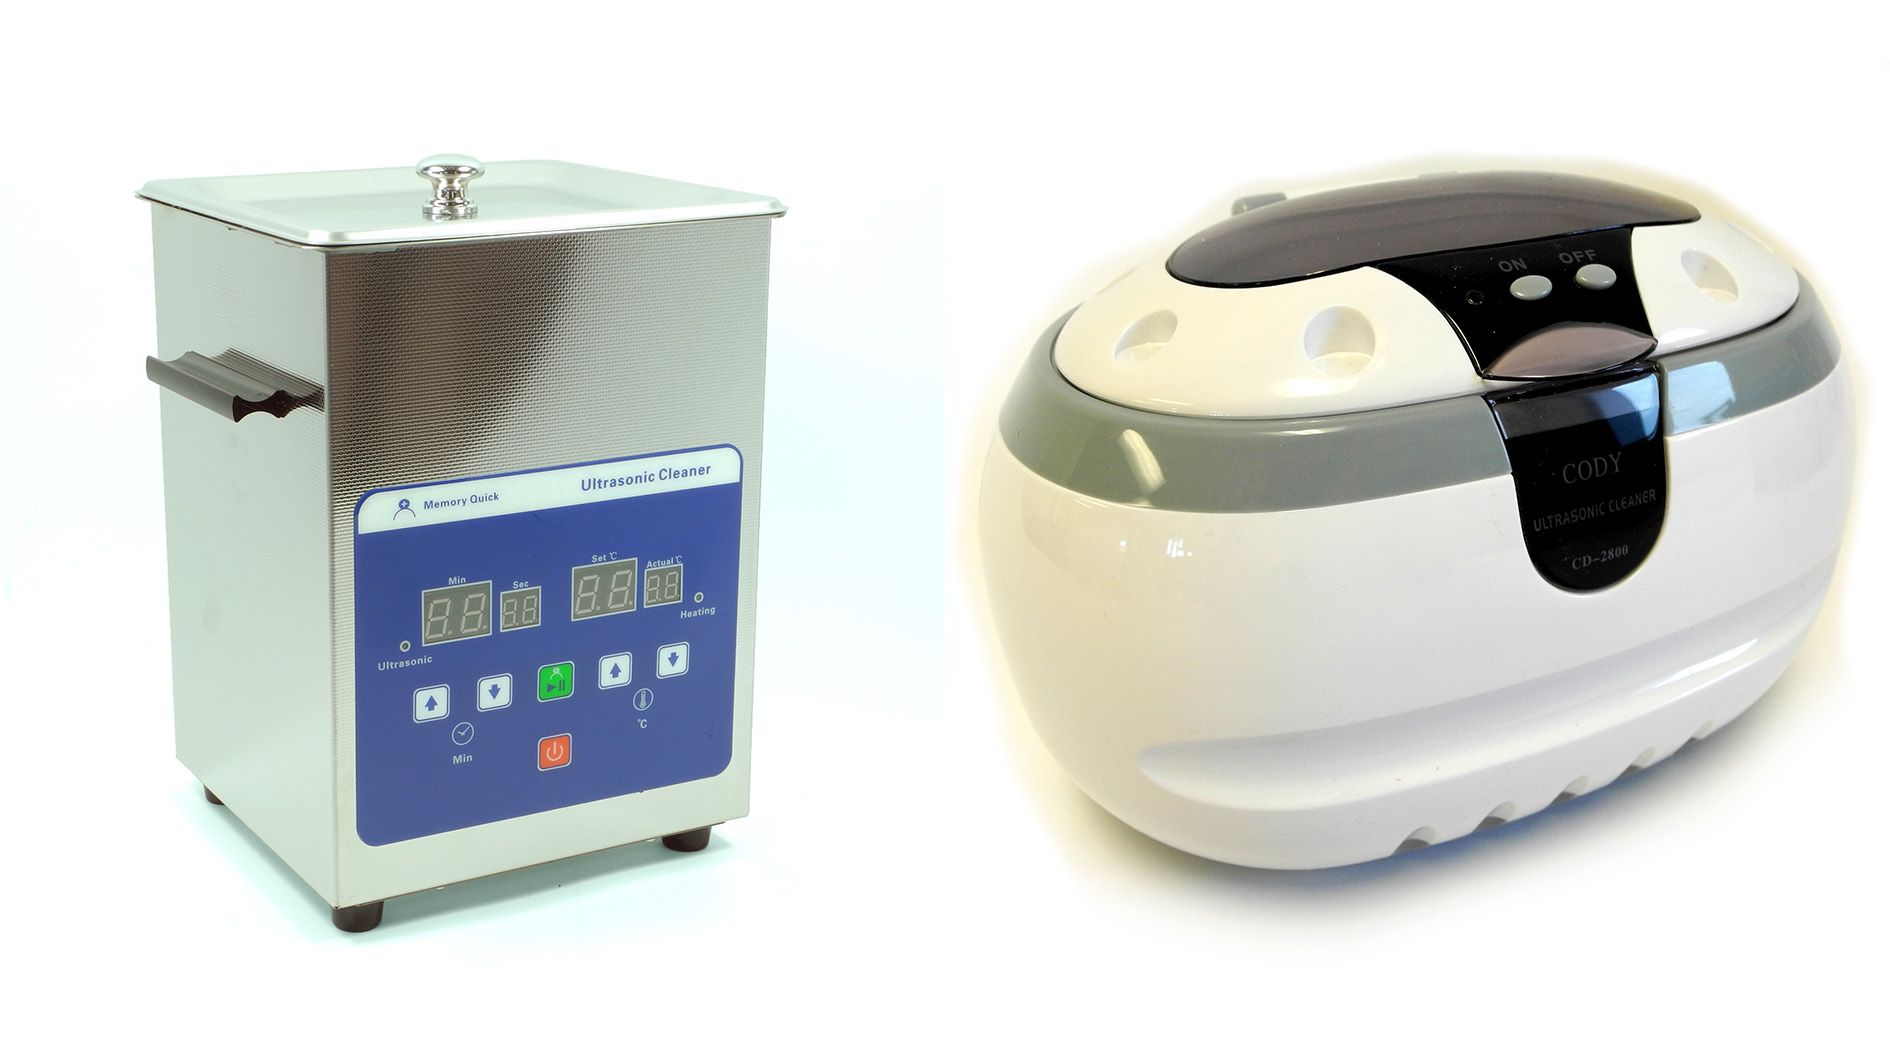
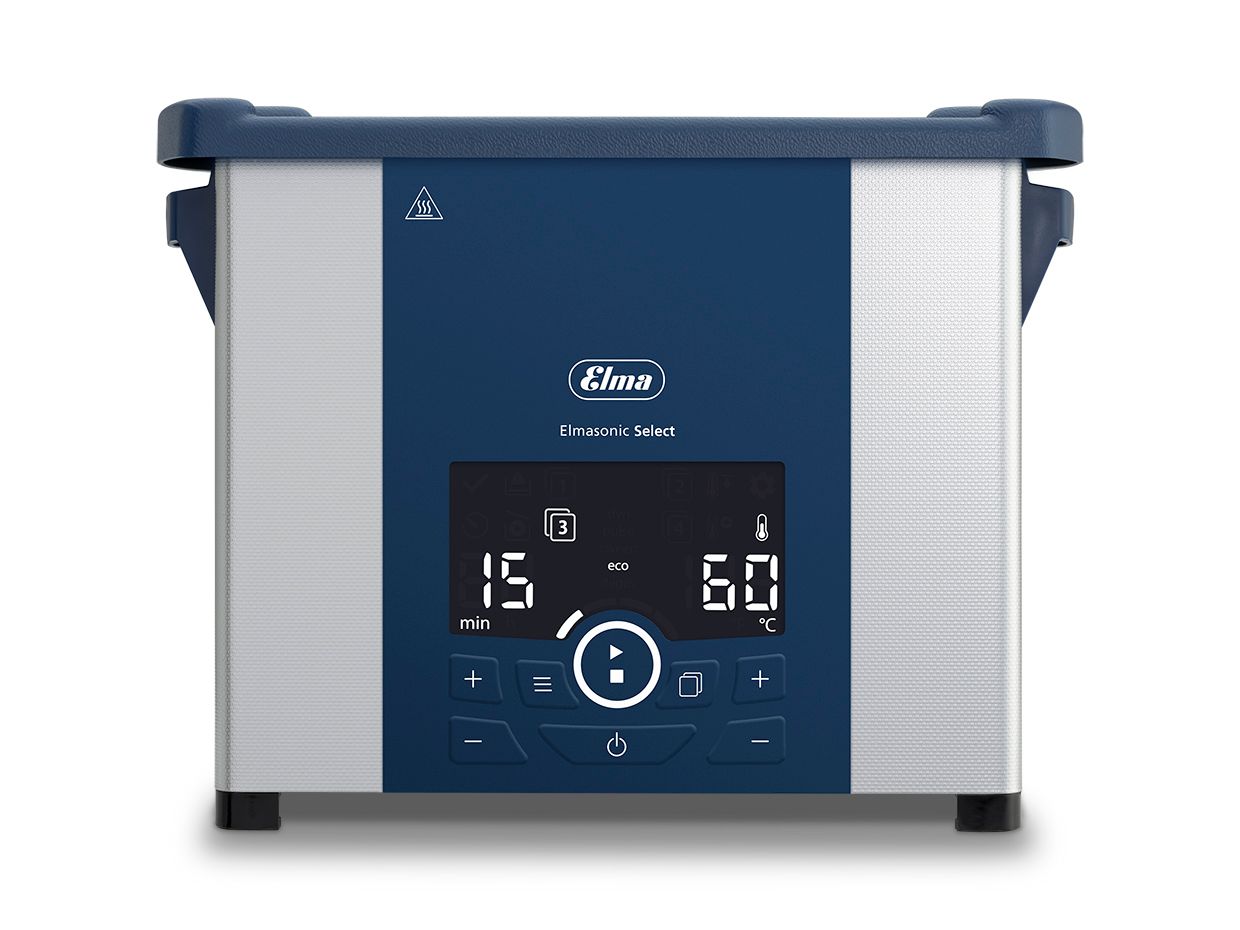
The Ultrasonic Cleaner
Uses cavitation bubbles to remove polishing compound from the tiniest crevices - something a toothbrush can’t do.
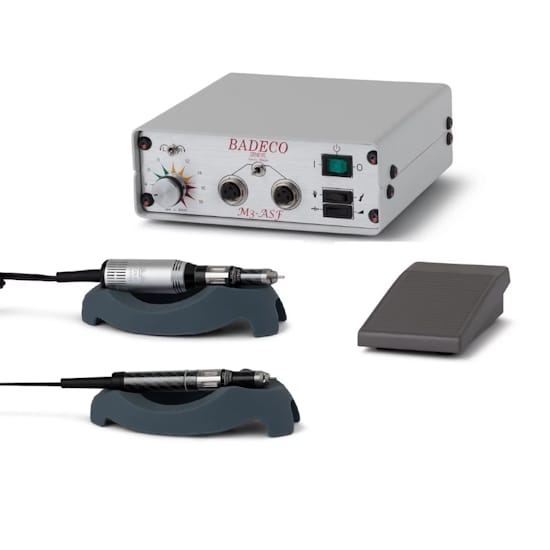
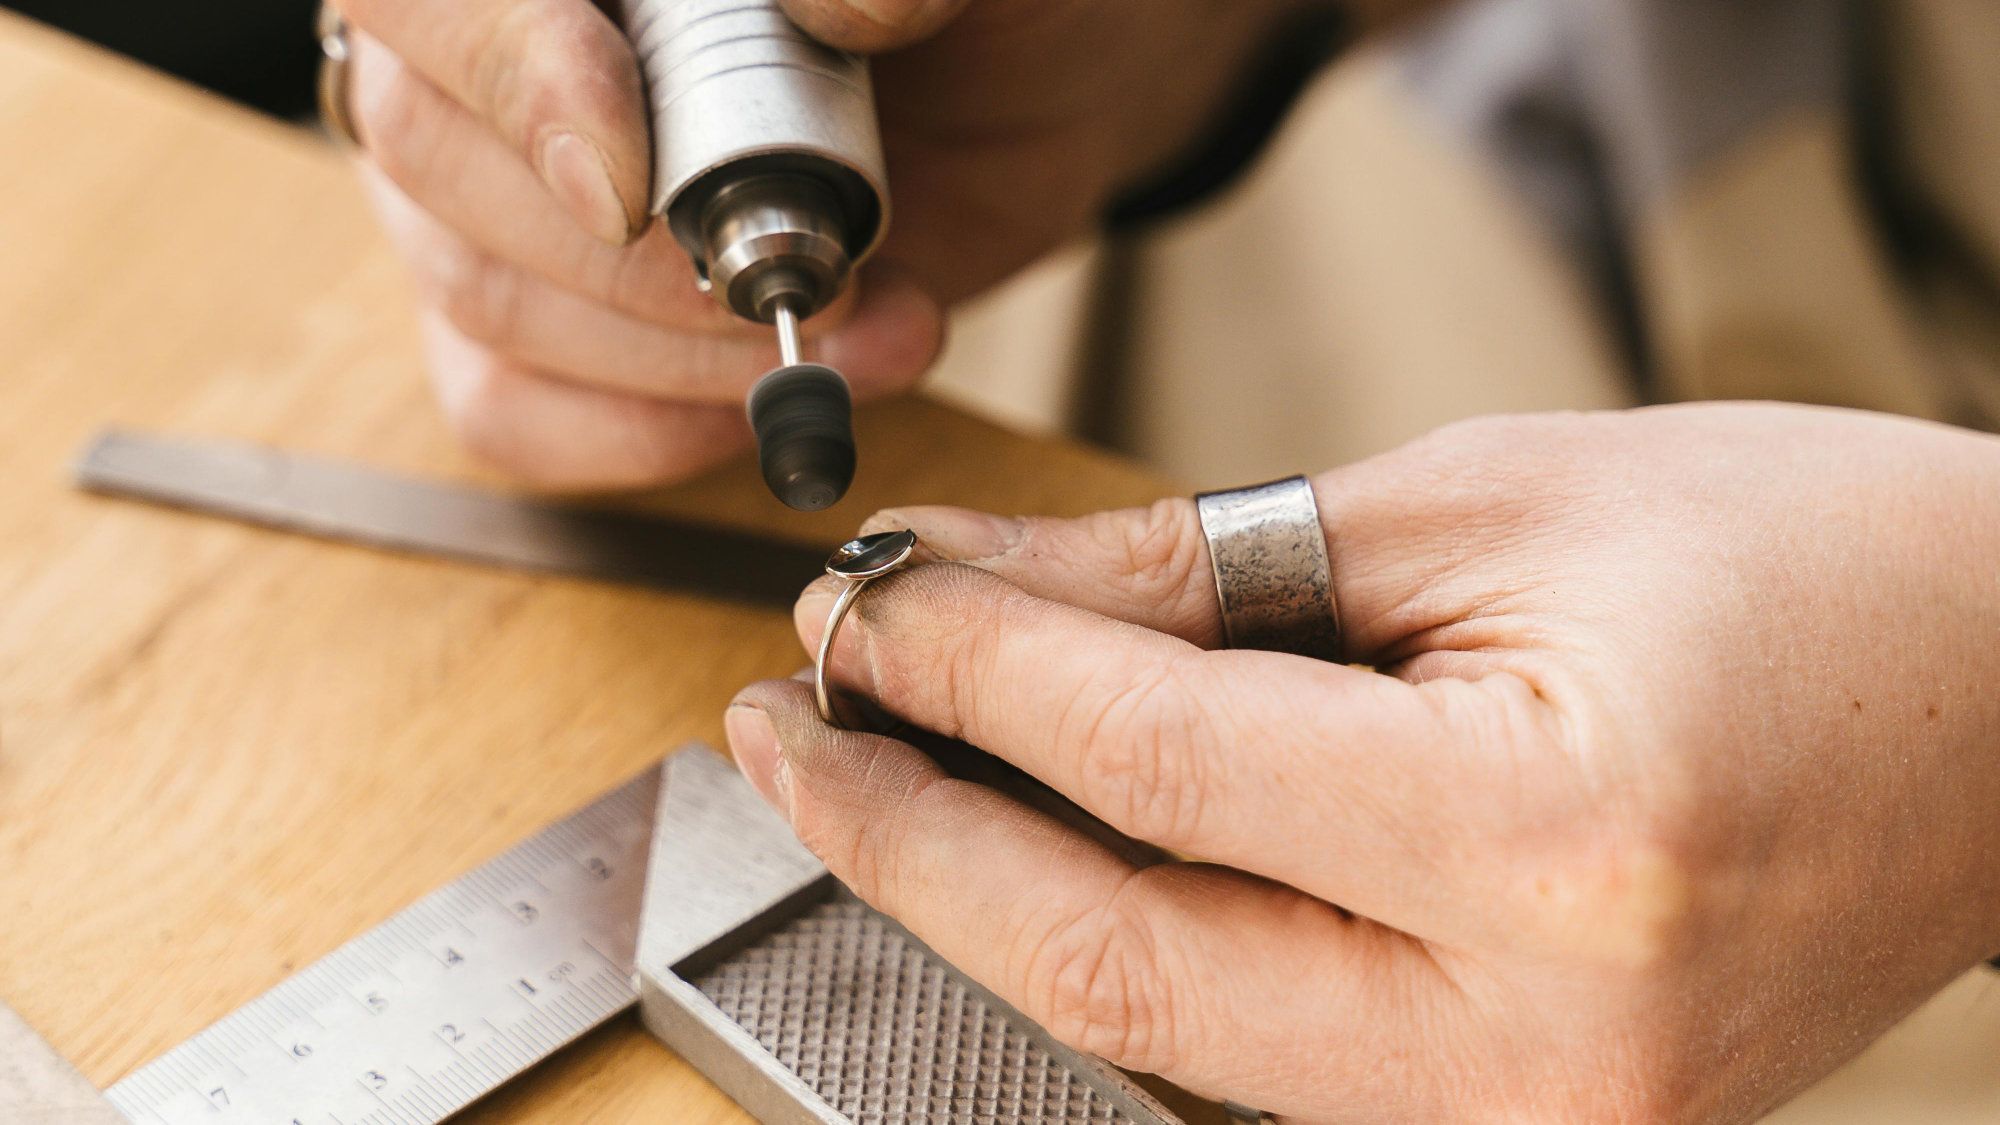
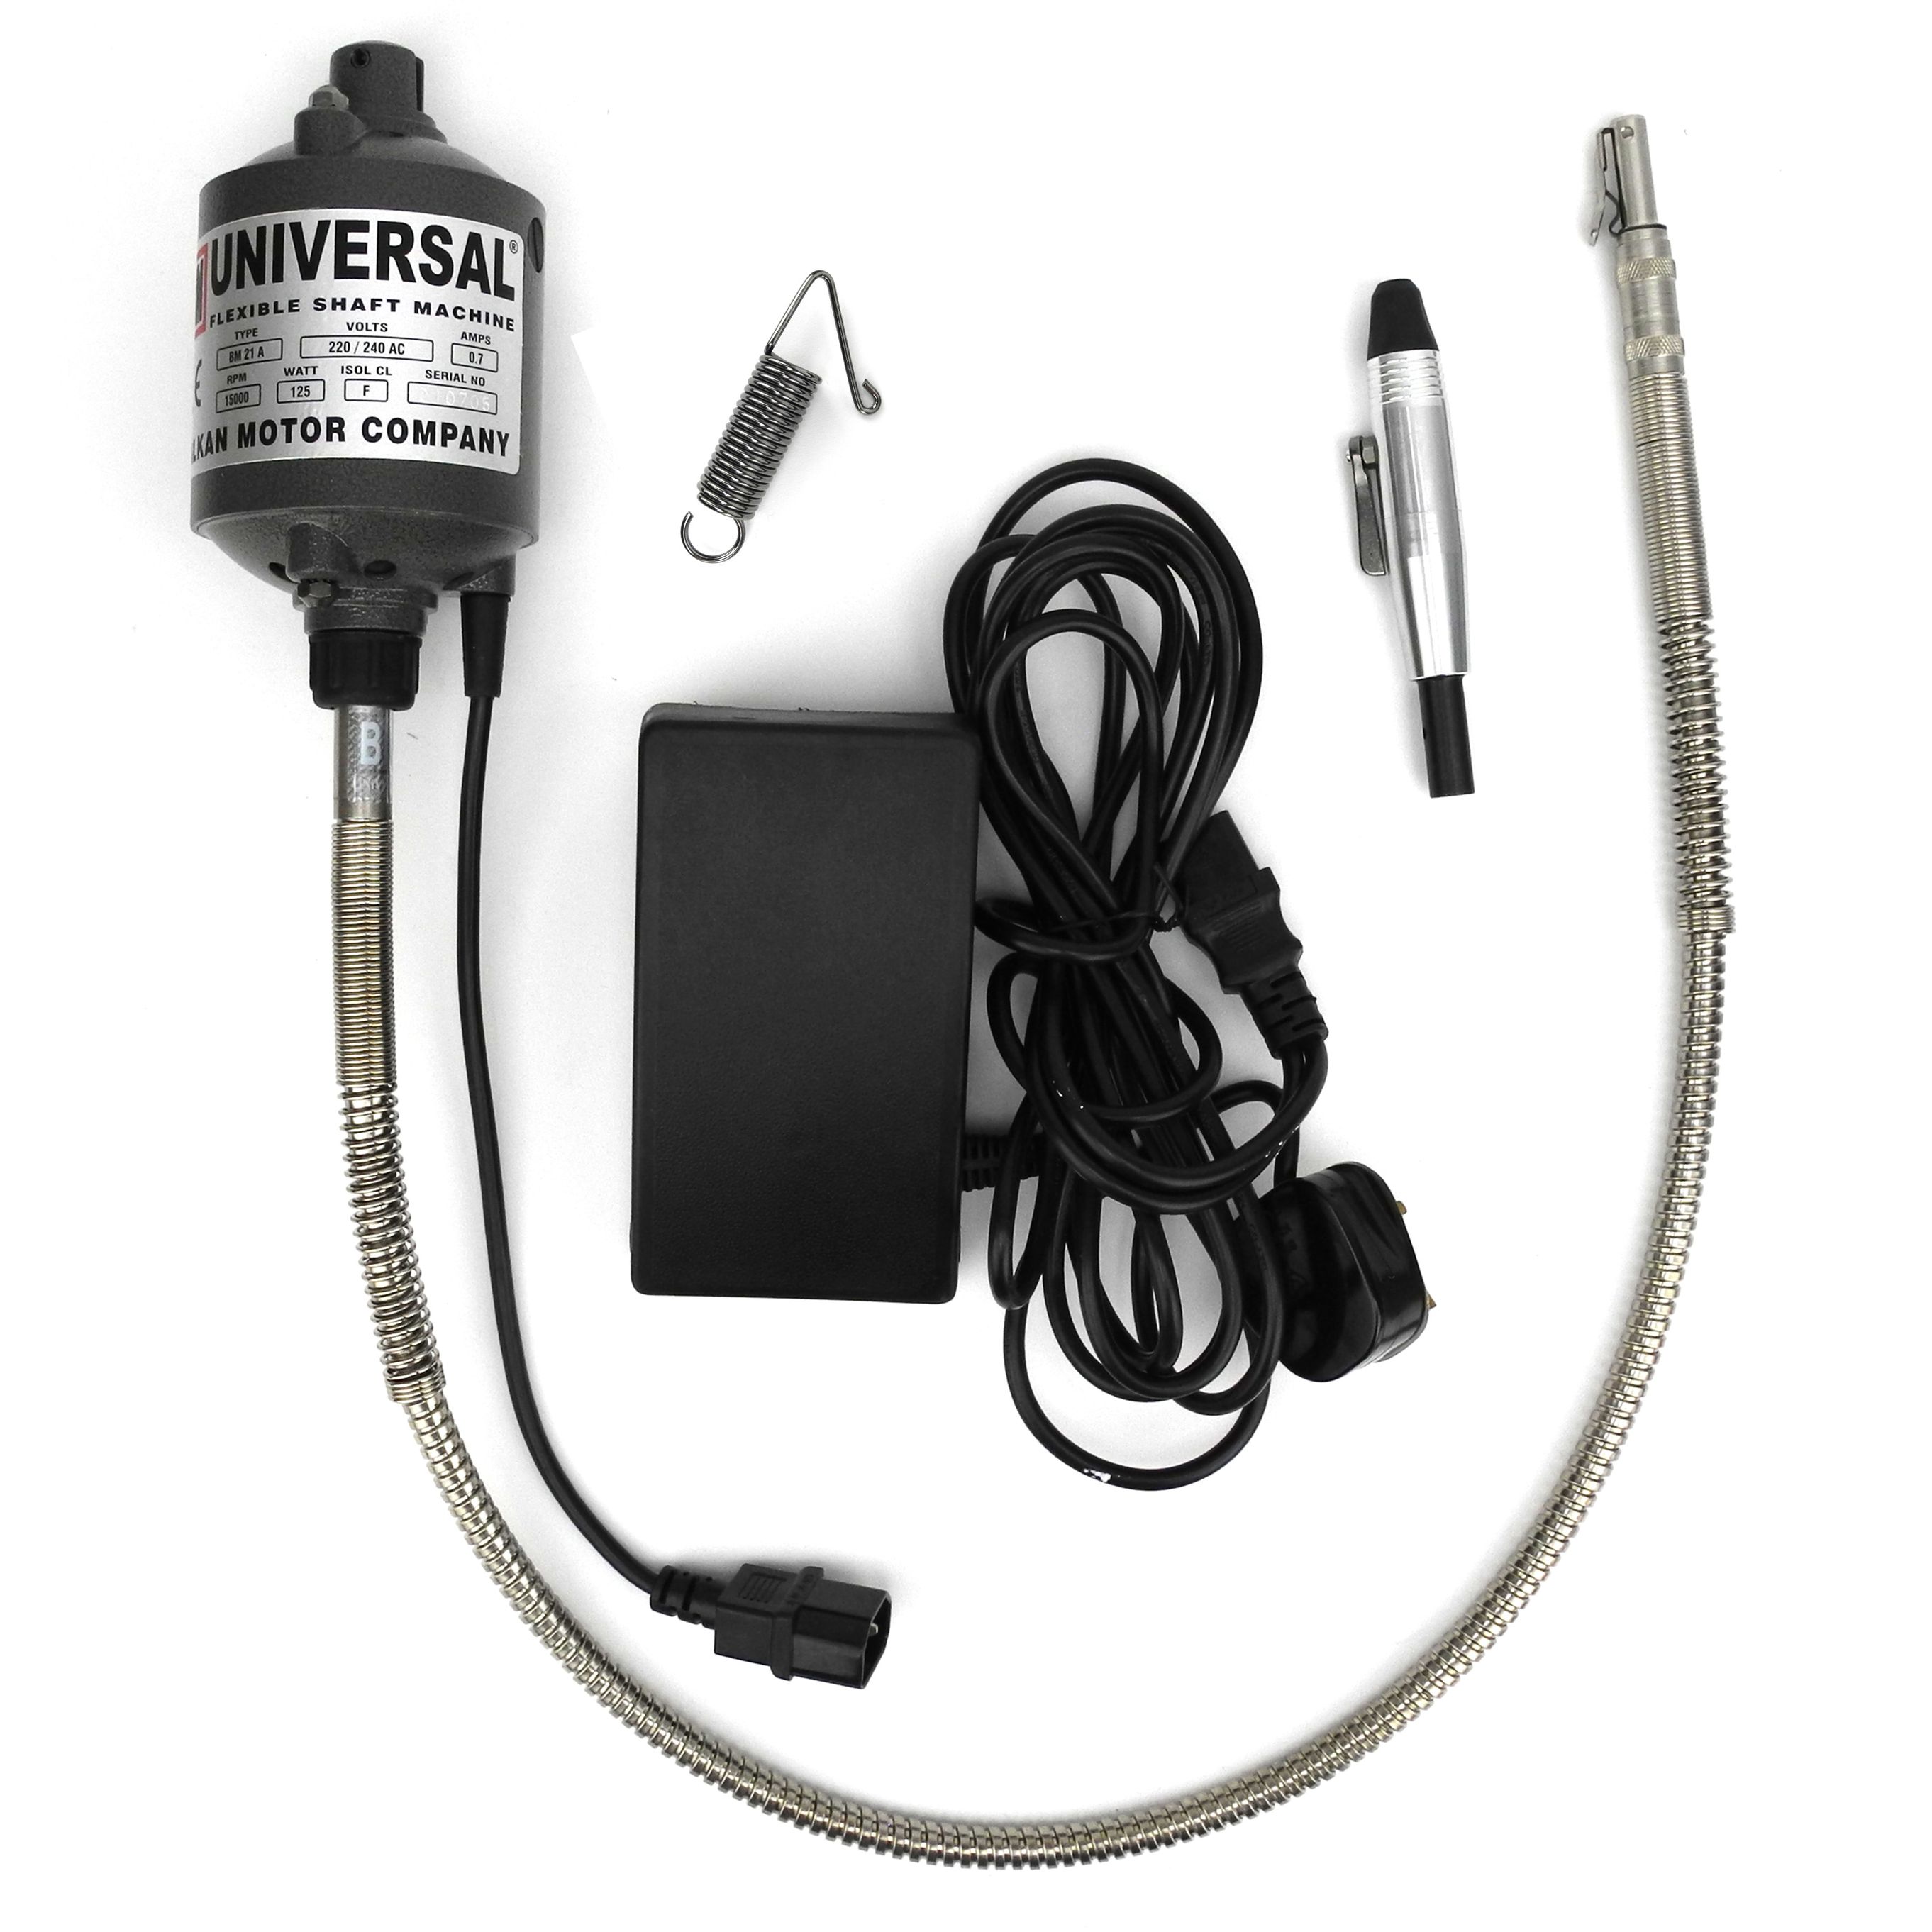
The Micro-Motor
Unlike a standard pendant motor, a micro-motor offers higher RPM (up to 50,000) and higher torque at low speeds, essential for precision stone setting.
Workshop safety & compliance
If you are transitioning to a commercial space or hiring an assistant, safety becomes a legal framework.
- Fume extraction: Ensure your system meets local HSE (Health and Safety) standards for fine metal dust.
- Fire suppression: Keep a Class ABC fire extinguisher and a fire blanket within arm's reach of the soldering station.
- Acid management: Store "Pickle" (sodium bisulfate) in a temperature-controlled crockpot; never let it boil, as the fumes become highly corrosive to other tools in the room.
Summary checklist: your Jewellery Workshop evolution
- Level 1: Ergonomic bench + peg + hand tools + LED task lamp.
- Level 2: Pendant motor + Smith Little Torch (Oxy/Propane) + LEV Extraction.
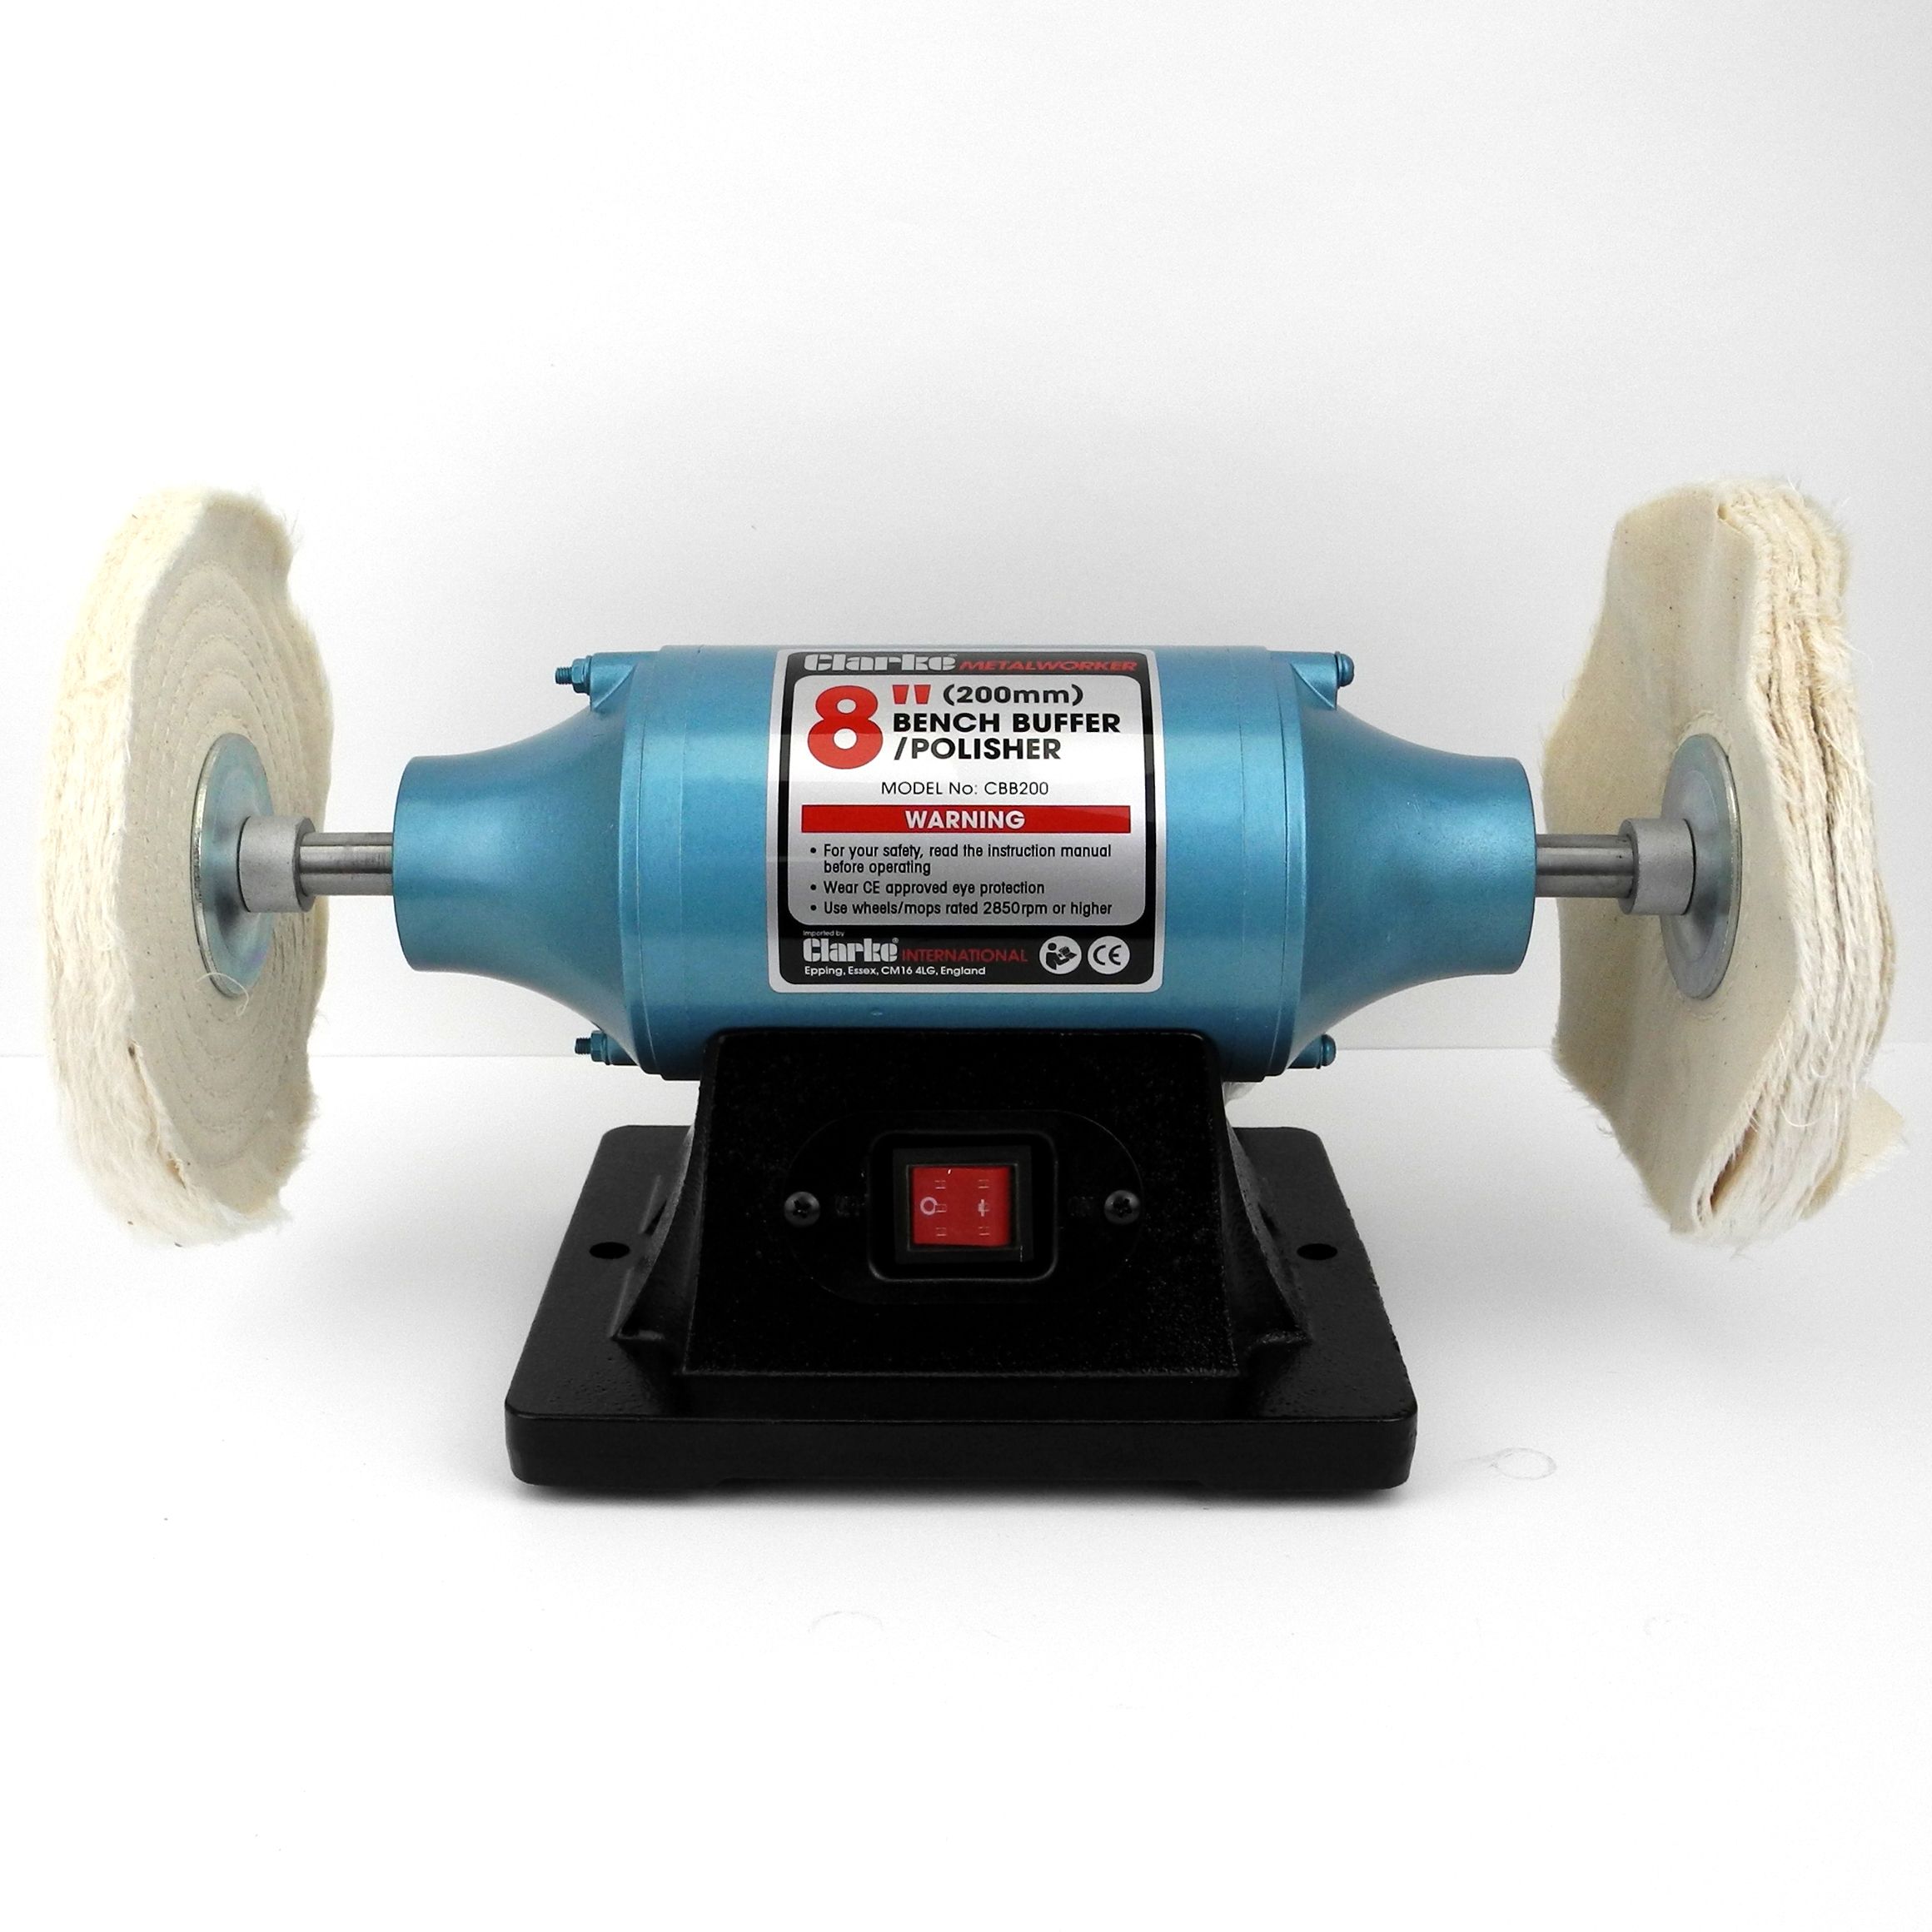
- Level 3: Rolling Mill + Bench Polisher + Ultrasonic + Formal zonation (which you'll have to set up yourself)
Level one
Level Two
Level Three
Visit our jewellery making hub
We've got a collection of articles that give all the help and guidance you need to take your jewellery making to a professional level.