
Annealing, hardening and work-hardening explained
If you've ever bent a piece of silver wire back and forth and felt it fight harder each time, you've met work-hardening. It's one of the first things every jeweller has to learn to manage, because metal that's too hard cracks, and metal that's too soft won't hold its shape.
This guide explains the three ideas that sit behind almost every forming job at the bench: work-hardening (what happens to metal as you shape it), annealing (how you soften it again) and hardening (how you make a finished piece strong enough to wear). Once you understand how they fit together, you'll know when to stop and anneal, how hot to take each metal, and how to get a ring shank or bangle to hold its shape for years.
What is work-hardening?
Work-hardening is the way metal gets harder and stiffer each time you bend, hammer, roll, draw or twist it. Inside the metal, tiny crystals (called grains) are pushed out of shape and tangled together, so it takes more force to move them again. Go too far and the metal runs out of give and starts to crack.
It's the inevitable result of shaping metal at room temperature, which is most of what we do at the bench. Some metals work-harden faster than others: sterling silver, brass and nickel-bearing white golds stiffen quickly, while fine silver and fine gold stay soft for much longer.
Signs your metal has work-hardened
- It springs back - wire or sheet that used to stay where you put it now bounces back when you bend it.
- It takes more effort - the rolling mill gets harder to turn, the drawplate needs more pull and your hammer blows stop moving the metal.
- It sounds different - hard metal often rings when you tap it on the bench block, rather than giving a dull thud.
- It starts to crack - fine cracks at edges, corners or along a bend are the final warning sign. By this point, annealing won't undo the damage, so the cracked area usually has to be cut away.
The rule of thumb is simple: anneal before you reach the cracking stage, not after.
What you'll need
- A soldering torch or microweld and needle flame unit
- A heatproof surface, such as a soldering block, charcoal block or annealing pan
- Tweezers or tongs, plus a quench bowl of water
- Pickle and a pickle tank, with non-steel tweezers
- Mallets, mandrels and planishing hammers for hardening, from the silversmithing and forming range
What is annealing?
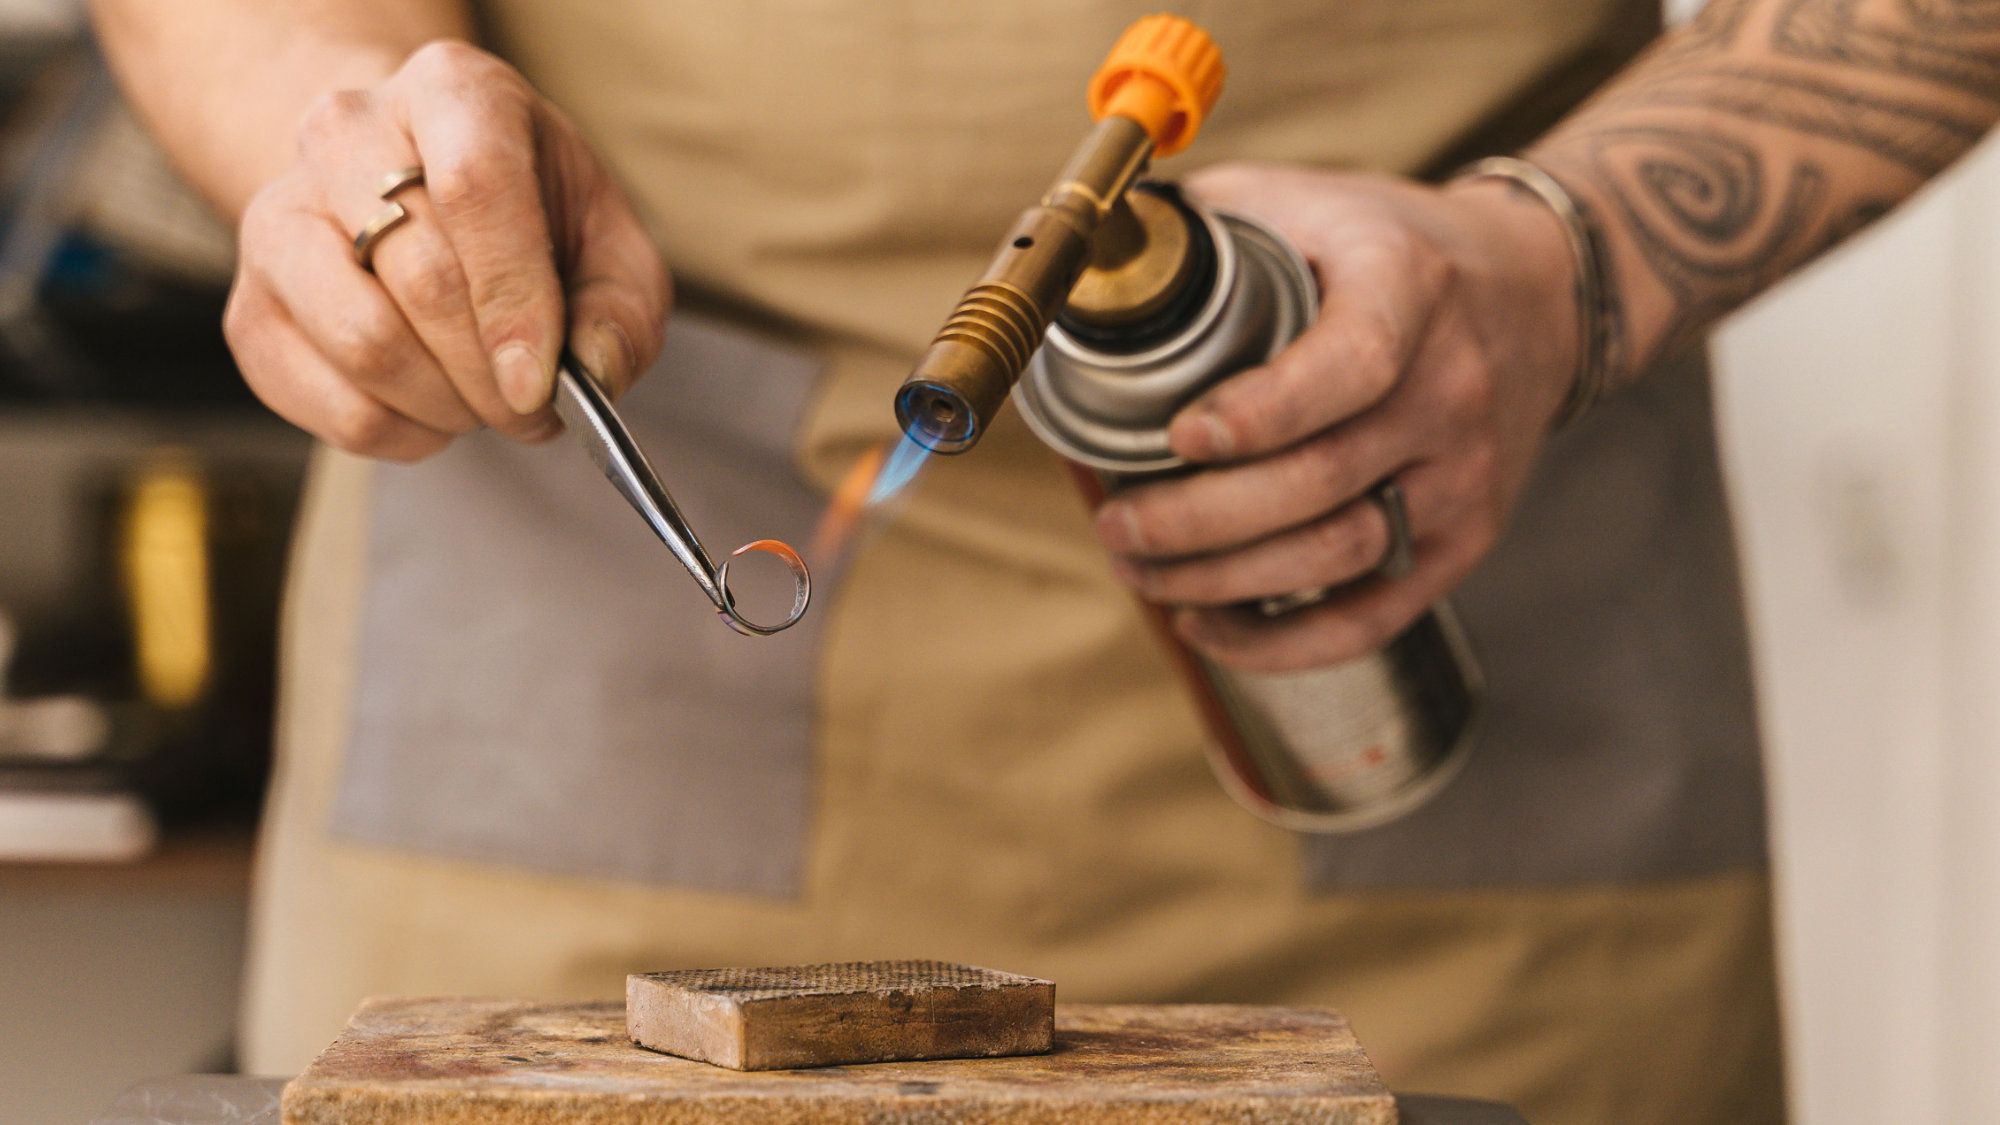
Annealing is heating work-hardened metal to the right temperature so its grains can reform, then cooling it so it comes out soft and workable again. You'll anneal sheet before doming, wire before drawing, and ring stock before forming, and you'll often anneal several times during a single piece.
It's quick to do with a soldering torch and a heatproof surface. Larger workshops sometimes anneal in a kiln or furnace for more even, controlled heat, which is useful for long lengths of wire or big pieces of sheet.
How to anneal at the bench
- Clean the metal. Remove grease, marker ink you don't need and any polishing compound, so it heats evenly and pickles cleanly afterwards.
- Dim the lights. The colour of hot metal is your temperature guide, and it's far easier to judge out of bright light or direct sunlight.
- Coil wire neatly. Wrap long lengths into a tight coil and tie it with a few twists of the same wire, so thin ends don't overheat and melt.
- Heat the whole piece evenly. Use a soft, bushy flame and keep it moving. Bring the entire piece up to temperature together rather than heating one spot.
- Watch for the colour. For most metals, you're looking for a dull red glow. Hold it at that colour for a few seconds, then take the flame away. If the metal turns bright orange, it's too hot.
- Cool it correctly. Most metals can be quenched in water once the red glow has faded, but some need to air cool first (see the table below).
- Pickle and rinse. Put the piece in pickle to remove oxides and flux residue, then rinse in clean water. Use plastic, brass or copper tweezers, never steel, which contaminates the pickle.
Ways to judge temperature without a thermometer
- Colour: a dull, dark cherry red in a dim room is right for sterling silver, copper and most golds.
- Paste flux: a thin coat of flux turns clear and glassy at around annealing temperature for silver.
- Permanent marker: a line of black marker burns away at roughly the right point. It's a rough guide only, so use it alongside colour, not instead of it.
Can you anneal too much?
Yes. Overheating, or holding metal at heat for too long, makes its grains grow large. Coarse-grained metal can look like orange peel when you bend or polish it, and it can be weaker. With sterling silver, extra time at heat also deepens firestain (a grey, cloudy layer just under the surface). Anneal only as often as you need to, and only as hot as you need to.
What is hardening?
Hardening is making a finished (or nearly finished) piece stiffer and more durable, so it keeps its shape when it's worn. A freshly annealed or soldered ring shank is soft, and it can bend out of round in days. Hardening it is the step that makes it last.
In jewellery making, there are two main ways to harden metal: using work-hardening on purpose, or heat treating certain alloys.
Hardening by working the metal
This is the most common method at the bench, and it uses work-hardening to your advantage. You do the final shaping cold, after the last anneal, so the finished piece keeps some of that stiffness.
- Hammering on a mandrel or stake. A few blows with a rawhide, nylon or plastic mallet firm up a ring or bangle without marking it. A steel hammer hardens faster but leaves texture or flattens the profile.
- Planishing. Light, overlapping blows with a polished planishing hammer smooth the surface and harden it at the same time. HS Walsh stocks planishing hammers, stakes and mandrels in its silversmithing and forming range.
- Rolling or drawing. A final pass through the rolling mill or drawplate leaves sheet and wire harder than when it went in.
- Twisting wire. Twisting a length of round or square wire stiffens it noticeably, which is useful for ear wires and clasps.
- Tumbling. An hour or two in a barrel polisher with steel shot burnishes the surface and gently hardens thin parts such as chains, ear wires and jump rings.
Hardening by heat treatment
Some alloys can be hardened with heat rather than force. This is called precipitation hardening or age hardening. The metal is held at a lower temperature than annealing for a set time, which changes its internal structure and makes it harder.
- Sterling silver can be heat hardened, but it needs a controlled kiln or oven and accurate temperatures. Most bench jewellers rely on hammering and tumbling instead.
- Argentium silver is designed to be heat hardened, and it's simple to do in a kiln or domestic oven. Follow the supplier's times and temperatures.
- Some golds harden on their own if they cool slowly after annealing or soldering, which is why red and rose golds are quenched quickly to keep them workable.
Heat hardening is reversed by annealing, so always do it last, after all soldering is finished.
Annealing quick reference by metal
Use this as a starting point. Temperatures are approximate, and alloys vary between suppliers, so always check the data sheet for the metal you're using.
| Metal | Work-hardens | Approx. annealing temperature | Colour to look for (dim light) | How to cool |
| Sterling silver | Quickly | 600–650°C | Dull cherry red | Quench once the red has faded |
| Fine silver | Slowly | 600–650°C | Dull cherry red | Quench once the red has faded |
| Argentium silver | Moderately | 600–650°C | Dull red, but it's fragile when hot, so handle gently | Air cool, then quench when black |
| Copper | Moderately | 450–650°C | Dull red | Quench straight away |
| Brass | Quickly | 450–650°C | Dull red | Air cool until the colour has gone, then quench |
| Yellow gold (9ct, 18ct) | Moderately | 600–700°C | Dull red | Quench once the red has faded |
| Red and rose gold | Moderately | 600–700°C | Dull red | Quench quickly, just below red, to avoid brittleness |
| Nickel white gold | Quickly | 700–750°C | Dull to medium red | Check the supplier's data sheet, as advice varies |
| Platinum | Slowly | 1,000°C and above | Bright orange to yellow | Air cool; no pickling needed |
Common mistakes to avoid
- Working past the warning signs - If metal is springing back or the mill is getting stiff, stop and anneal. Pushing on leads to cracks that annealing can't fix, so a longer, more careful approach will always pay off.
- Overheating - Bright orange means too hot. You risk coarse grain, deep firestain and, with thin wire or sheet, melting.
- Heating unevenly - If one area glows and another doesn't, the soft and hard parts will behave differently when you form them.
- Quenching the wrong metals red-hot - Brass and Argentium silver can crack if they're quenched too soon, so let them air cool first.
- Annealing after hardening - Any heat above annealing temperature, including soldering, undoes your hardening. Finish all soldering first, then harden.
- Steel in the pickle - Steel tweezers or binding wire in pickle can leave a copper coating on your work. Remove binding wire before pickling.
Professional bench tips
- Anneal in a dim corner or under a shade, and use the same spot every time, so you learn what the right colour looks like in your own light.
- Anneal blanks, sheet and wire before you start a piece, not just when they get stiff. Starting soft makes forming easier.
- When you're sizing a ring up on a mandrel, anneal first, stretch it, then finish with a few blows from a mallet to harden it back up.
- Keep a little scrap of each metal you use and test on it first if you're unsure how it behaves.
Safety
Annealing involves an open flame, hot metal and pickle (a mild acid). Work in a well-ventilated area on a heatproof surface, tie back long hair, wear eye protection, and keep a quench bowl of water within reach. Never leave a lit torch unattended. HS Walsh stocks masks, PPE and safety equipment for the workshop.
Get the balance right
Work-hardening, annealing and hardening are all part of the same cycle. You work the metal until it stiffens, anneal it to soften it, work it again, and then harden it at the end so the finished piece holds its shape. Once you can recognise each stage, you'll waste less metal and get stronger, cleaner results.
For more on heat and joining, read our guide to mastering jewellery soldering, or browse the full soldering, melting and accessories range. If you're not sure which tools are right for your work, get in touch with our team for advice.