
How to choose the right jewellery hammer for the job
Visit any jeweller's workshop and you'll find a row of hammers hanging by the bench. To a beginner they can look much the same, but each one is there to do a specific job. Using the right hammer makes shaping, forming, riveting and texturing quicker, cleaner and far more controlled. The wrong one can leave dents, marks and stretched metal that take ages to put right.
In this guide, we'll explain the most common jewellery hammers and mallets, what each one is for and how to choose the right one for the job.
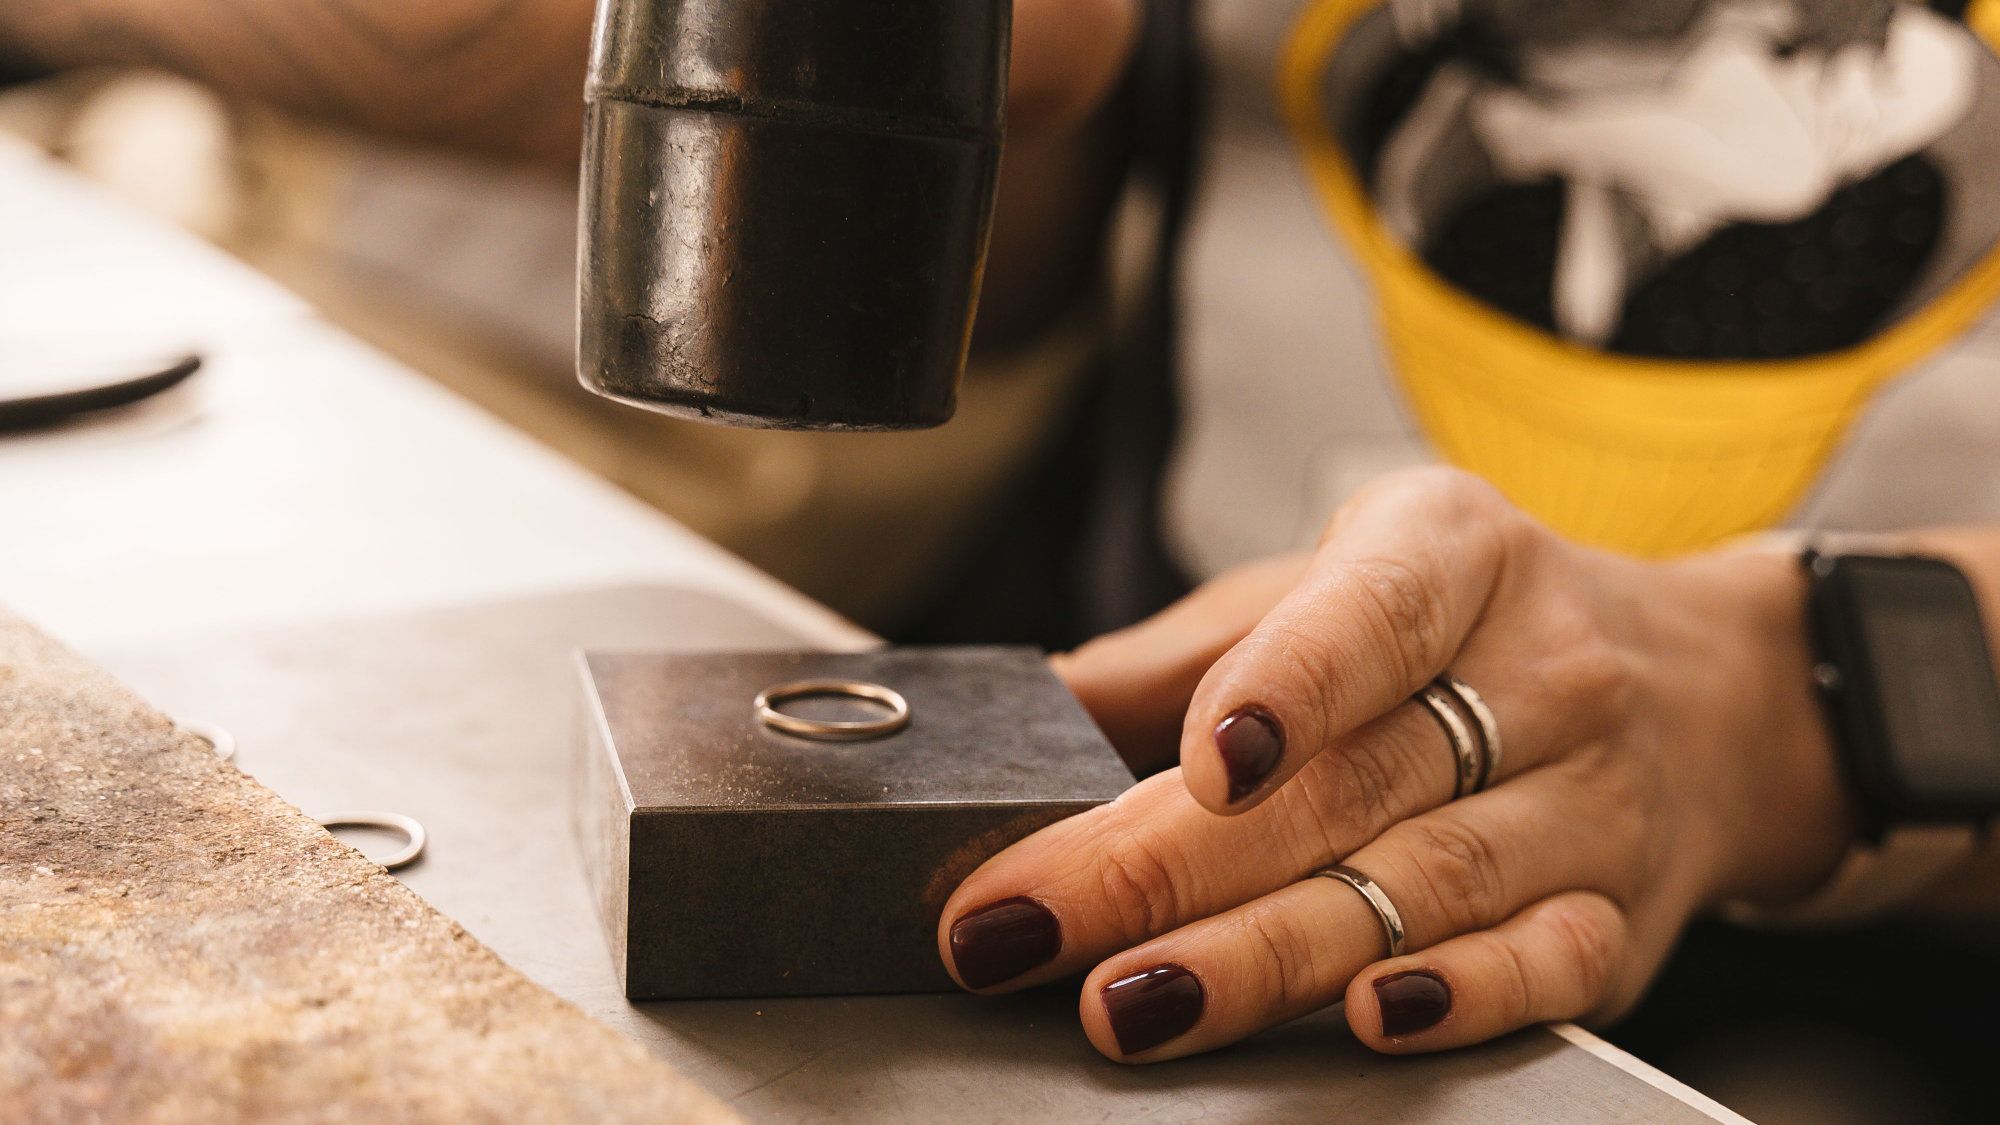
Steel hammers and non-marring mallets
Jewellery hammers fall into two broad groups:
- Steel hammers move and mark the metal. They're used for planishing, forging, riveting, chasing and texturing, where you want the hammer's face to leave an impression or stretch the metal.
- Non-marring mallets, made from rawhide, nylon, plastic or wood, shape metal without marking or thinning it. They're used for straightening wire, forming rings around a mandrel, flattening sheet and work-hardening pieces.
A simple rule of thumb: if you want to change the surface or thickness of the metal, use steel. If you want to change its shape without marking it, use a mallet.
Understanding hammer faces
The shape and finish of a hammer's face decides the mark it leaves:
- Flat faces spread metal evenly and leave a smooth, flat surface.
- Domed (convex) faces leave small dimples and help stretch and curve the metal.
- Ball faces create deep, rounded dents for doming and texture.
- Wedge or cross pein faces stretch metal in one direction and leave line textures.
- Polished faces leave polished marks, while scratched or patterned faces transfer every mark to your work, which is either a problem or, for texturing hammers, the whole point.
Steel hammers
Steel jewellers' hammers are the workhorses of the bench. These are the four you're most likely to need.
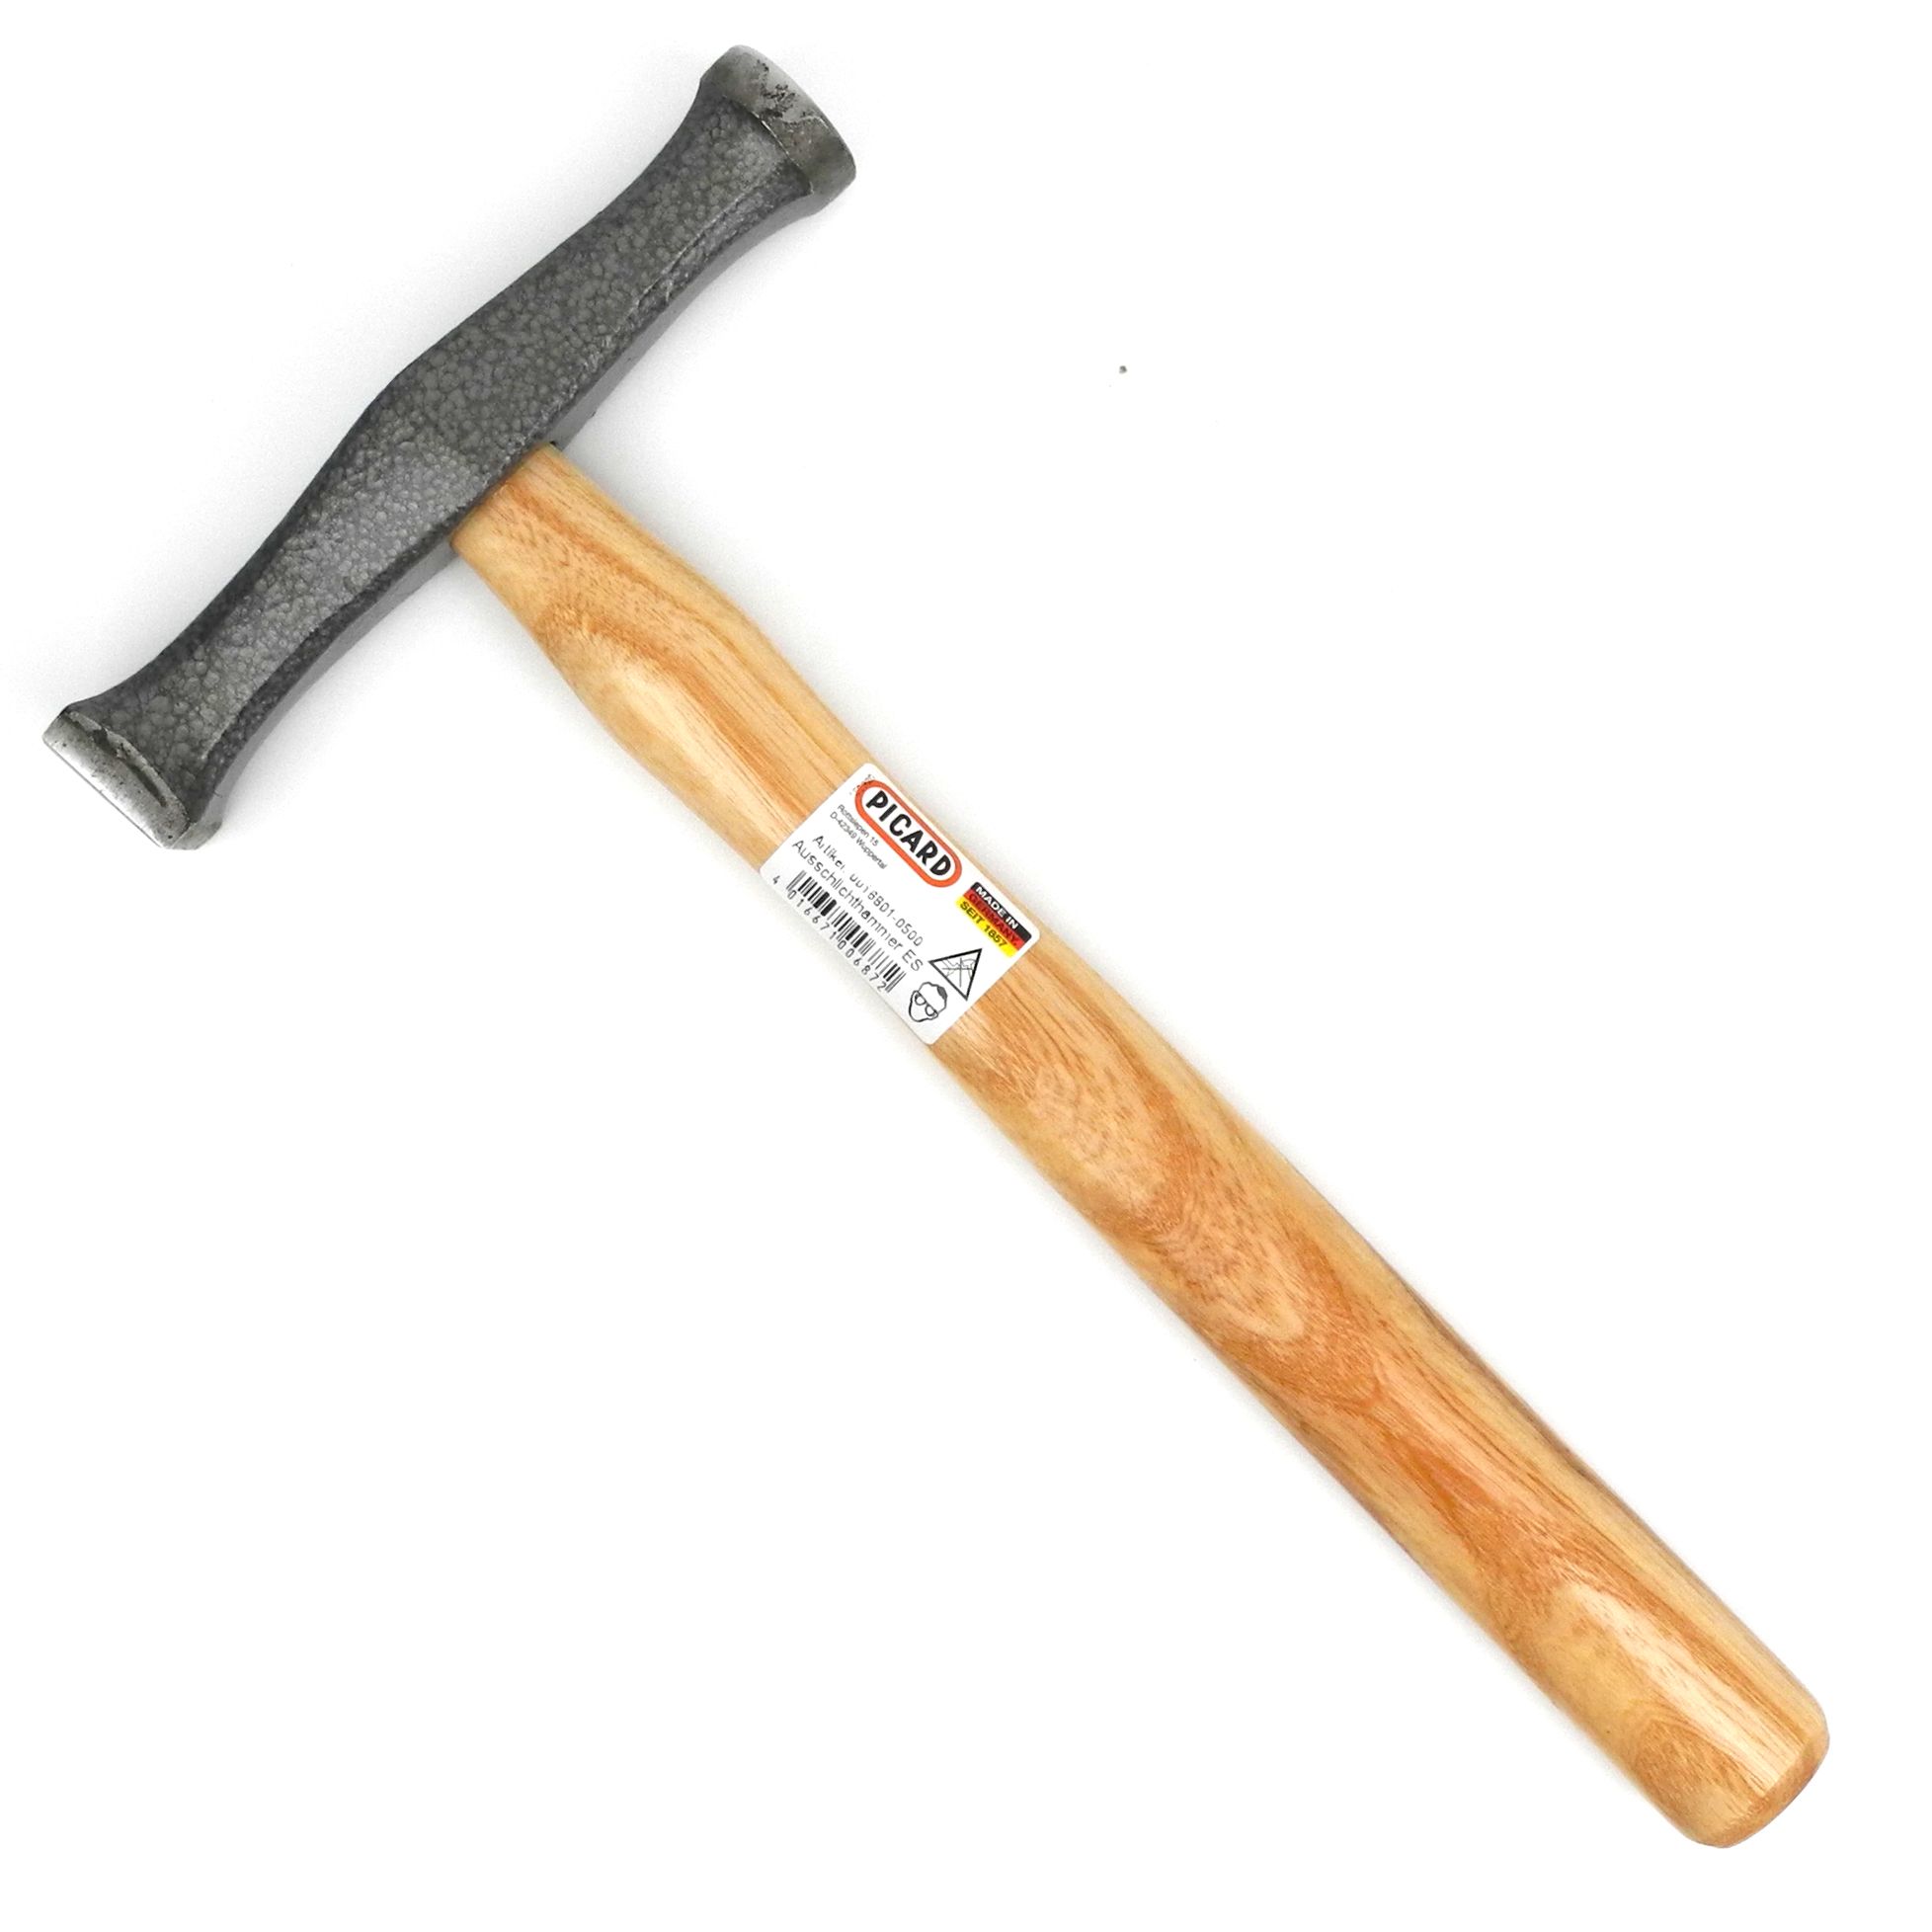
Planishing hammers
A planishing hammer has two highly polished faces, usually one flat and one very slightly domed. It's used to smooth and refine metal after it's been shaped, flattening out the dents left by forming hammers or a mallet and leaving a bright, even surface.
When to use it:
- Smoothing and flattening sheet metal on a steel block
- Refining the surface of bangles, cuffs and bowls after forming
- Hardening and stiffening a ring shank on a mandrel
- Creating a subtle, light-catching faceted finish with overlapping blows
The flat face is for flat work, while the domed face suits curved surfaces because its edges won't dig in. Planishing works best with many light, overlapping blows rather than a few heavy ones.
Ball pein hammers
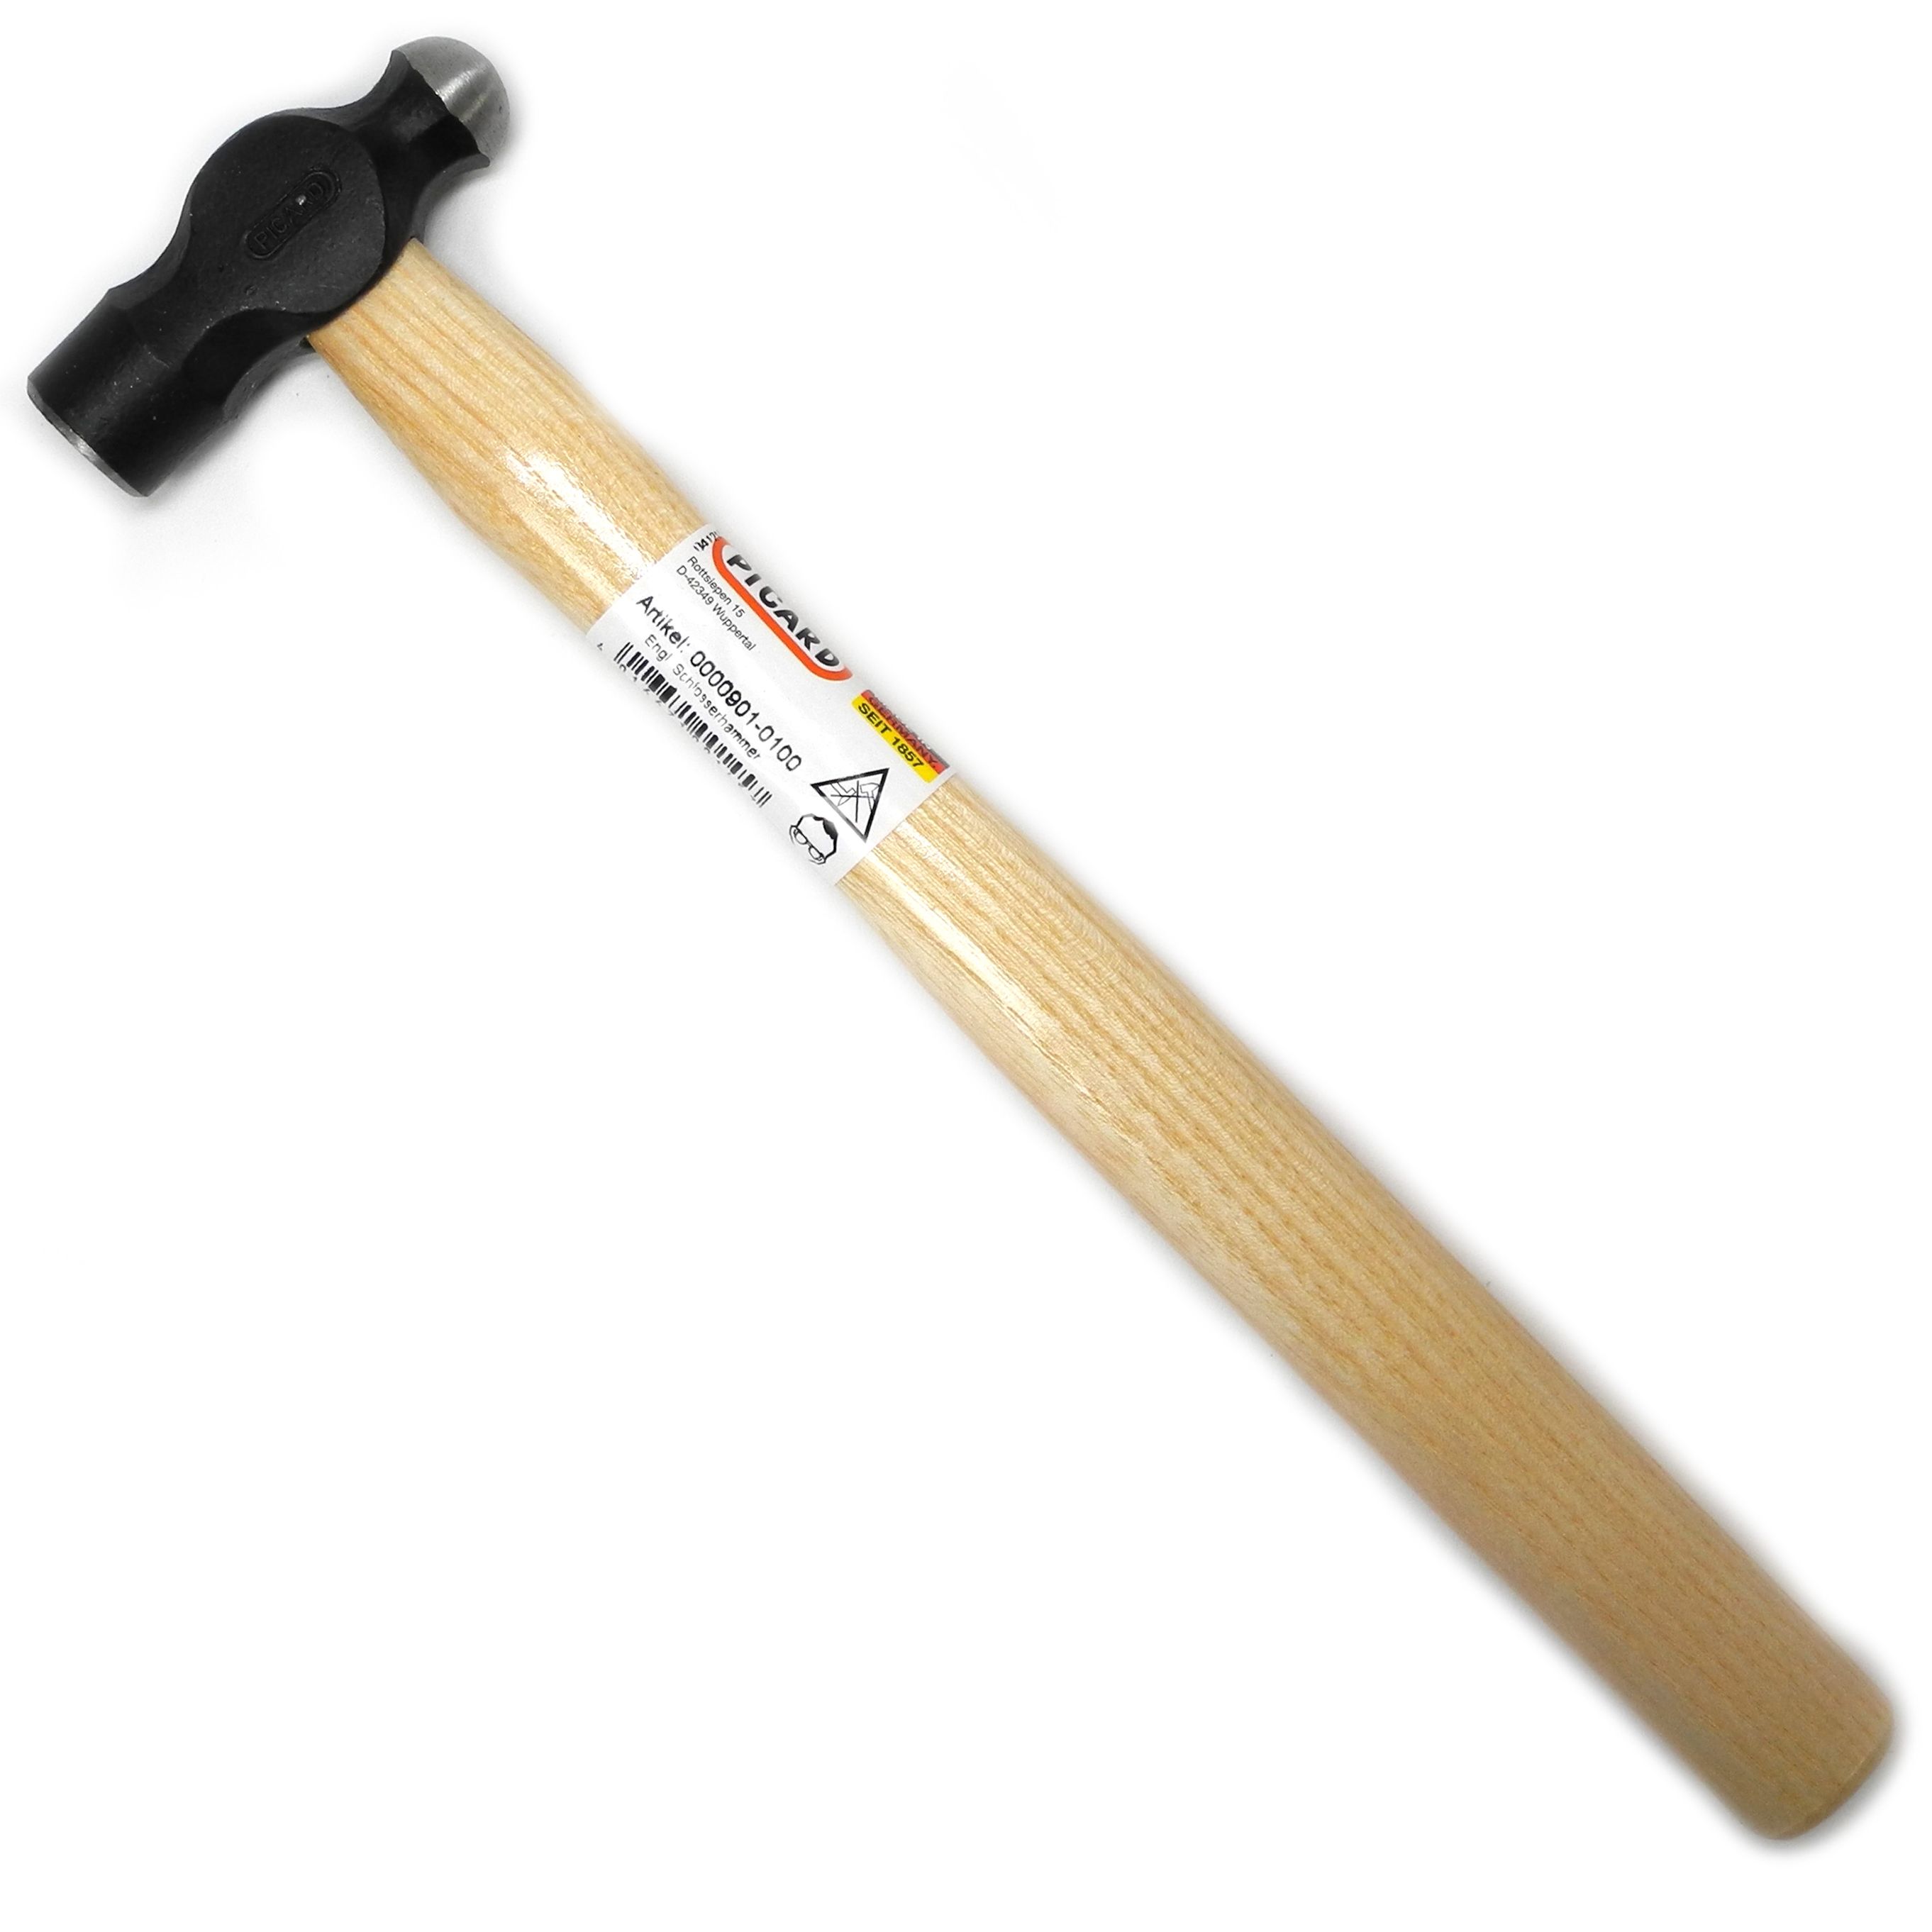
The ball pein hammer has one flat face and one rounded ball face, and it's one of the most versatile hammers a beginner can buy.
When to use it:
- The ball end creates a dimpled, hammered texture and helps stretch and dome metal.
- The flat end strikes doming punches, stamps and other tools, and does general flattening.
- Light riveting, where the ball end spreads the head of a rivet.
Because the flat face is often used to strike steel tools, it can become marked over time, so many jewellers keep a separate, well-polished hammer for any face that touches their finished work. You'll find a range in our ball pein and creasing hammers section.
Riveting hammers
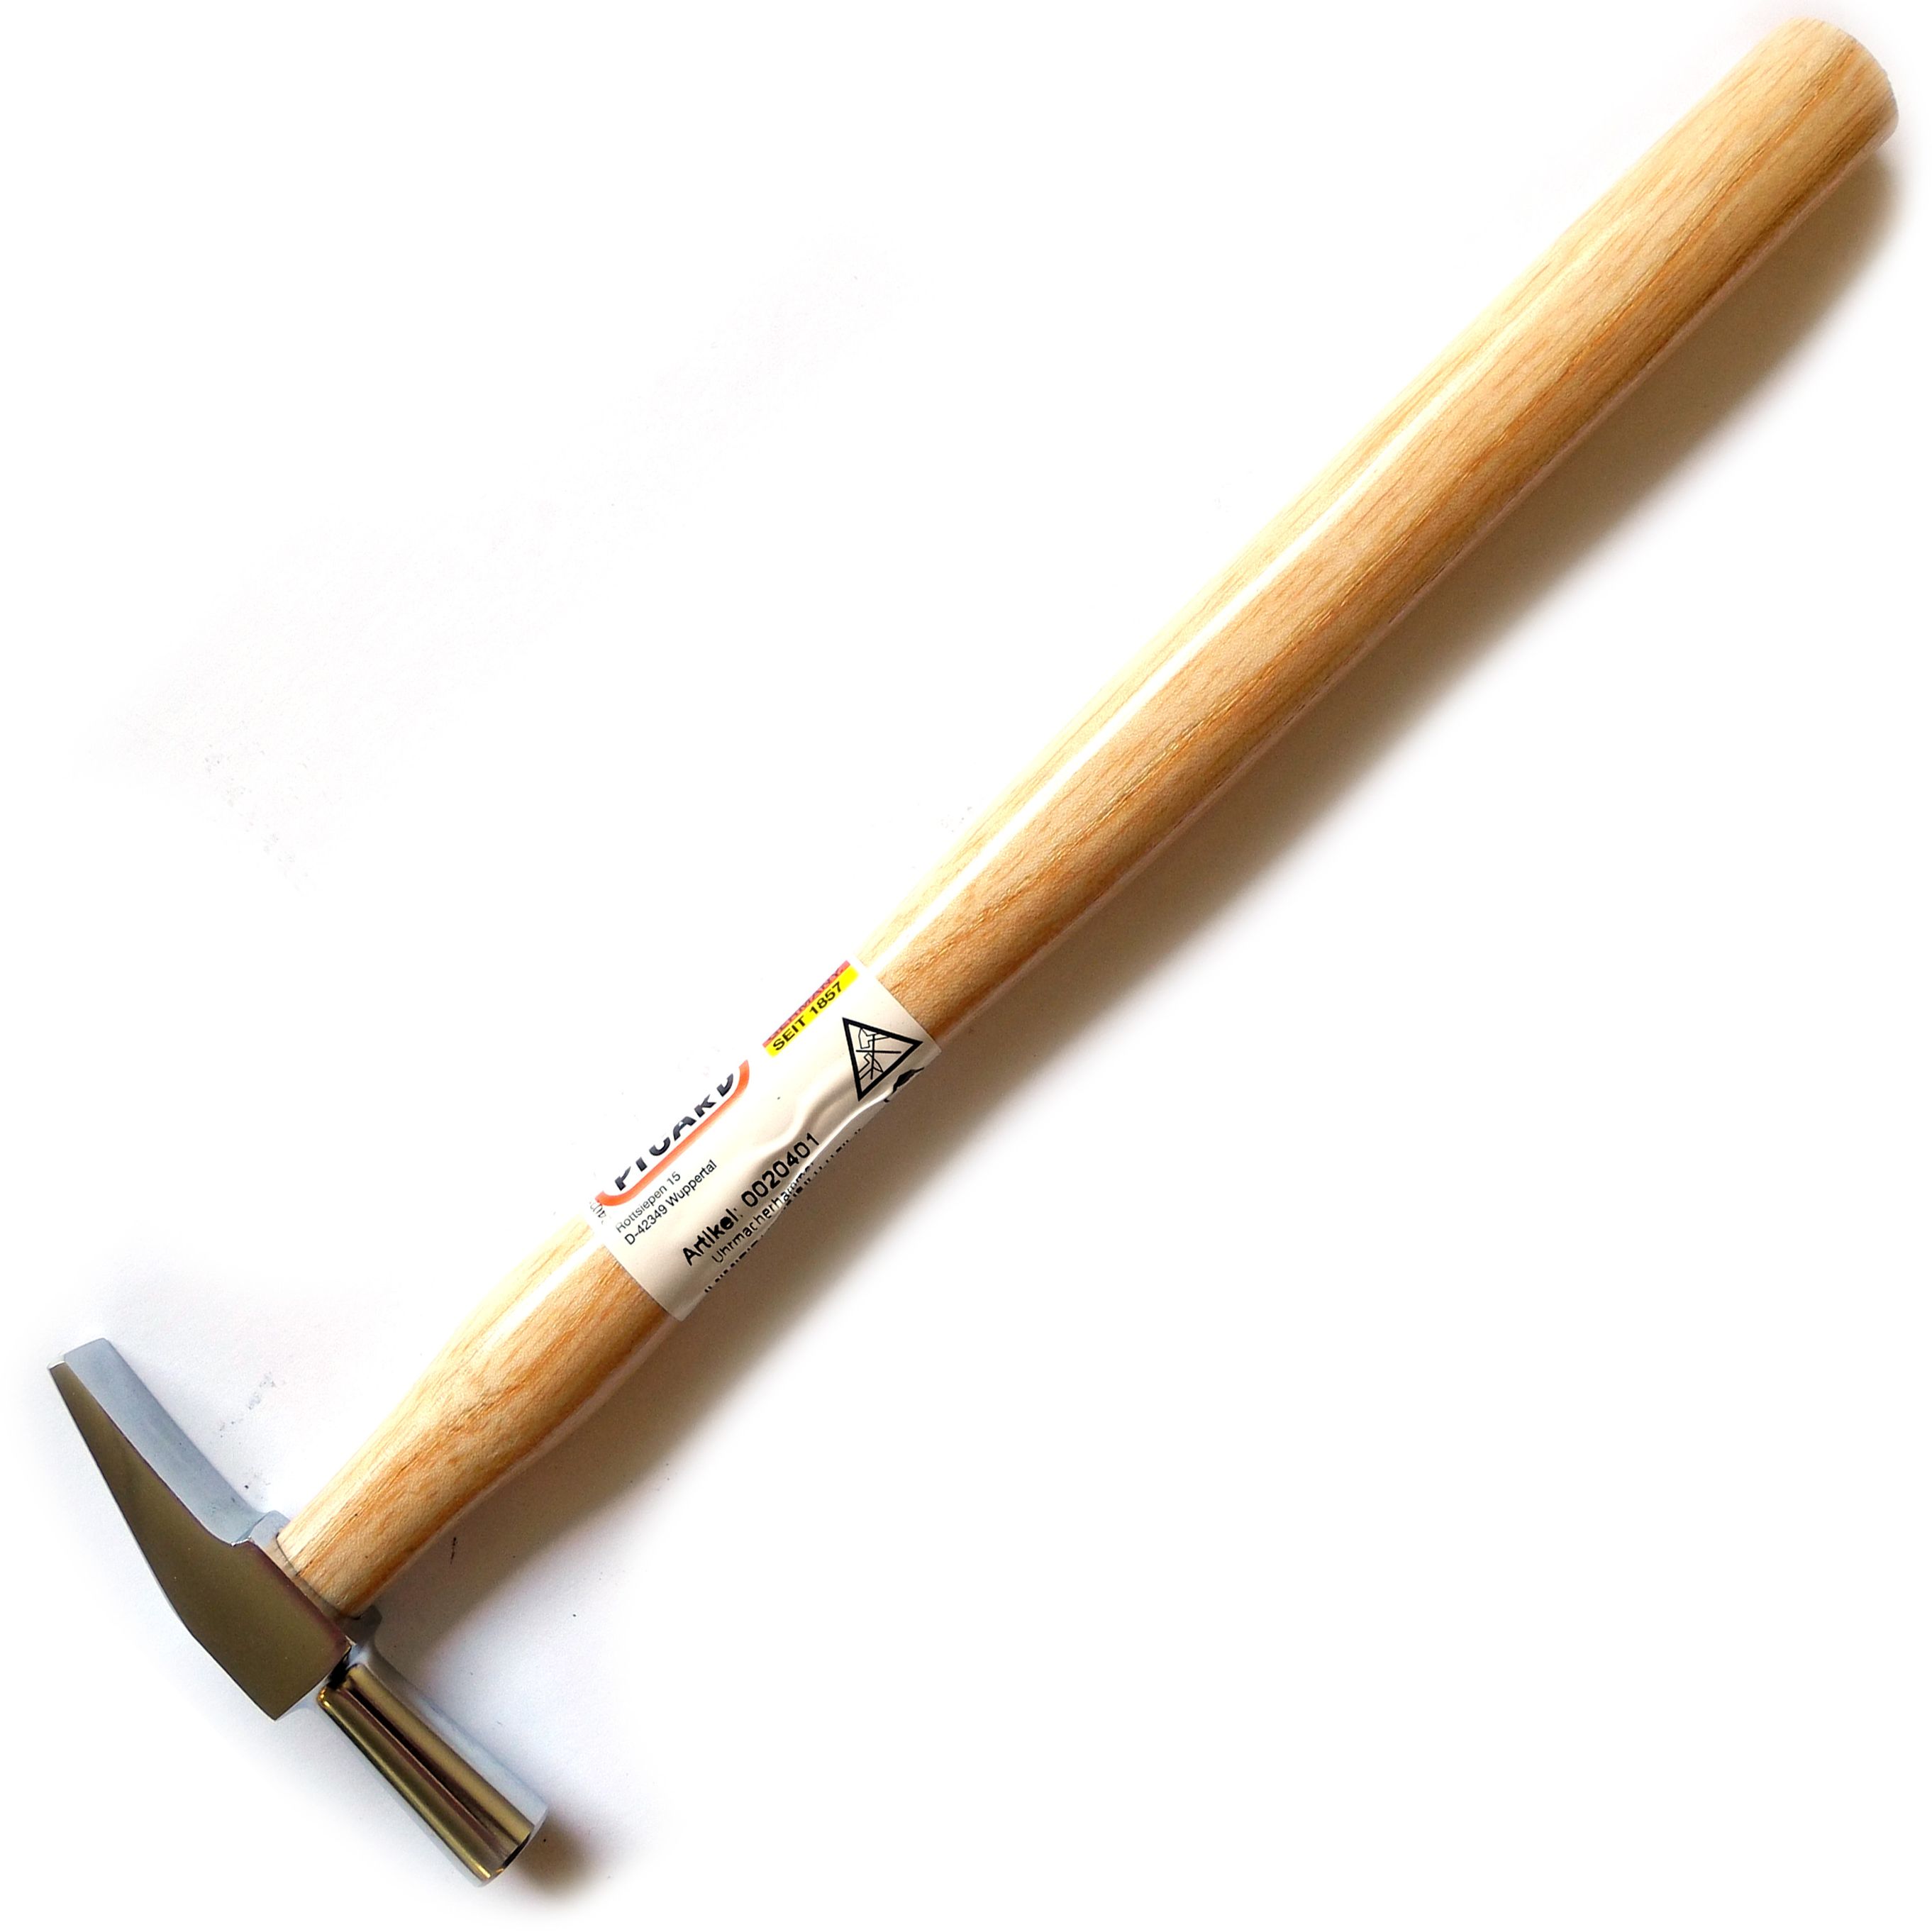
Riveting hammers are small, light hammers with a flat face on one end and a narrow wedge (cross pein) on the other. They're designed for delicate jobs where a heavier hammer would bend or damage the work.
When to use it:
- Spreading and flaring the ends of rivets to make cold connections
- Tapping small components into place
- Light work on findings, hinges and fine pieces
Riveting is all about control. Lots of small, light taps, working around the rivet head, will spread it evenly without bending the wire. Many watchmakers' and goldsmiths' hammers are ideal for this kind of fine work, so see our watchmakers and goldsmiths hammers.
Chasing hammers
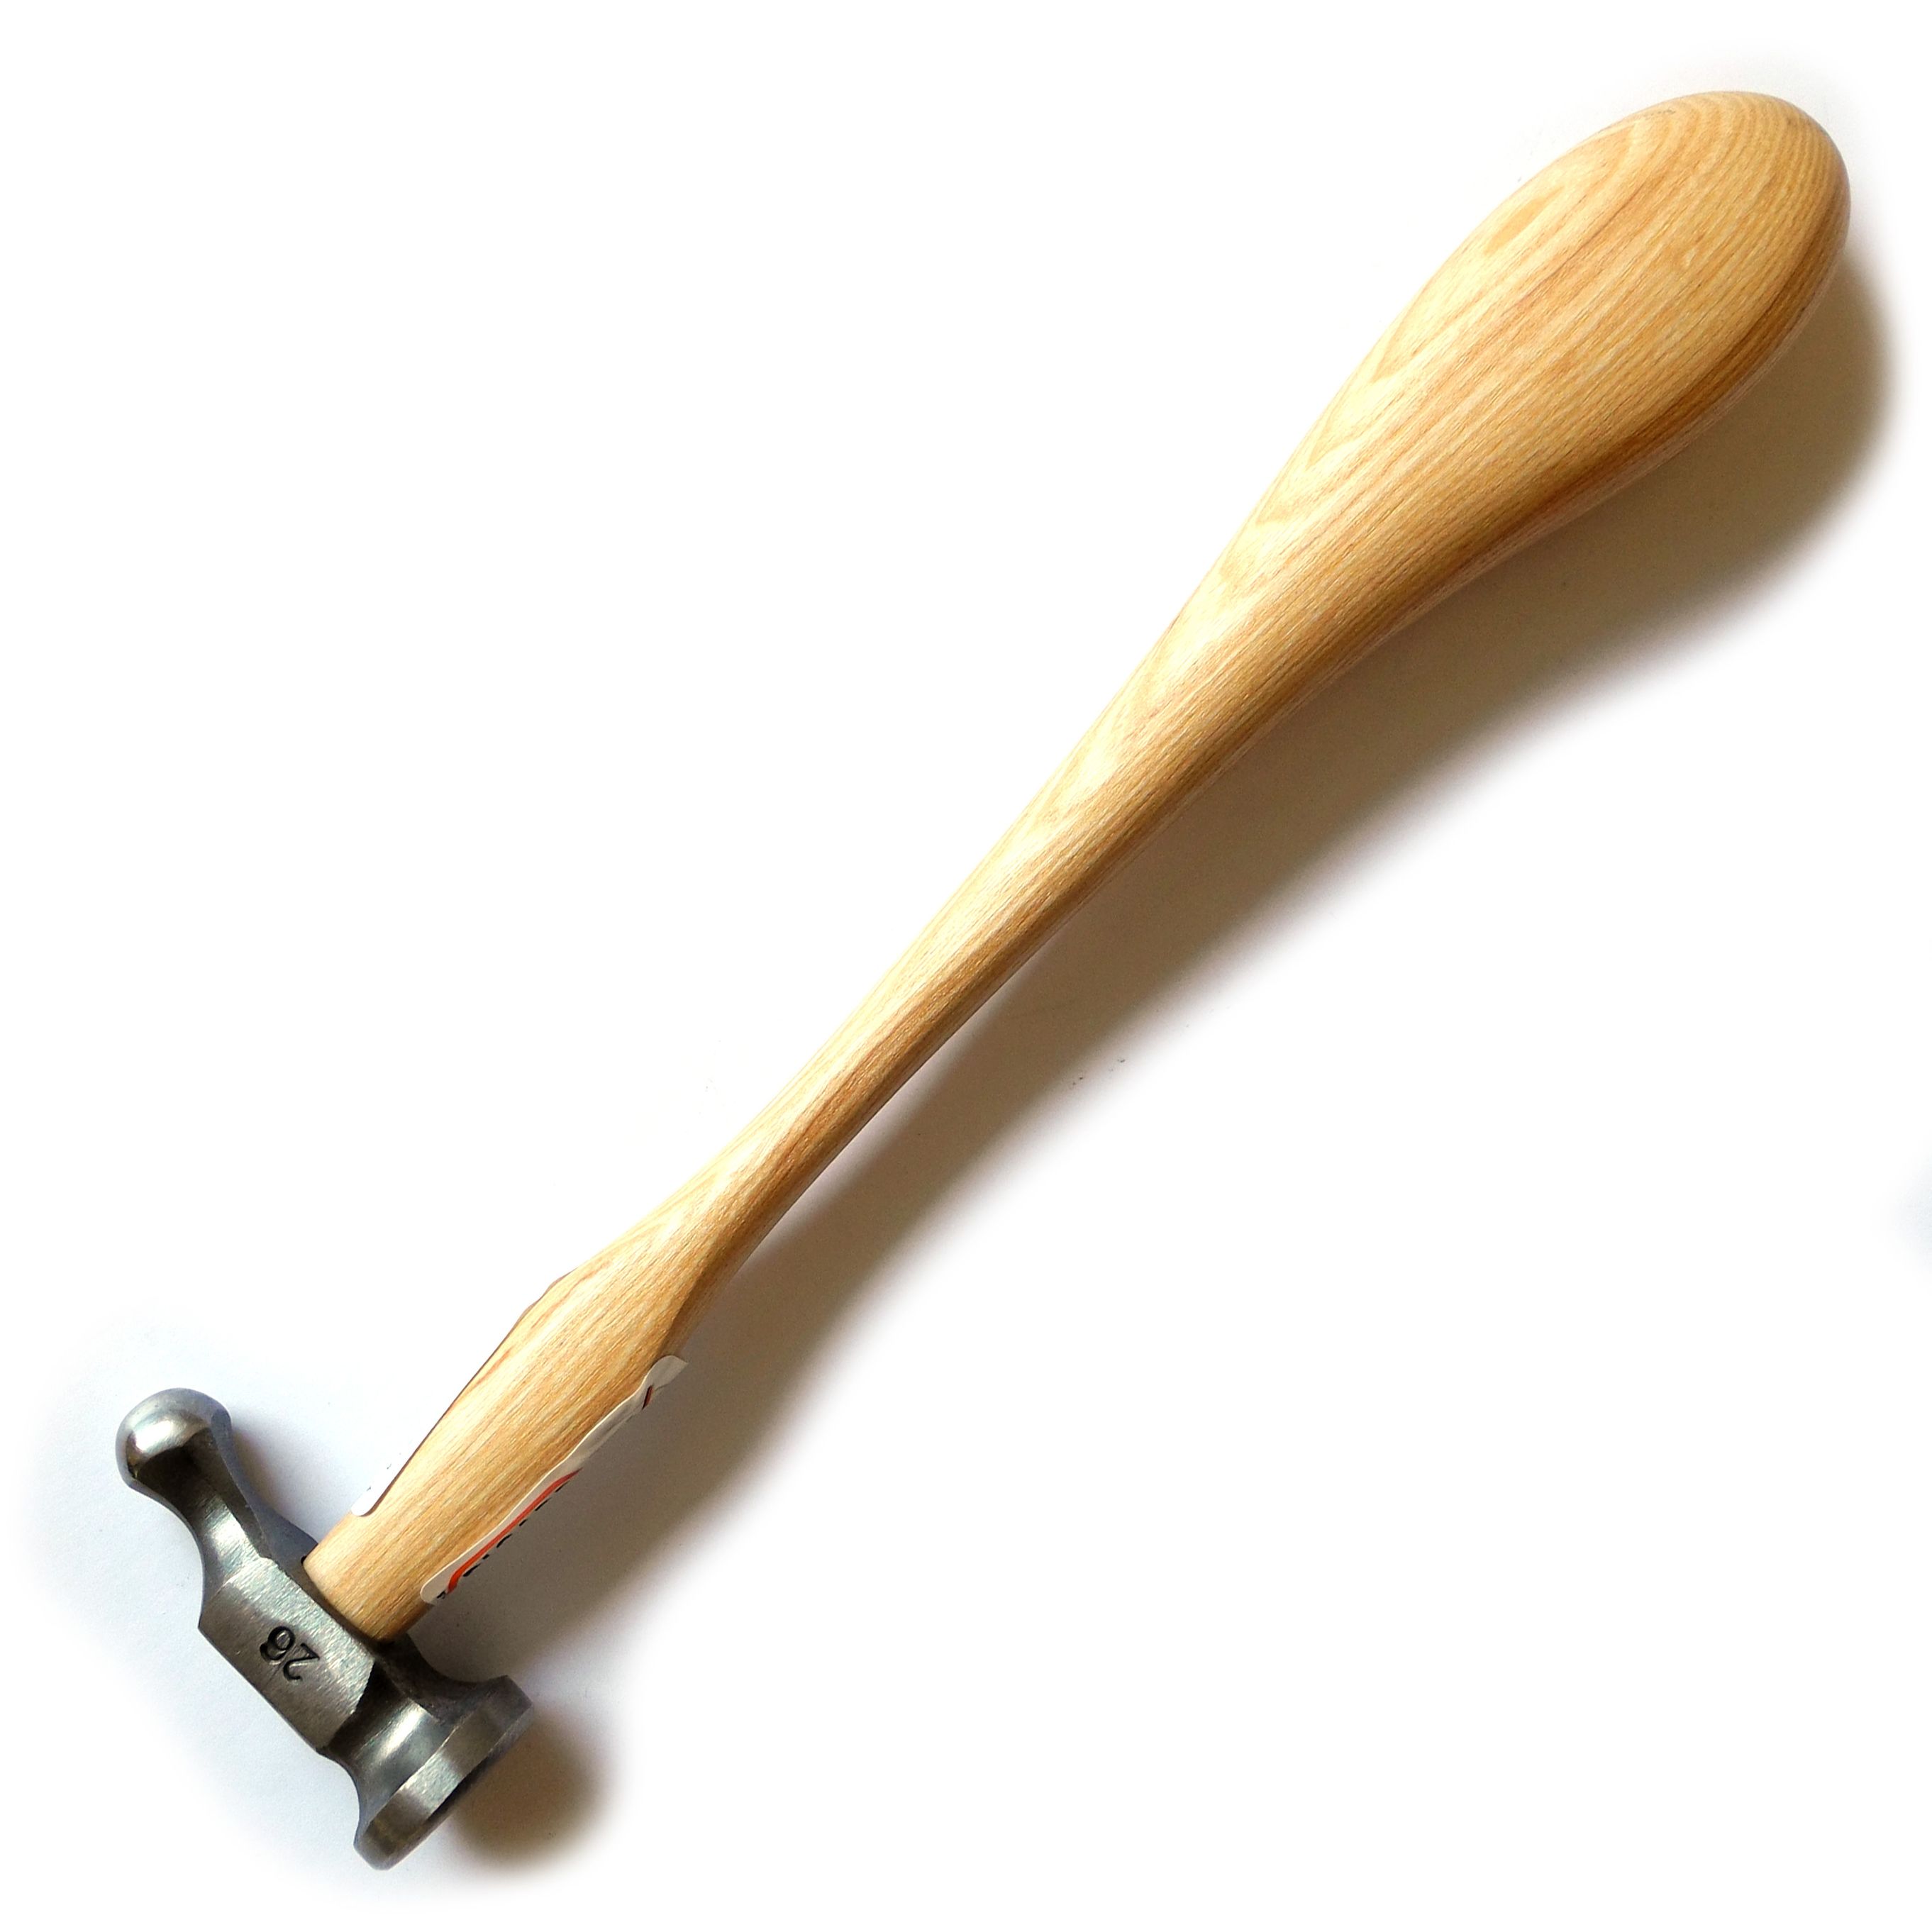
A chasing hammer has a large, flat, round face on one end and a small ball on the other, with a long, slender handle that ends in a rounded knob. The handle has a little flex, which gives a springy, rhythmic action.
When to use it:
- Chasing and repoussé, where the broad face strikes chasing tools and punches to push patterns into metal
- Striking stamps, design punches and doming punches
- Light flattening and forging of wire with the flat face
- Texturing with the ball end
The wide face makes it hard to miss the end of a punch, which is why chasers love it, and the light, balanced head makes it a good general-purpose hammer for beginners too. Explore our blocking and chasing hammers and repoussé and Warrington hammers.
Professional jeweller’s technique: with a chasing hammer, hold the handle near the end and let your wrist do the work. The springy handle is designed to bounce, and many chasers settle into a steady rhythm while watching the tip of the punch rather than the hammer.
Mallets
Jewellers' mallets are softer than the metal you're working, so they move it without denting, marking or thinning it. Every bench needs at least one.
Rawhide mallets
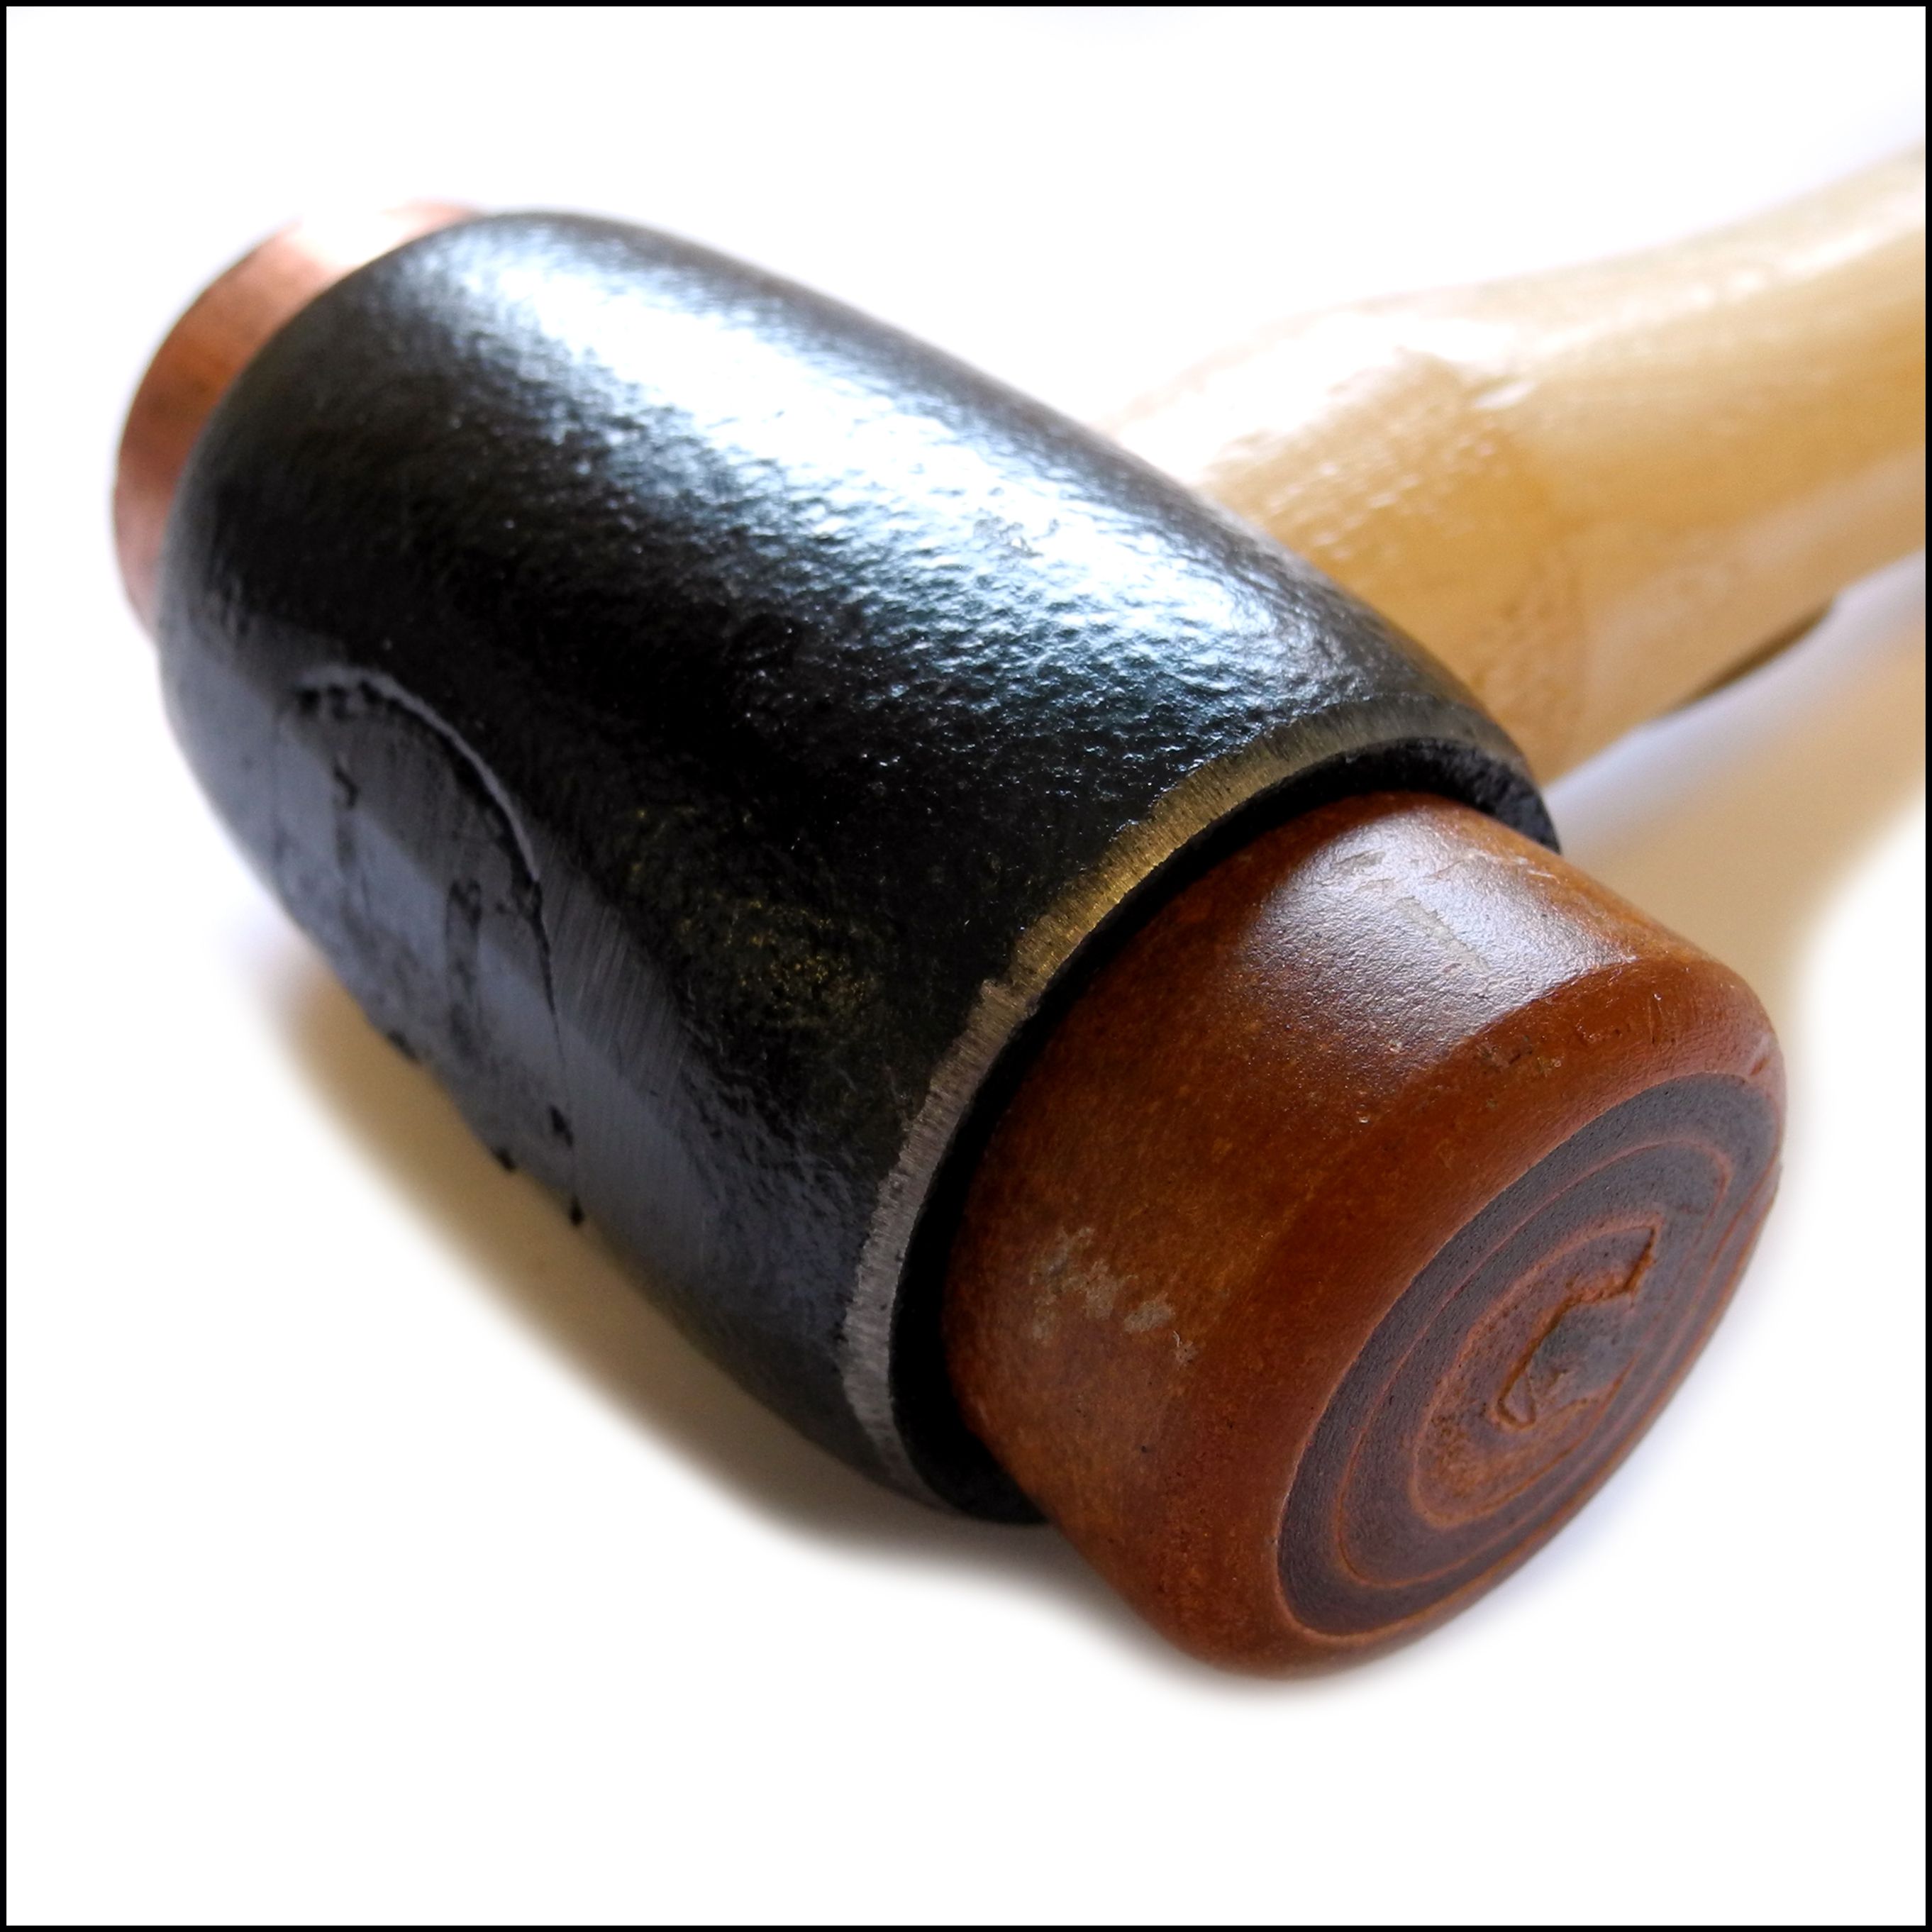
Rawhide mallets are made from tightly rolled and compressed animal hide. They're the traditional choice for shaping metal without leaving marks, and many jewellers consider them essential.
When to use it:
- Rounding and truing rings on a ring triblet
- Shaping bangles and cuffs on a mandrel
- Flattening sheet and straightening wire on a steel block
- Forming metal over stakes and into curves
- Re-shaping textured pieces without flattening the texture
A new rawhide mallet can feel almost as hard as wood, but it softens and moulds itself to the way you work with use. Many jewellers say an old, battered rawhide mallet is one of their favourite tools on the bench. If the striking face gets ragged, you can trim it back with a sharp knife or file to keep it smooth.
Nylon mallets
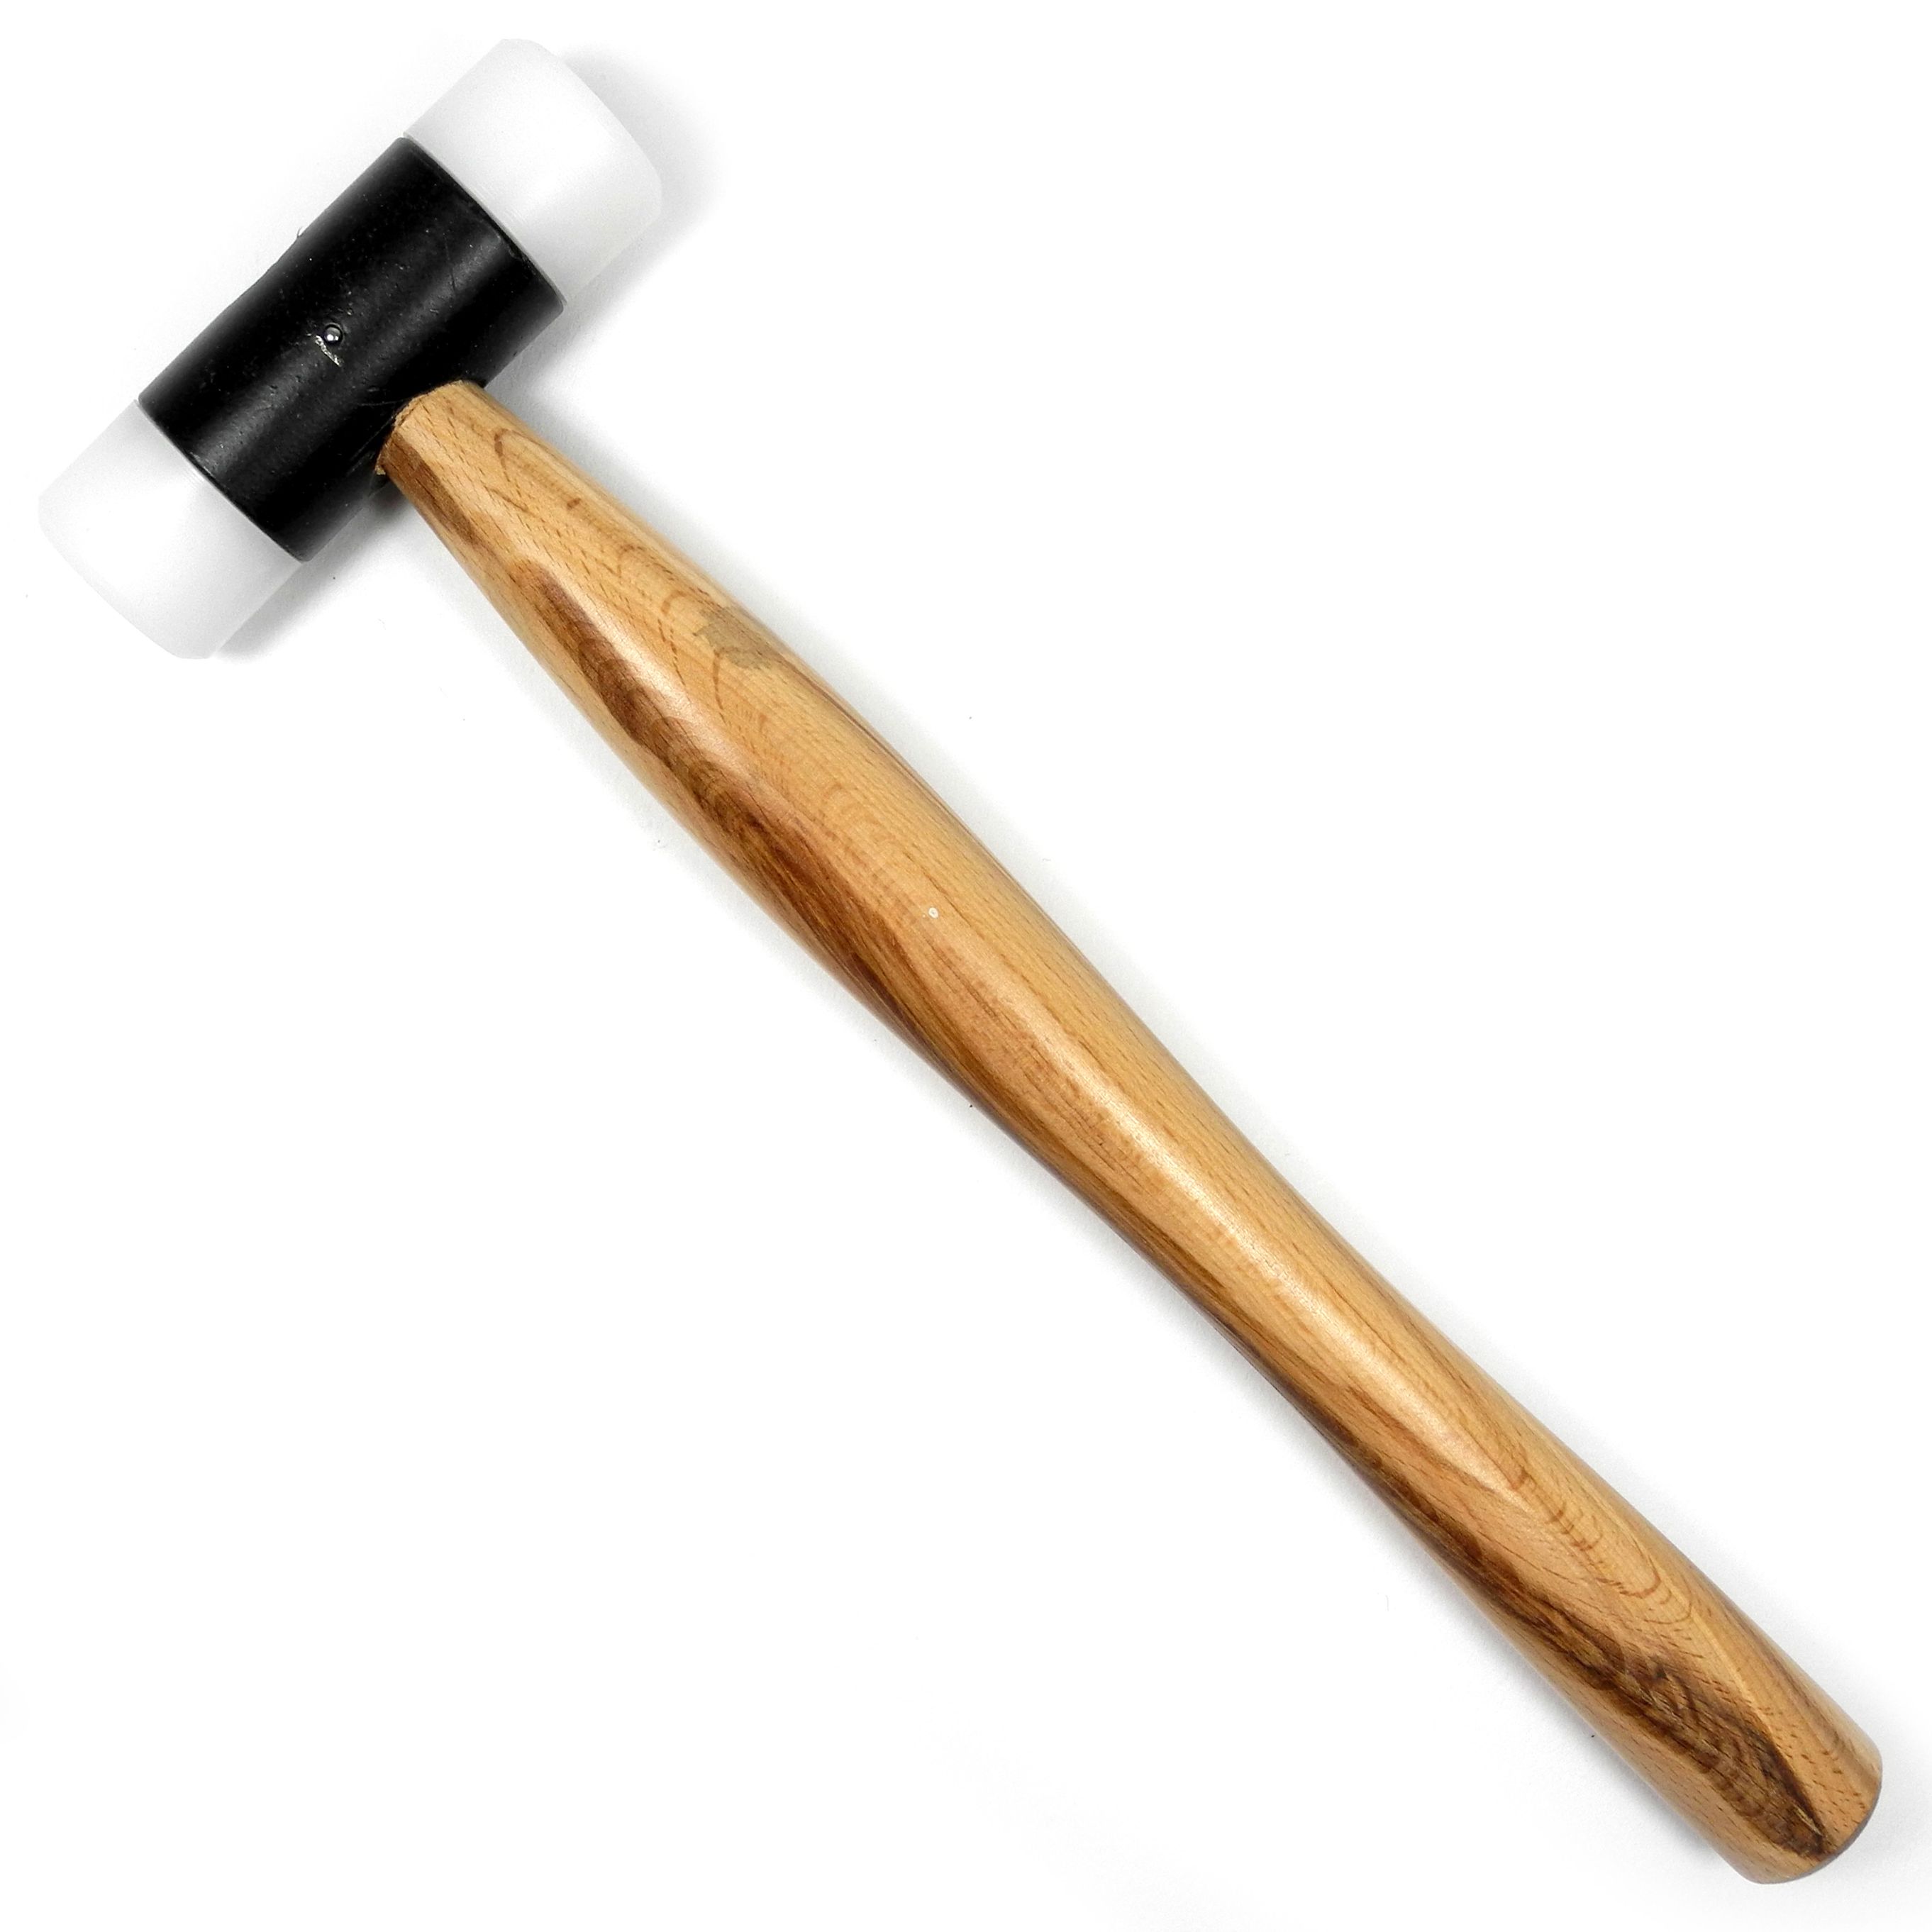
Nylon (and other plastic) mallets do a similar job to rawhide but are slightly harder, very hard-wearing and often come with replaceable heads. Many have two faces of different hardness, so one mallet can cover gentle and firmer work.
When to use it:
- Work-hardening wire and rings without flattening them
- Shaping on mandrels and stakes where you want a little more impact than rawhide
- Jobs where you'd prefer a mallet that won't absorb moisture, oils or polish
Because nylon is harder than rawhide, it moves metal more efficiently, but it's still soft enough to leave no marks on most work. Keep the faces clean and smooth, as grit or embedded metal will transfer marks to your piece.
Other mallets
You may also come across wooden, horn, rubber and brass mallets. Wooden and horn mallets are traditional for silversmithing and forming. Rubber mallets are very soft and bounce, so they're less precise. Brass mallets are heavier and harder, and are mostly used to strike other tools rather than the metal itself.
Which should you buy first? For most beginners, a medium-sized rawhide or nylon mallet is the most useful starting point. Choose rawhide if you mainly form rings and bangles, or nylon if you'd prefer something more durable and low maintenance.
Texturing hammers
Texturing hammers have faces that are deliberately shaped or patterned to leave a decorative surface on the metal. They're a quick, satisfying way to add character to rings, pendants, cuffs and earrings.
Common textures
- Cross pein or wedge faces leave lines and grooves. Overlapping strikes at different angles create a bark or crosshatch effect. A Warrington hammer is a classic choice for this.
- Ball and domed faces leave round dimples for a traditional hammered finish.
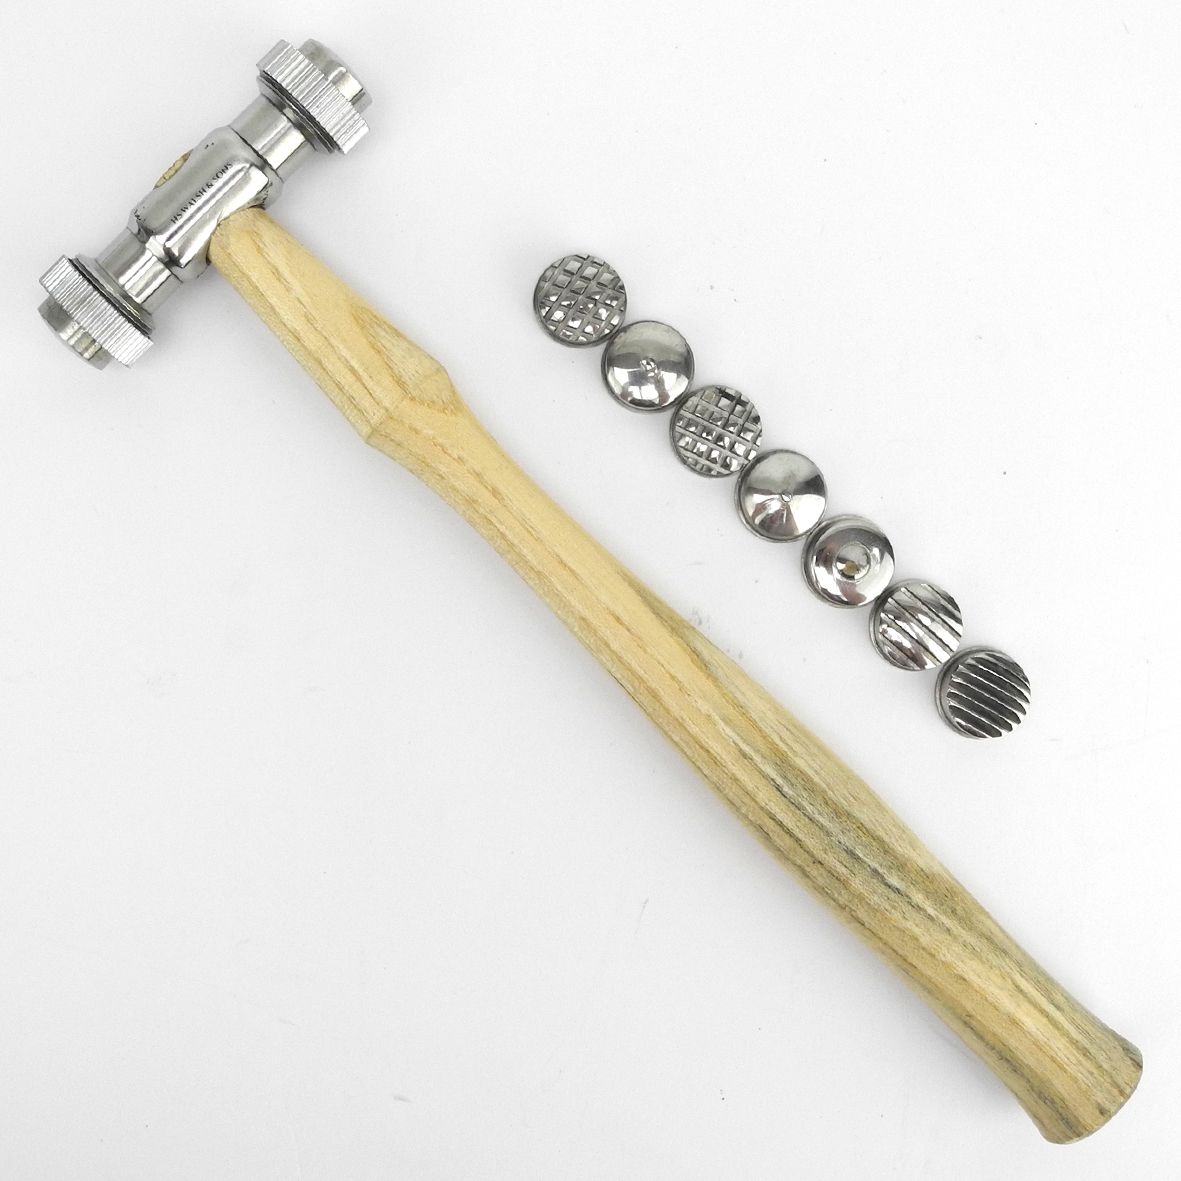
- Patterned faces carry engraved designs such as lines, dots, crosses, circles or stripes, and many come with interchangeable heads so one handle can create several textures.
- Rounded, rough or "rock" faces create a natural, organic surface.
How to get a good texture
- Work on a steel block or anvil. A hard, flat surface underneath means the texture goes into the metal rather than the metal flexing away. Our hardened tool steel blocks are made for this.
- Texture before you form. It's much easier to texture flat sheet, then shape it into a ring or cuff with a rawhide or nylon mallet, which won't flatten your pattern.
- Anneal first. Soft, annealed metal takes a texture far more readily than work-hardened metal.
- Keep your strikes consistent. Even force and a steady rhythm give a uniform pattern. Rotate the piece, not your wrist, to vary the direction.
- Expect the metal to stretch. Heavy texturing spreads and thins metal, so texture slightly undersized blanks and check ring sizes after texturing.
Professional jeweller’s technique: always try a new hammer on a piece of scrap copper or brass first. It'll show you exactly how the texture looks, how hard to strike, and how much it stretches the metal before you commit to silver or gold.
Which hammer for which job?
Use this quick guide to pick the right tool for the most common jobs at the bench.
| Job | Best hammer or mallet | Why |
| Rounding a ring on a triblet | Rawhide or nylon mallet | Shapes without marking or thinning the shank |
| Shaping a bangle or cuff | Rawhide or nylon mallet | Forms the curve while keeping the surface clean |
| Straightening wire | Rawhide or nylon mallet | Straightens and work-hardens without flattening |
| Flattening sheet | Mallet, then planishing hammer | Mallet removes bends; planishing gives a smooth, flat finish |
| Smoothing a formed surface | Planishing hammer | Polished faces remove dents and leave a bright finish |
| Hardening a ring shank | Planishing hammer or nylon mallet | Planishing hardens and slightly stretches; nylon hardens without stretching |
| Hammered (dimpled) texture | Ball pein hammer | The ball end leaves round dimples |
| Bark or line texture | Cross pein or Warrington hammer | The wedge face leaves grooves and lines |
| Patterned texture | Texturing hammer | Engraved faces transfer the design |
| Spreading rivet heads | Riveting hammer | Light and controlled for small cold connections |
| Striking punches and stamps | Chasing hammer or ball pein (flat face) | Wide, flat face makes clean, accurate strikes |
| Chasing and repoussé | Chasing hammer | Balanced head and springy handle give a steady rhythm |
| Forging and spreading wire | Chasing hammer or planishing hammer | Flat faces spread and taper the metal evenly |
If you're starting out, a sensible first set is a rawhide or nylon mallet, a chasing hammer and a ball pein hammer. Together they'll handle most beginner projects, and you can add a planishing hammer and texturing hammers as your skills grow.
Using and caring for your hammers
Good hammering technique
- Hold the handle towards the end, not right up by the head. This gives you more control, a natural swing and less effort.
- Let the hammer's weight do the work. Most jewellery hammering is about many controlled, even blows rather than force.
- Strike with the face flat to the metal. Hitting at an angle drives the edge of the face into your work and leaves crescent-shaped marks.
- Use your wrist and elbow, not your whole arm, for small, accurate strikes.
- Choose the right weight. Lighter hammers give more control for fine work; heavier ones are better for forging and larger silversmithing.
Choose the right surface to strike on
What's underneath matters as much as the hammer:
- Steel blocks and anvils for flattening, planishing, texturing and forging.
- Mandrels and triblets for rings and bangles.
- Stakes for forming curves, bowls and hollow shapes.
- Doming blocks and punches for domes and cups.
- Sandbags to support and deaden noise when working on curved pieces.
Place a leather pad or sandbag under your steel block to reduce noise and stop the block bouncing.
Looking after hammer faces
A hammer face transfers every scratch and nick onto your work, so it pays to look after them:
- Never use a polished hammer on steel tools. Keep a separate hammer for striking punches, stamps and chisels.
- Don't use jewellery hammers for DIY. Nails and masonry will ruin a polished face quickly.
- Restore marked faces by sanding through fine grits and then polishing. A mirror-finished planishing hammer is worth the effort.
- Keep them dry. Store hammers somewhere dry, and wipe a light coat of oil on steel heads if your workshop is damp, to stop rust.
- Check the handle. Make sure the head is tight on the handle before every session. A loose head is both inaccurate and dangerous.
Professional jeweller’s technique: many jewellers hang their hammers in a rack above or beside the bench, so faces don't knock together in a drawer and get scratched. It also makes it easy to grab the right hammer without breaking your rhythm.
Find the right hammer at HS Walsh
The right hammer makes every job easier, from rounding your first ring to planishing a finished cuff to a bright, even shine. Explore our full range of jewellers' hammers and jewellers' mallets, along with the blocks, mandrels and stakes to use them with. If you're not sure which hammer suits your work, call our friendly team on +44 (0)1959 543660.