
How to measure, mark and cut metal for jewellery making
Every good piece of jewellery starts with an accurate cut. If a ring blank is a millimetre short or a pendant outline wanders off its line, no amount of filing or polishing will fully hide it, and you'll waste precious metal putting it right.
The good news is that measuring, marking and cutting are skills anyone can learn with a handful of reliable tools and a bit of patience. In this guide, we'll walk through the tools you'll use at each stage, how to use them well, and some expert jewellery-making tips.
We've split the process into four stages:
- Measure your design and your metal.
- Mark the lines you'll cut along.
- Cut the metal with a saw or shears.
- File the cut edges clean and true.
Measuring: rulers, calipers and dividers
Accurate measuring will save you metal, time and frustration. Jewellery work is measured in millimetres (and often fractions of a millimetre), so your measuring tools need to be clear and easy to read.
Steel rulers
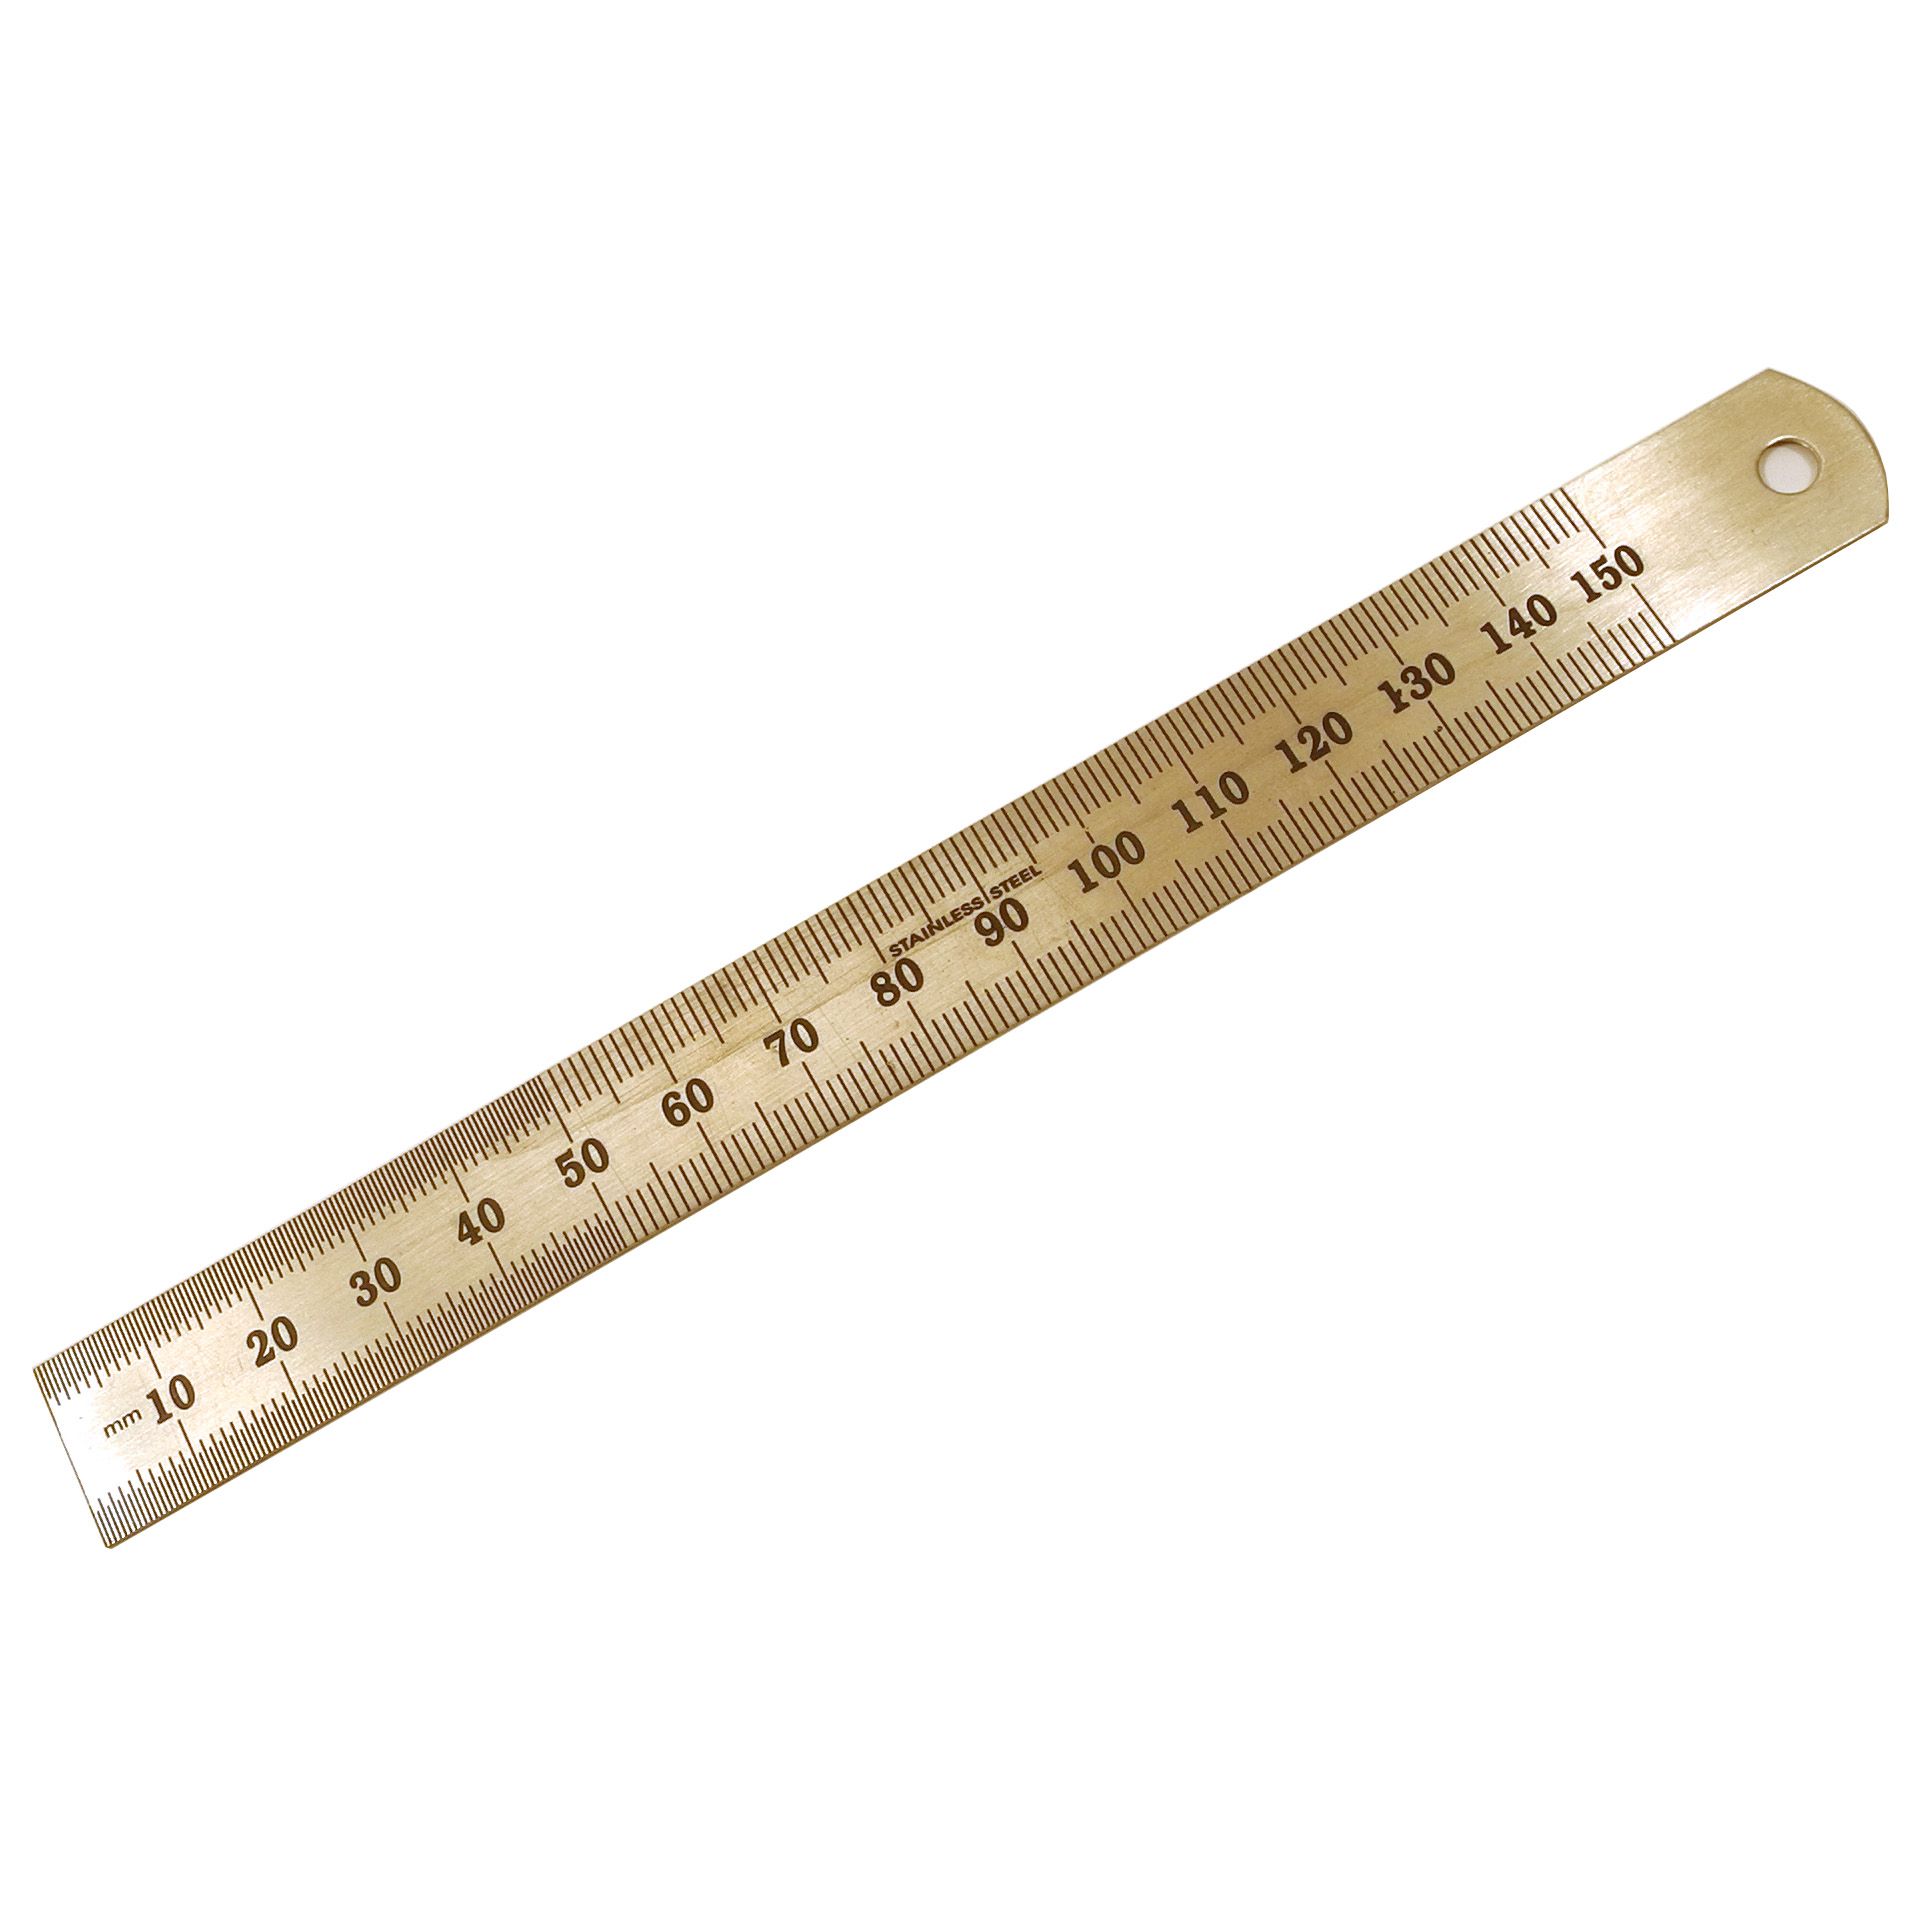
A stainless steel rule is the simplest measuring tool on the bench, and one you'll use every day. Look for one with millimetre (and ideally half-millimetre) graduations that start right at the end of the rule, so you can butt it against the edge of your sheet for a true reading.
Steel is far better than plastic here. It won't warp, its edge is straight enough to guide a scriber, and it'll survive being knocked off the bench more than once.
Professional jeweller tip: always read a rule straight on, with your eye directly above the mark. Looking at it from an angle (called parallax) can easily put you half a millimetre out.
Calipers
Calipers can measure the things a ruler can't, which in this case could include the thickness of sheet, the diameter of wire, the inside of a ring or the depth of a setting. There are three main types:
- Digital calipers give an instant reading and can switch between millimetres and inches. They're the easiest for beginners to read.
- Vernier calipers need no batteries and are very accurate once you've learned to read the scale.
- Dial calipers sit in between, with an easy-to-read dial and no electronics.
A brass or steel sliding gauge (sometimes called a degree gauge) is a simpler, sturdier option for quick thickness checks, and many jewellers keep one alongside their calipers.
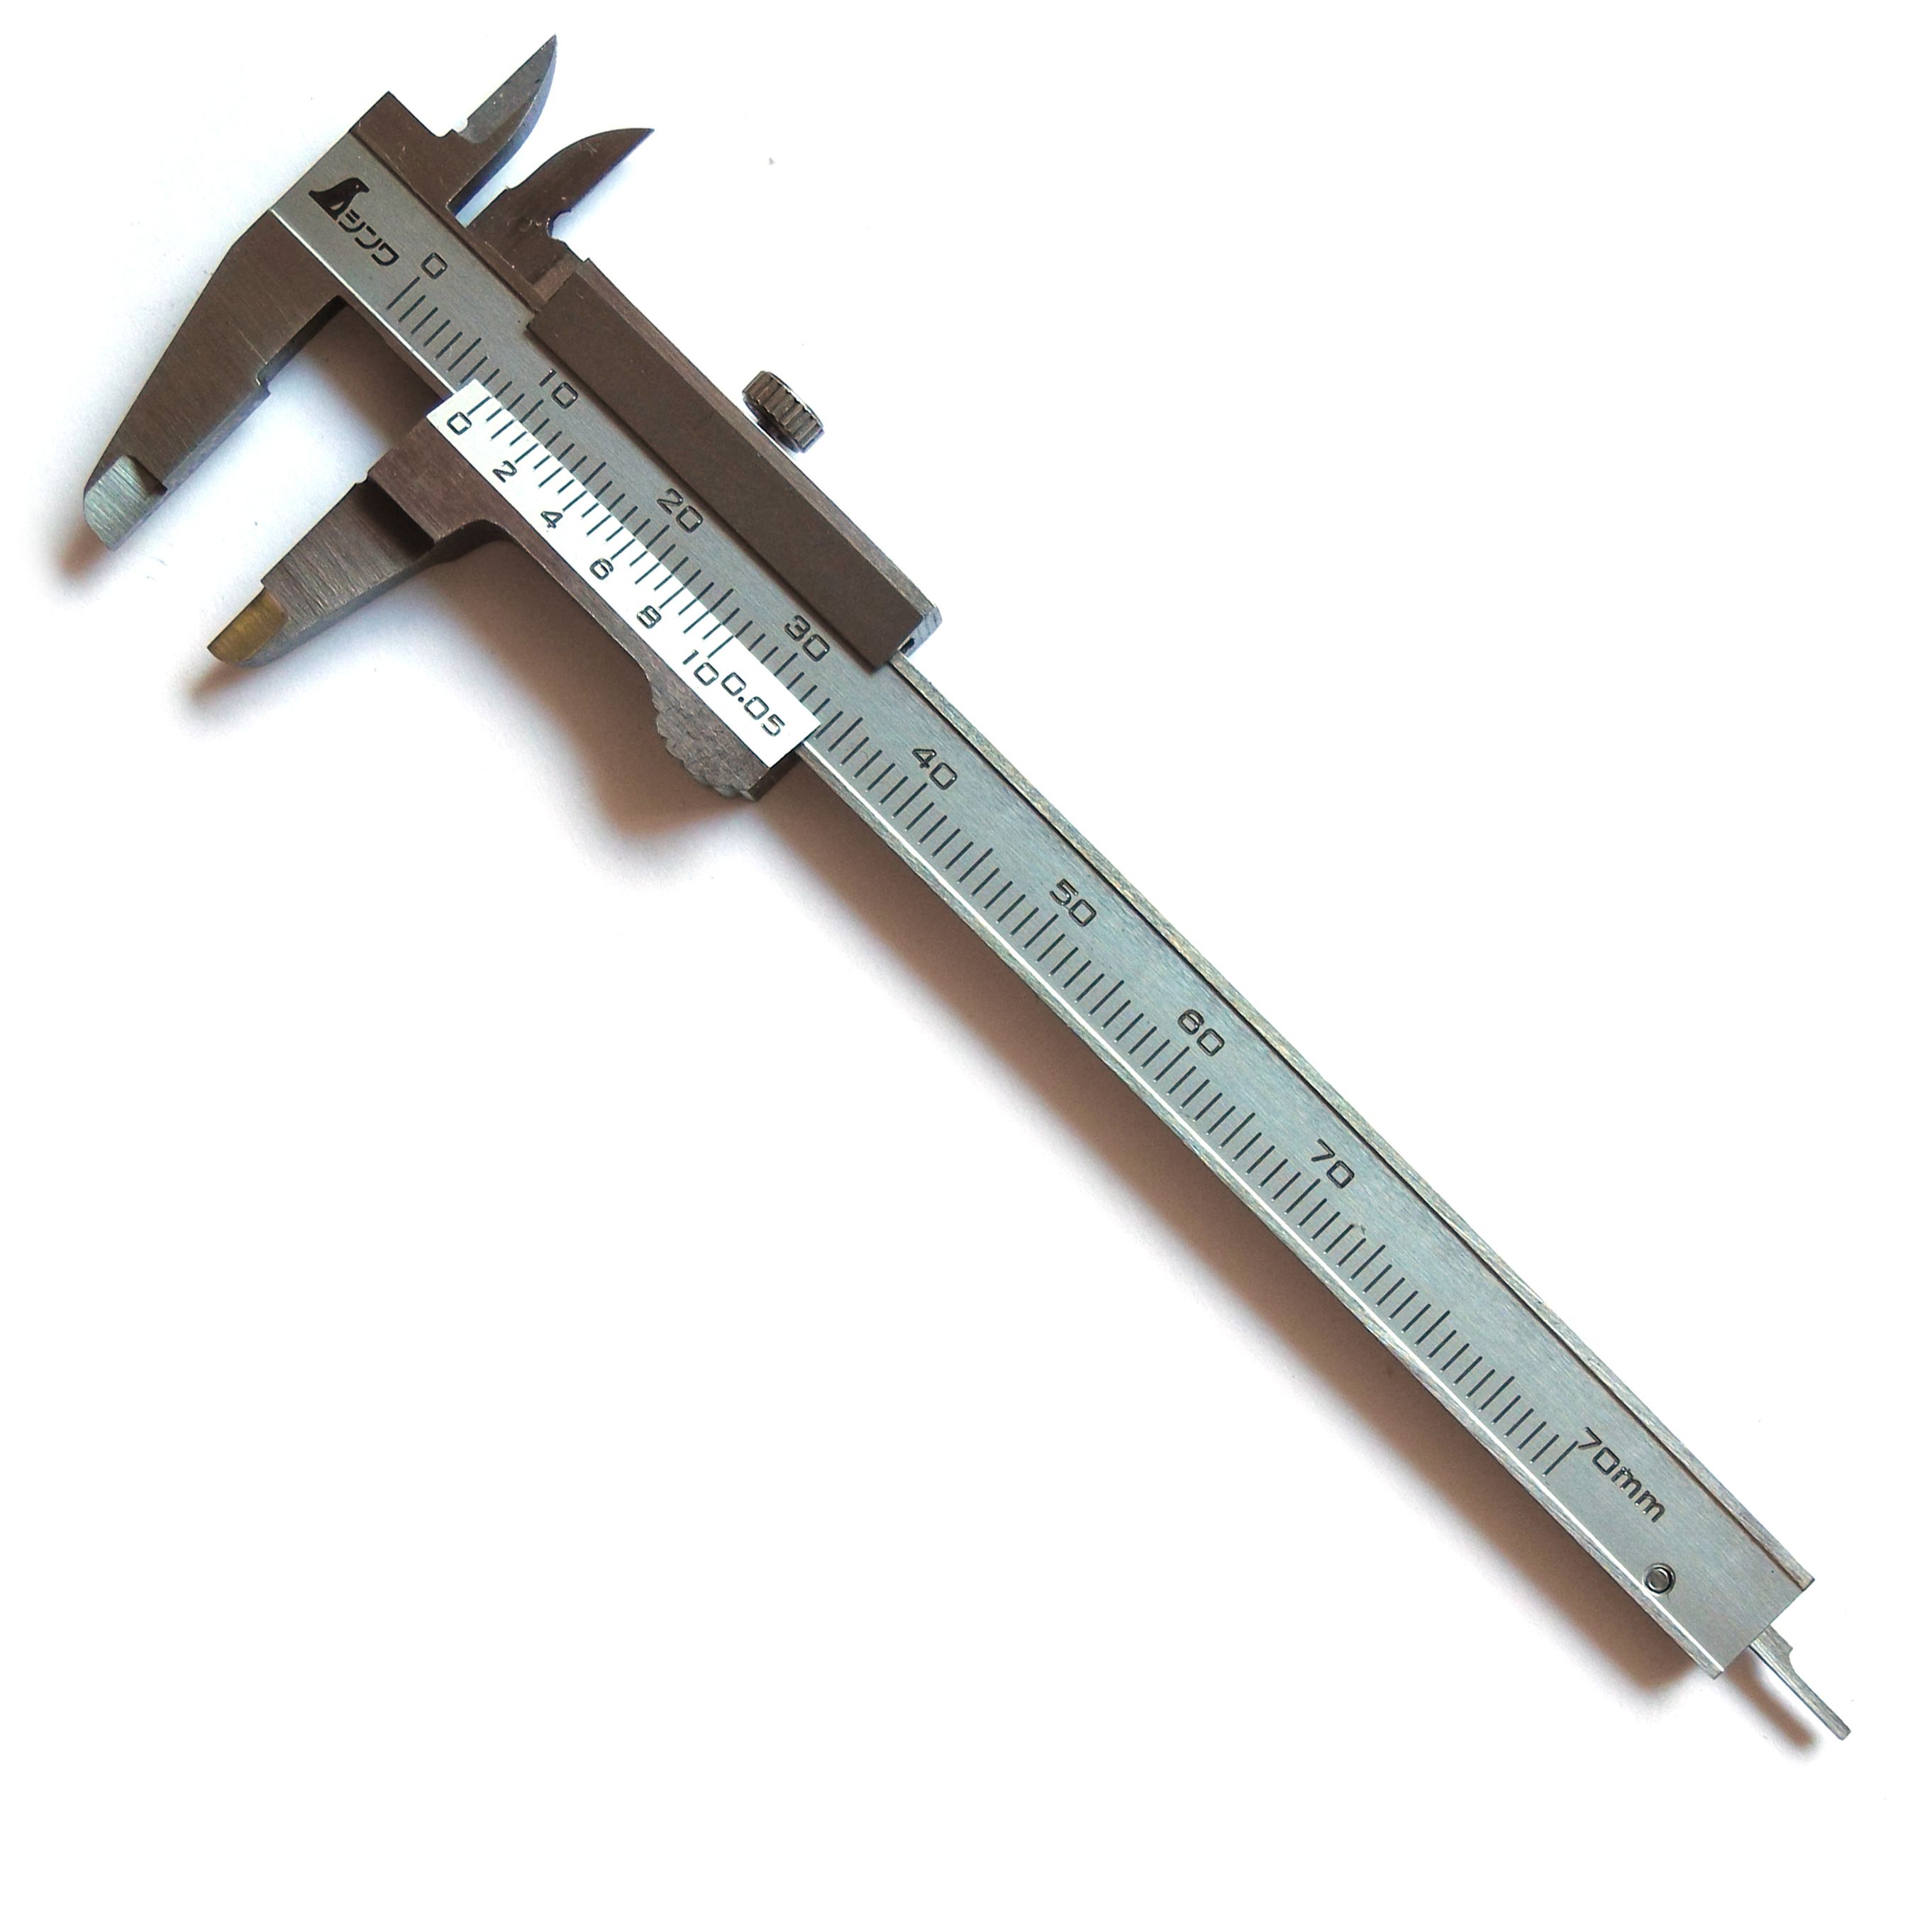
Professional jeweller tip: close the jaws and check they read zero before every measuring session, and don't squeeze. The jaws should just touch the metal; pressing harder can flex soft silver or gold and give you a false reading.
Dividers
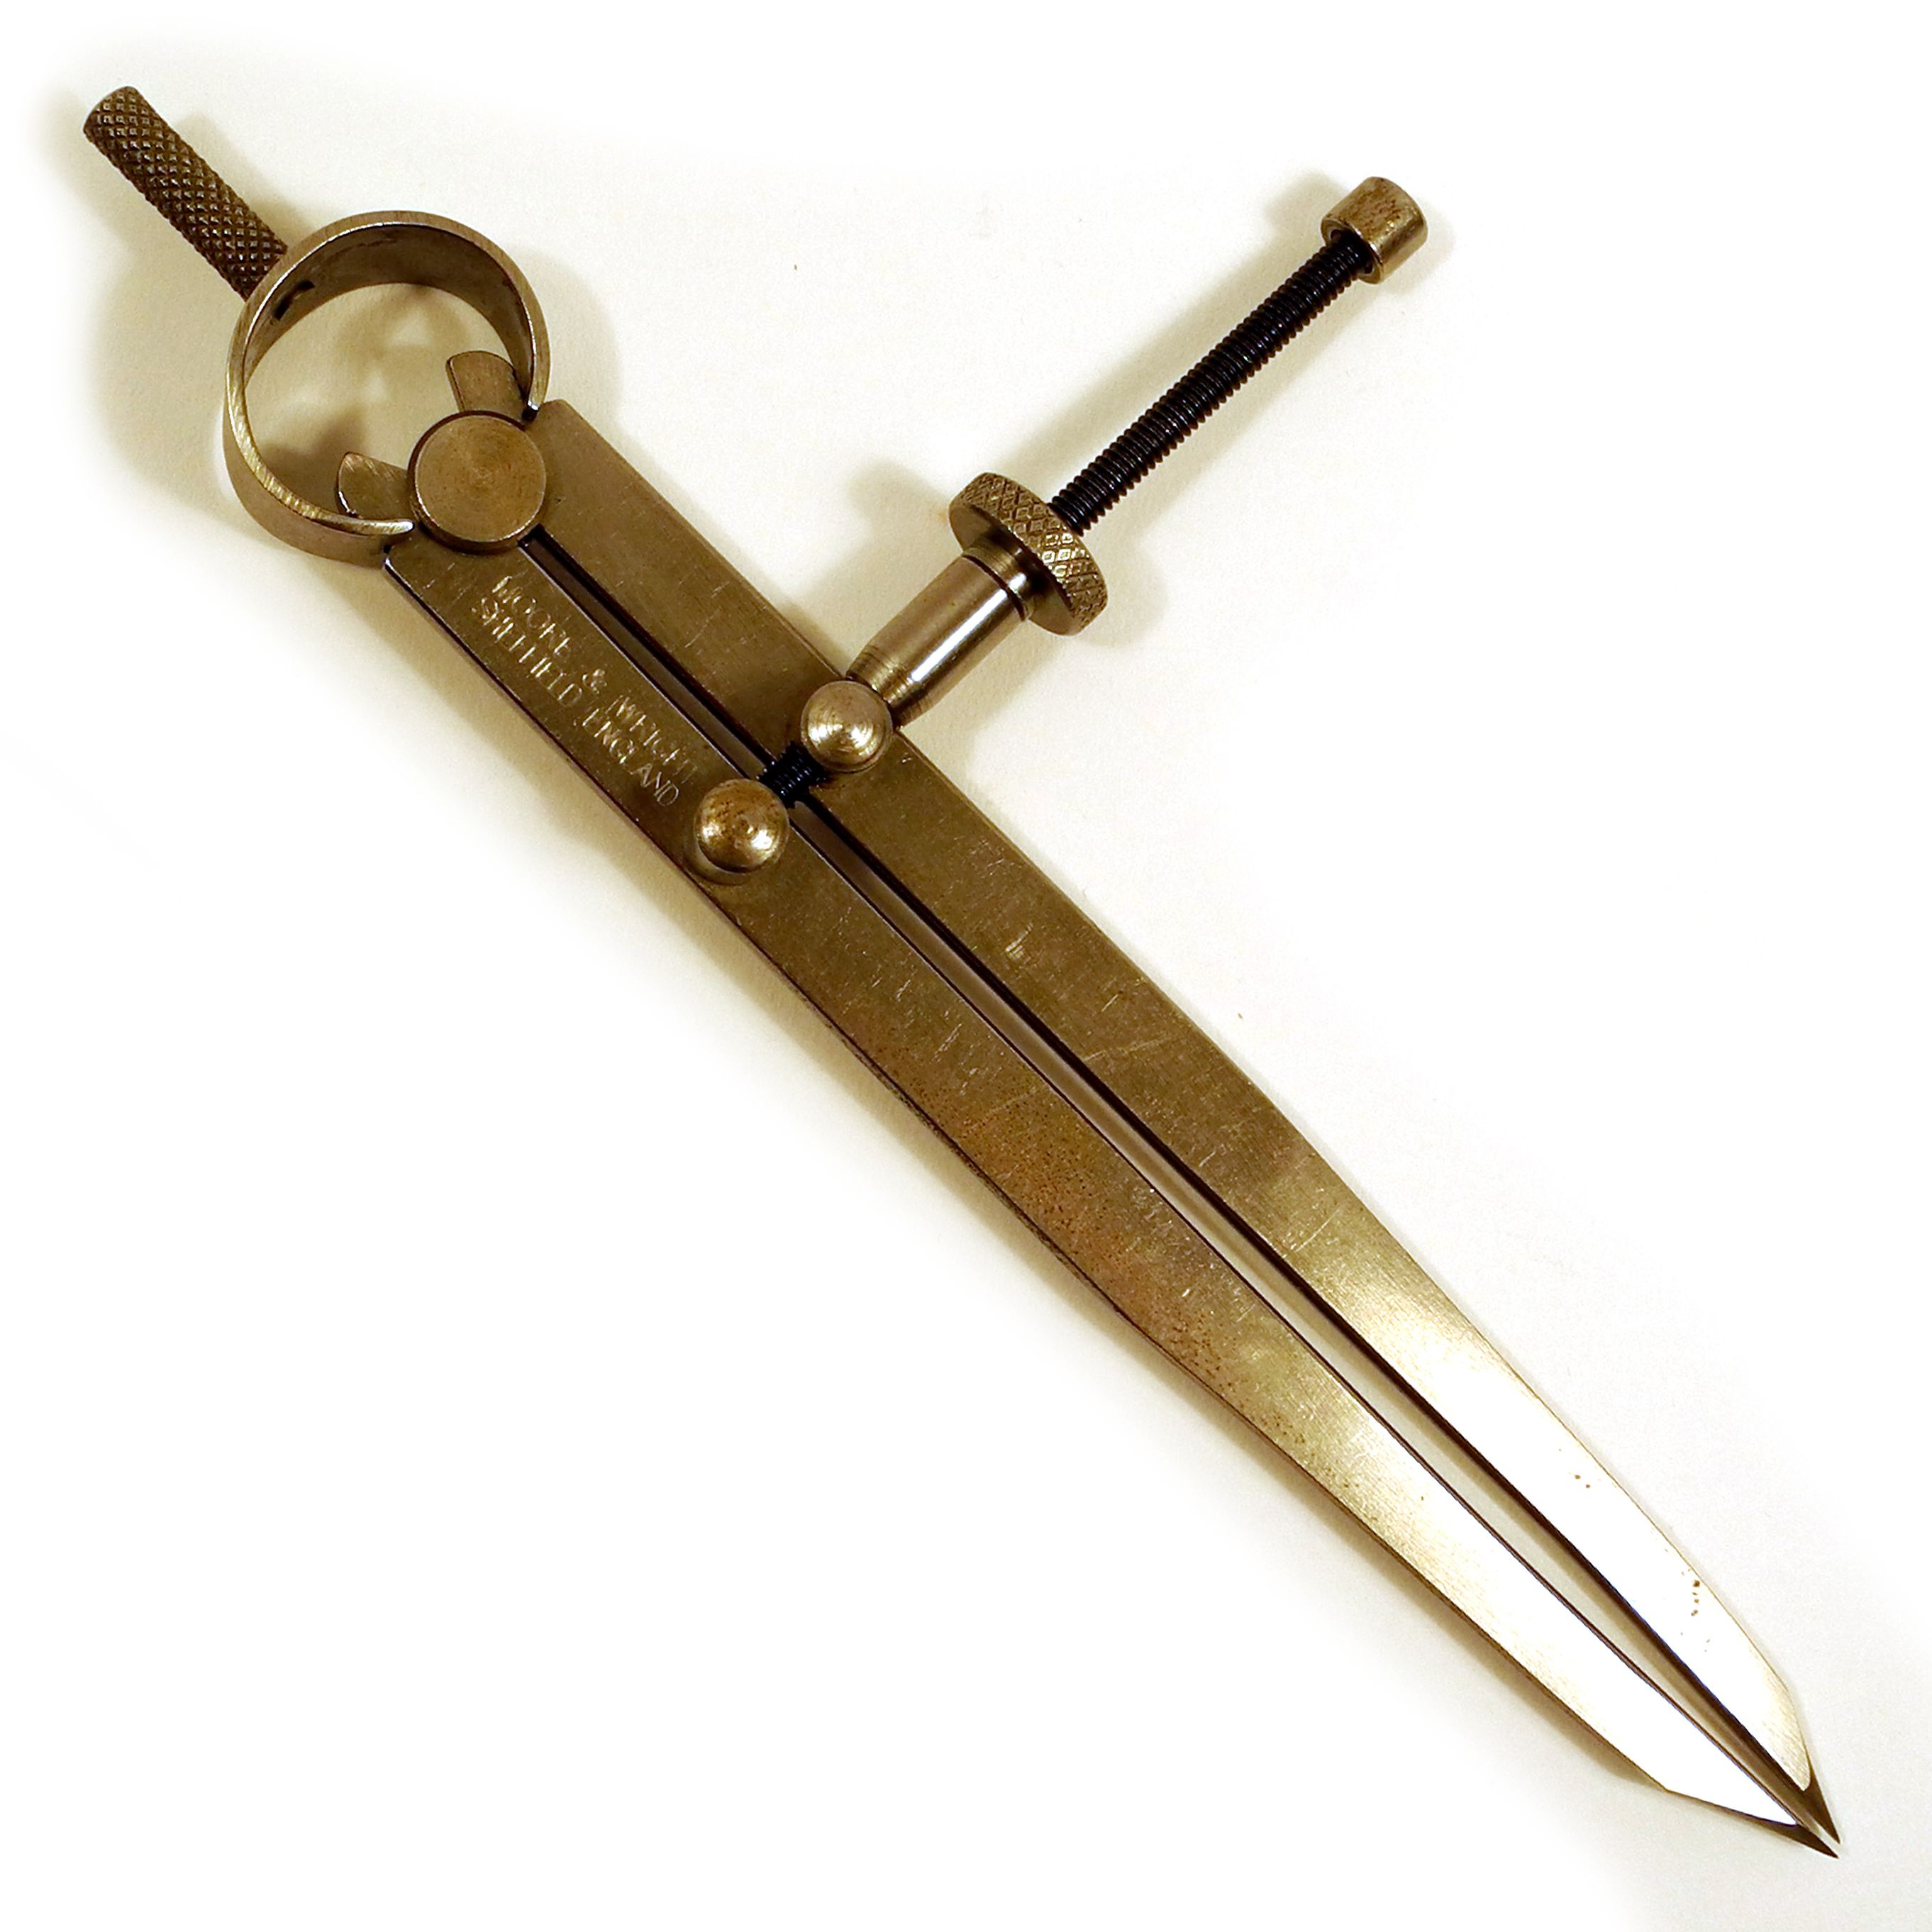
Dividers look like a compass with two sharp points, and they're one of the most useful tools for transferring and repeating measurements. Use them to:
- copy a measurement from your ruler or design straight onto the metal
- step off equal spaces, for example when spacing holes or links
- scribe a line parallel to the edge of your sheet
- mark out circles and arcs.
To set them accurately, drop one point into a graduation on your steel rule and open the other to the measurement you need. Spring dividers with a screw adjuster will hold their setting far better than friction-jointed ones.
Working out a ring blank
One of the most common measuring jobs is calculating the length of metal for a ring. A reliable formula is:
(inside diameter + metal thickness) × 3.142 = blank length
So for a ring with a 17.3mm inside diameter made from 1.5mm thick metal, you'd need (17.3 + 1.5) × 3.142 = roughly 59.1mm. Adding the metal thickness accounts for the way the metal stretches and compresses as it bends.
It's the oldest advice in the workshop, but it bears repeating: measure twice, cut once. You can always trim precious metal, but you definitely won’t want to try adding it back.
Marking: scribers, dividers and transfer methods
Once you know your measurements, you need clear, accurate lines to cut along. A good mark should be fine, visible and in exactly the right place.
Scribers
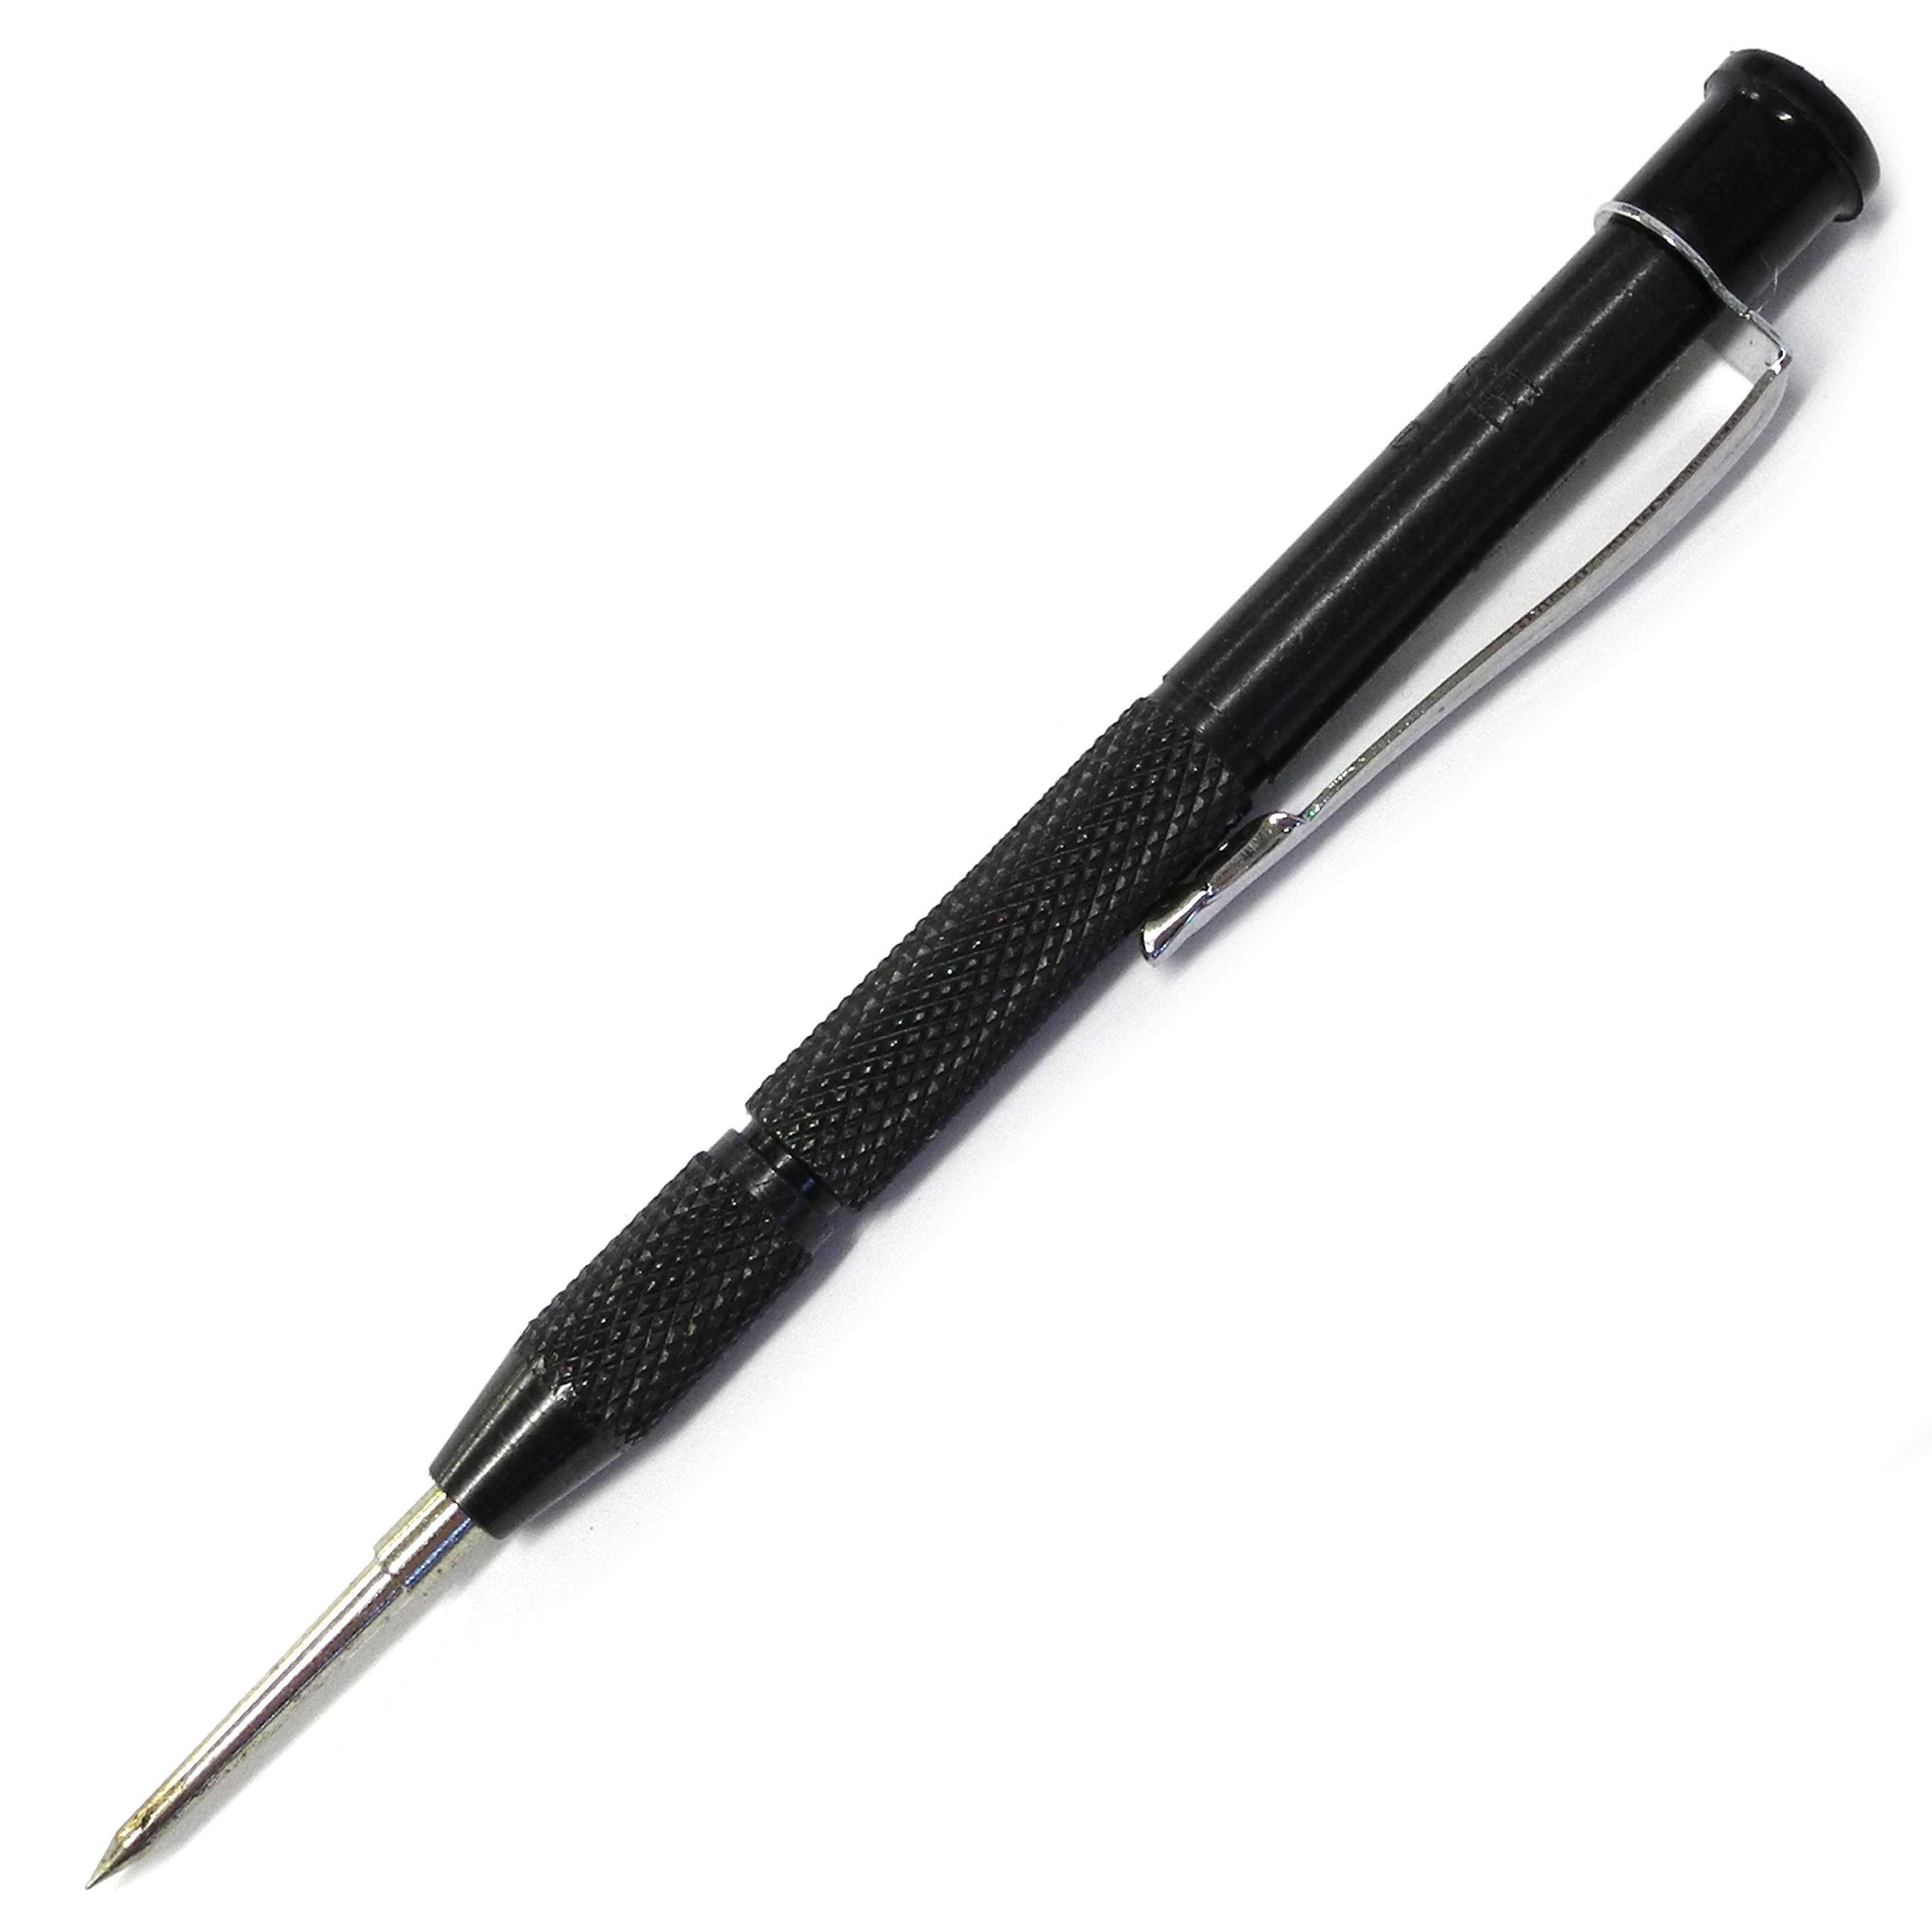
A scriber is a hardened steel point that scratches a fine line into the surface of the metal. Unlike pen or pencil, a scribed line won't rub off as you handle the piece, and it's much finer, so it's more accurate.
To scribe a straight line, hold your steel rule firmly on the metal and draw the scriber along its edge, tilting the point slightly so it runs tight against the rule. One steady, light stroke is better than several heavy ones, which can wander and leave a messy double line.
Keep your scriber sharp. A blunt point skids and makes a wider line, which defeats the purpose of using one.
Dividers for marking
The dividers you used for measuring double up as marking tools. Run one point along the edge of your sheet and let the other scribe a line parallel to it. It's the quickest way to mark a strip of even width, such as a ring shank or a bezel strip.
For circles, set the dividers to the radius you need, place one point in a small centre-punched dot and rotate them to scribe the outline.
Making your lines easier to see
Scribed lines can be hard to spot on shiny metal. Two simple fixes:
- Colour the surface first. Many jewellers wipe a thin coat of permanent marker over the area before scribing. The scriber cuts through the ink and leaves a bright silver line against the dark background. Engineers' marking blue does the same job.
- Work in good light. A daylight lamp angled low across the metal will make fine lines much easier to follow.
Transferring designs
For more detailed shapes, such as a pierced pendant or lettering, it's easier to transfer a drawing than to mark it freehand. Print or draw your design, then glue it to the metal with a glue stick or rubber cement and saw straight through the paper. Peel or soak off what's left once you're done.
Professional jeweller tip: decide which side of the line you'll cut on before you start. Most jewellers saw just on the waste side, so the line itself is still visible and can be filed back to precisely where it needs to be.
Cutting: bench pegs, piercing saws, blades and shears
With your lines marked, it's time to cut. For most jewellery work that means a piercing saw, supported on a bench peg, with shears for quick straight cuts on thinner sheet.
Bench pegs
The bench peg (or bench pin) is a wooden wedge that sticks out from the front of your workbench. It supports your metal while you saw, file and drill, and most have a V-shaped slot that lets the blade pass through while the metal stays supported on both sides.
You can buy pegs that clamp onto any table, or fit one into a jeweller's bench. Either way, it should sit roughly at chest height when you're seated, so you can see the cut clearly without hunching over.
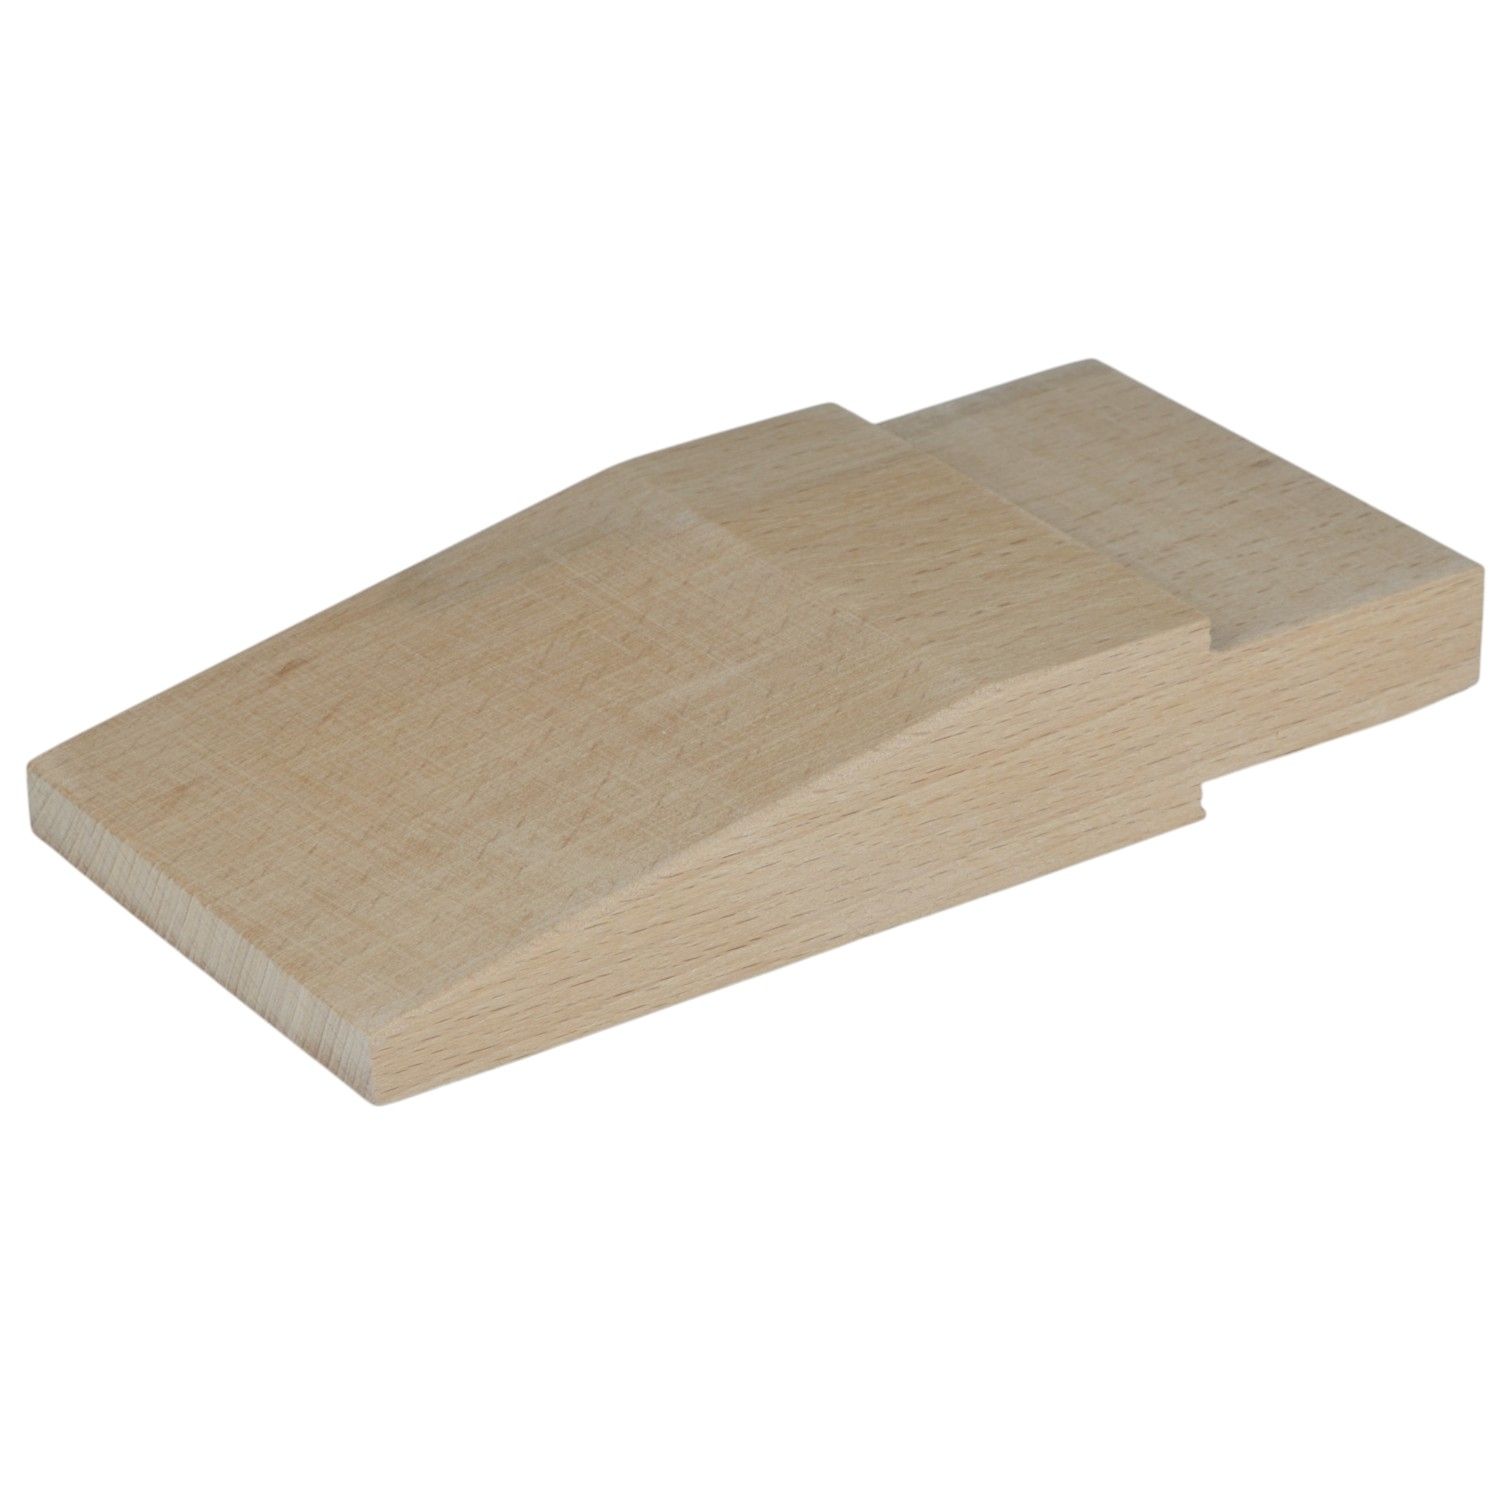
Professional jeweller tip: a wobbly peg is one of the most common causes of broken blades. Make sure it's fixed solidly before you start, and don't be afraid to cut, file and shape it to suit your work. Many things in life are meant to stay pristine after you buy them, a bench peg is definitely not one of them.
Piercing saws
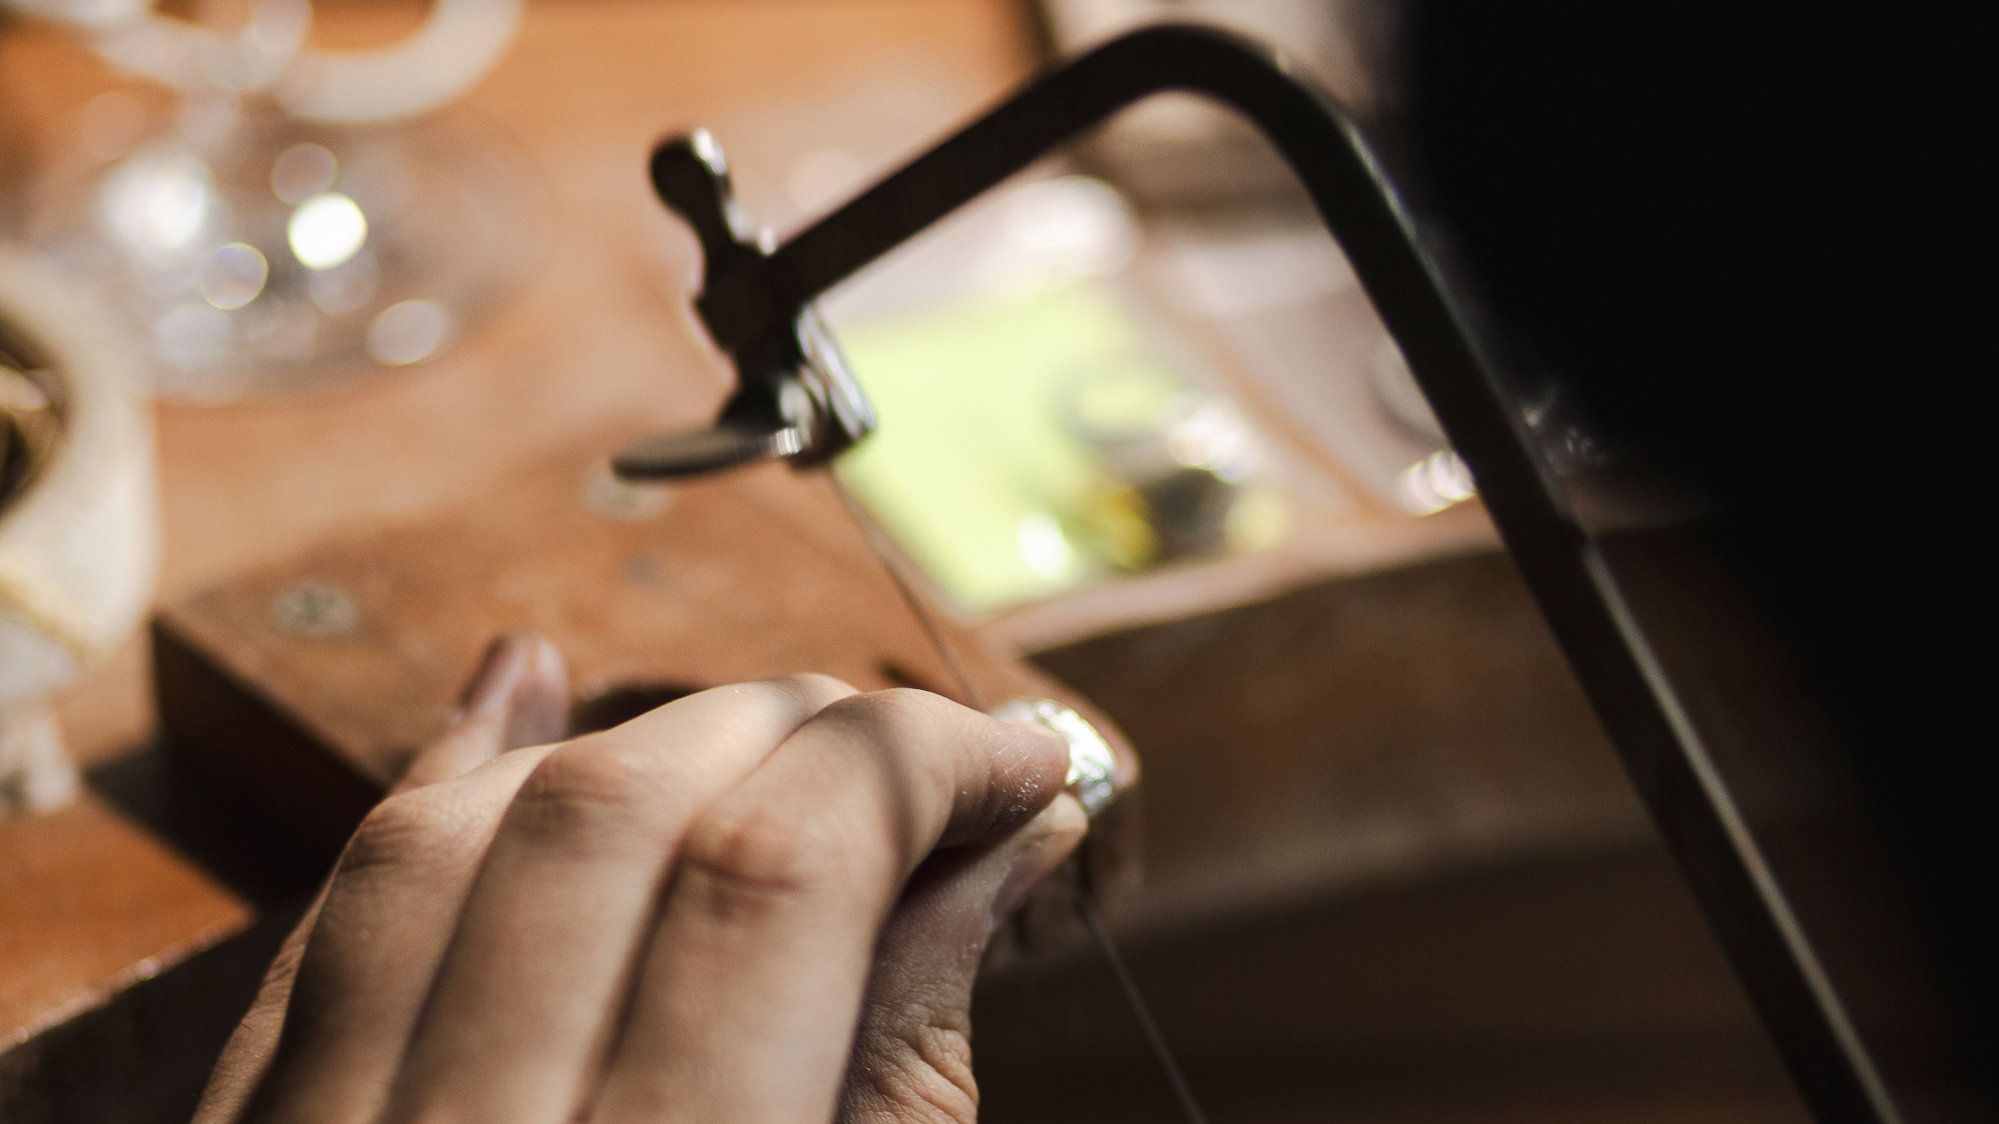
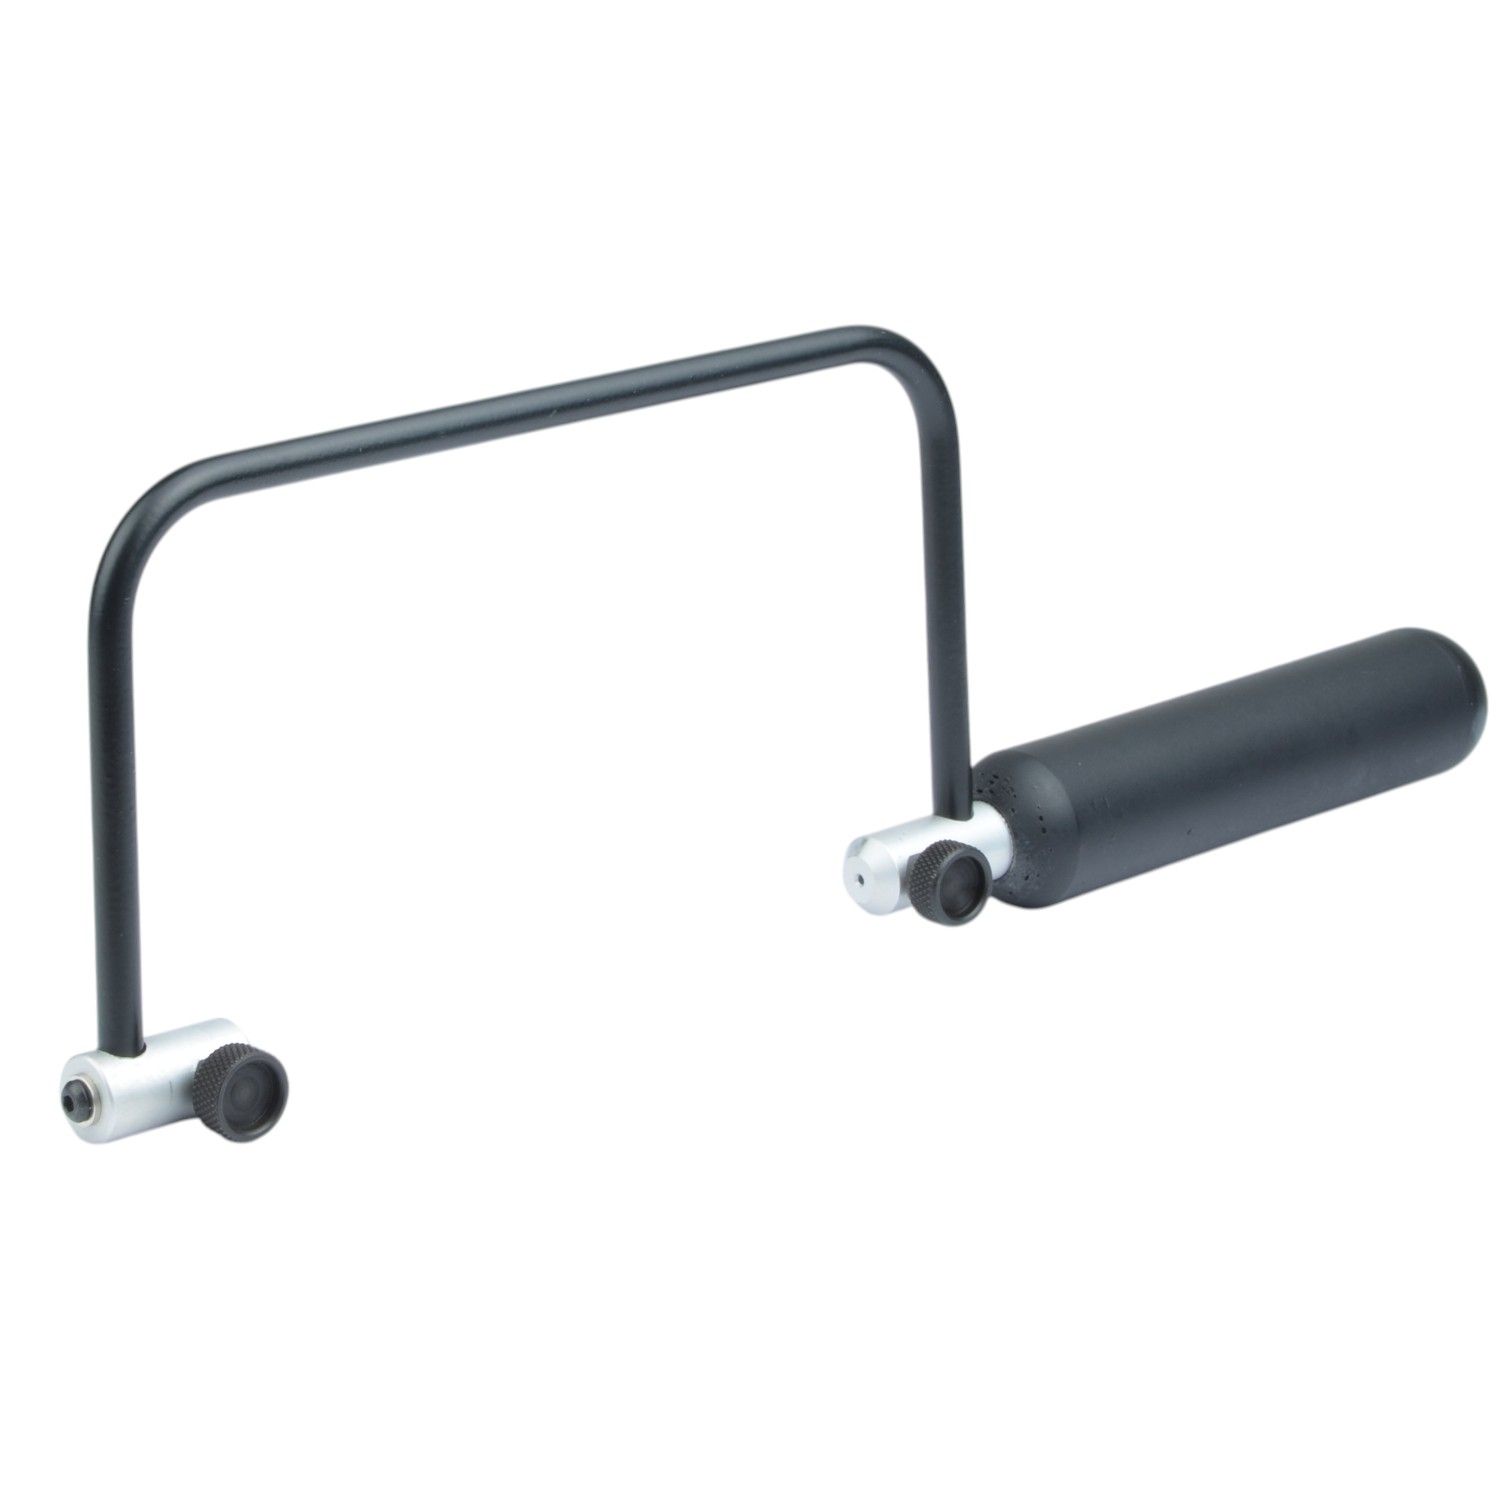
A jeweller's piercing saw has a U-shaped steel frame that holds a very fine blade under tension. It can cut straight lines, tight curves and, with a drilled starter hole, shapes inside the metal (which is where the name "piercing" comes from).
Adjustable frames let you change the frame length, which means you can still use a blade even it’s snapped partway along. Deeper frames give you more room to cut further into a sheet.
How to fit a piercing saw blade
- Clamp the blade into the top of the frame with the teeth facing outwards and pointing down towards the handle. The saw cuts on the downstroke.
- Rest the top of the frame against the bench peg and the handle against your body.
- Push gently to compress the frame slightly, then clamp the bottom of the blade.
- Release the pressure and pluck the blade. It should give a clear, high "ping". A dull thud means it's too loose.
How to easily saw metal
- Hold the saw lightly and keep the frame upright, at 90° to the metal.
- Use long, smooth strokes that use most of the blade's length.
- Let the teeth do the work. Pushing forward is the quickest way to break a blade.
- Turn the metal, not the saw, as you follow a curve.
- For tight corners, keep the saw moving up and down on the spot while you slowly turn the work, until the blade has room to change direction.
- Rub a little beeswax or saw lubricant on the blade to reduce friction, help it cut more smoothly and make it last longer.
Professional jeweller tip: experienced jewellers often say listening to the sound the saw makes can be as useful as watching it. A steady, even rasp means everything's going well. A grinding or snagging sound usually means you're pushing too hard, the blade's drifted off vertical or it needs lubricating.
Don't worry about breaking blades when you start. They have to be made with disposability in mind as even if the tricky nature of the job they do doesn’t snap them, the teeth will still wear out eventually due to the difficulty of metal cutting metal. Every jeweller has snapped hundreds, so buy them in bulk and keep plenty stored up.
Choosing saw blades
Saw blades are graded by size, from coarse (such as 4) through to very fine (such as 8/0). The finer the blade, the thinner the metal it suits and the more detailed the cut it can make. Exact sizing varies between manufacturers, but this is a useful starting point:
| Blade grade | Suits metal around | Good for |
| 8/0 to 4/0 | 0.5mm and thinner | Fine detail, lettering, thin sheet |
| 3/0 to 2/0 | 0.5mm to 0.8mm | General piercing; a good all-round first choice |
| 1/0 to 1 | 0.8mm to 1mm | Thicker sheet and ring shanks |
| 2 to 4 | 1mm and thicker | Heavy sheet, wire and rough cutting |
A handy rule of thumb is to have at least two or three teeth in contact with the metal at any time. With too few, the blade will catch and snag. If you're unsure, start with a 2/0 blade and adjust from there.
Shears and snips
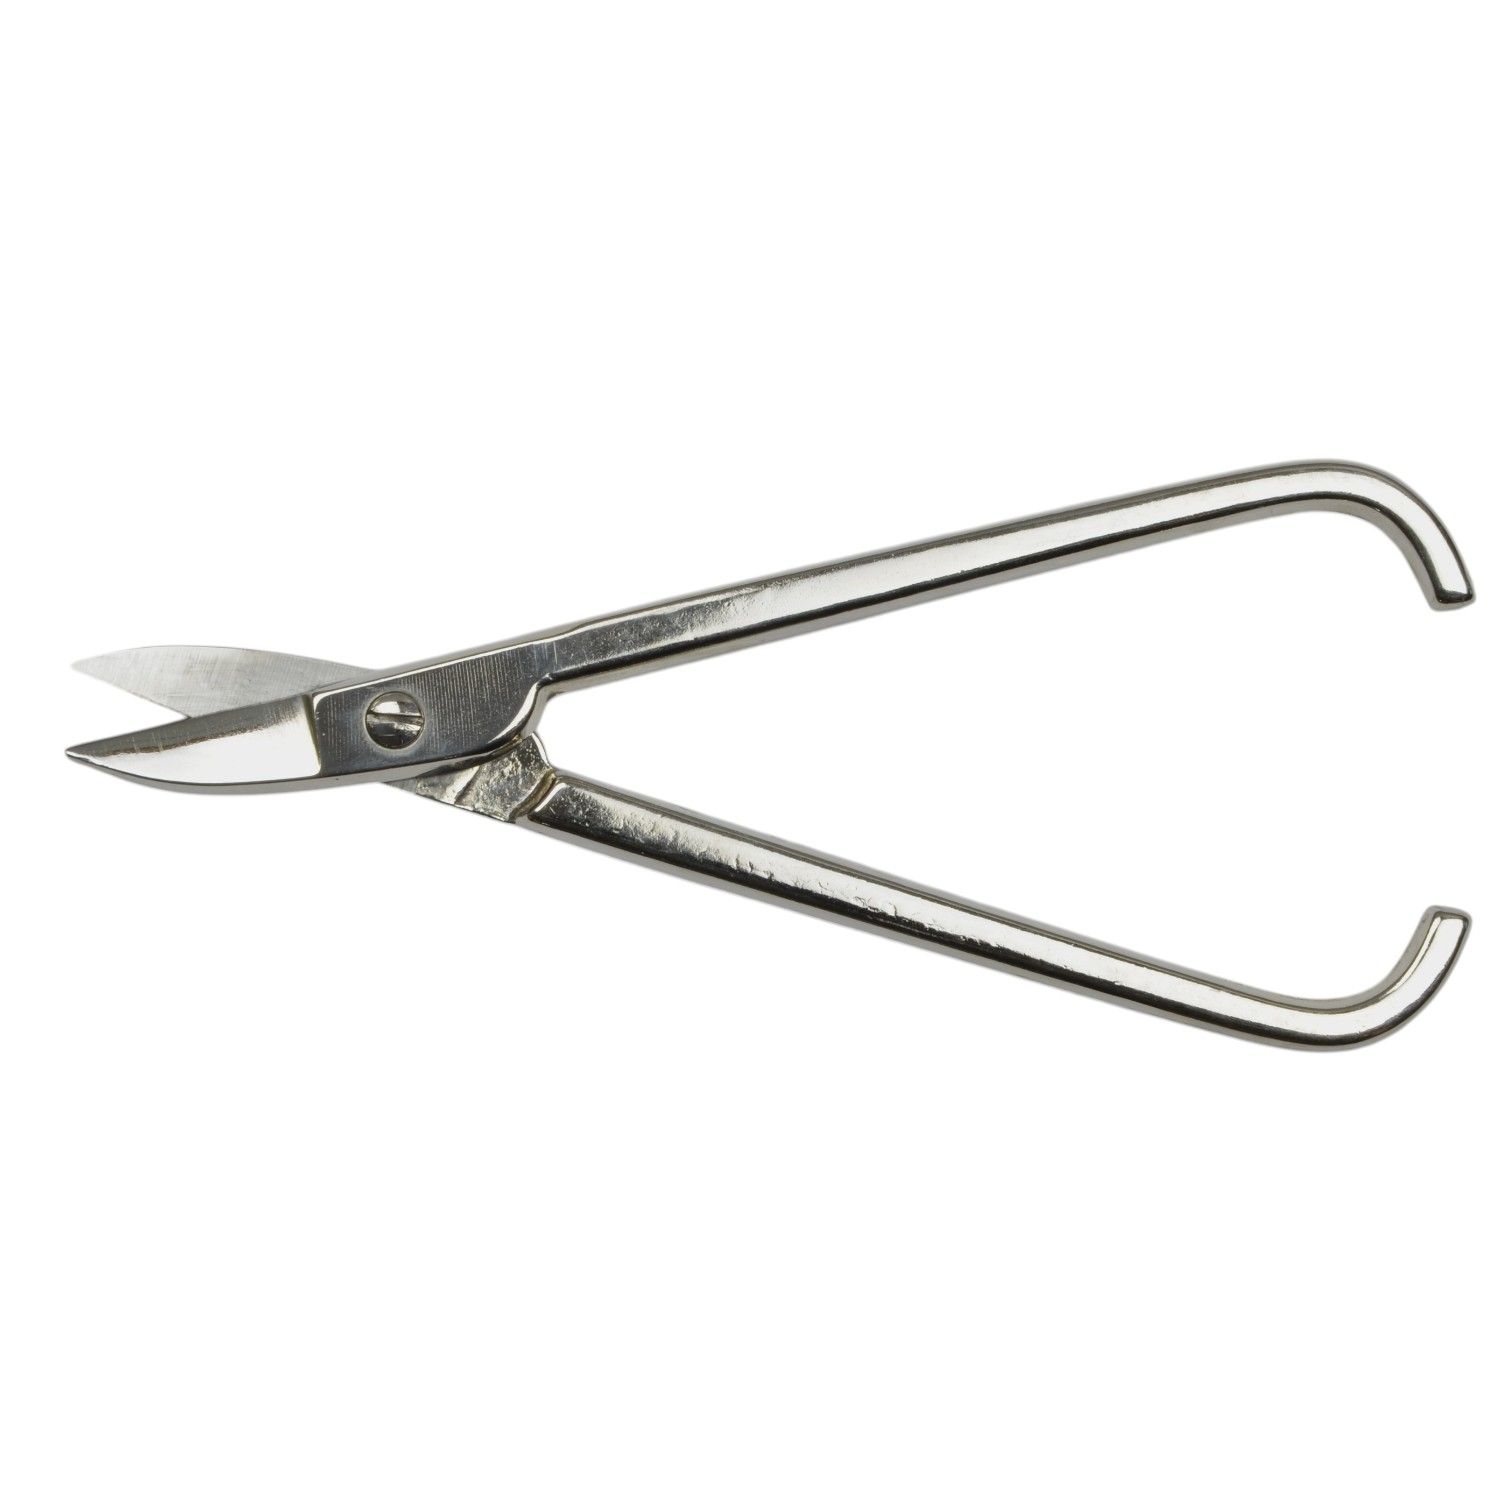
Shears are the fastest way to make straight or gently curved cuts in thinner sheet, and they're ideal for cutting strips, trimming blanks or chopping up solder. Hand shears (or snips) suit thin sheet, while bench-mounted shears give you more leverage for thicker metal.
The trade-off is accuracy. Shears tend to bend or curl the metal along the cut, so:
- cut slightly outside your line and file back to it
- flatten the piece afterwards with a mallet on a steel block
- save the piercing saw for detailed shapes and anything near a finished edge.
Whichever tool you're using, wear safety glasses, especially when sawing, as small fragments of metal and broken blades can flick up without warning.
Finishing the cut: files
Even the cleanest saw cut leaves a slightly rough edge, and files are how you bring it back to your marked line. They're also how you true up straight edges, refine curves and remove any burrs left by shears.
Types of file
Jewellers' files are graded by "cut", which describes how coarse the teeth are. The lower the number, the coarser the file. A cut 0 or 1 removes metal quickly, a cut 2 is a good all-rounder, and cuts 3 to 6 leave a smoother finish ready for sanding.
They also come in different sizes and shapes:
- Hand files (around 15cm to 20cm long) are best for larger pieces and straight edges.
- Needle files are smaller and come in sets, ideal for detail, inside corners and pierced shapes.
- Shapes include flat, half-round, round, triangular, square and barrette. Match the shape to the edge you're working on: a half-round file's curved face is perfect for the inside of a ring.
How to file
Files cut on the push stroke, so apply gentle pressure as you push the file forward and lift it slightly on the way back. Dragging it backwards under pressure dulls the teeth and does very little filing.
Rest your work against the bench peg for support and keep the file flat to the edge to avoid rounding it off. Work steadily, check against your line often, and switch to a finer cut as you get close.
Professional jeweller tip: keep separate files for different metals. Filings from one metal can lodge in the teeth and contaminate another, which can cause problems when you come to solder. Many jewellers also keep a file card (a stiff wire brush) handy to clear clogged teeth, and save their filings, as precious metal scrap can be recycled.
tips to remember
- Measure twice, cut once. It's easier to file metal away than to add it back.
- Mark finely and clearly. A coat of marker pen before adding your scribed line makes it far easier to follow.
- Cut on the waste side of the line, then file back to it.
- Get your blade tension right. Listen for the ping before you start.
- Let the tools do the work. Light pressure gives cleaner cuts and fewer broken blades.
- Practise on scrap. Copper and brass sheet are inexpensive ways to build confidence before you move on to silver or gold.
Build your bench with HS Walsh
Measuring, marking and cutting are the foundations of almost every piece of jewellery you'll make, and good tools make each step easier and more accurate. Explore our range of jewellers' tools and equipment for everything you need, from steel rules and calipers to piercing saws, blades and files.