The guide to Professional stone setting Techniques
Stone setting is where the art and the science of metalwork meet. It is the process of working with metal to "trap" a gemstone securely in a piece of jewellery, without the need for any other ingredients. Unlike gluing, a mechanical setting is permanent, durable, and also allows light to interact with the stone optimally.
Find out more about jewellery making tools, skills and practices in our guide.
Understanding the two families of stones
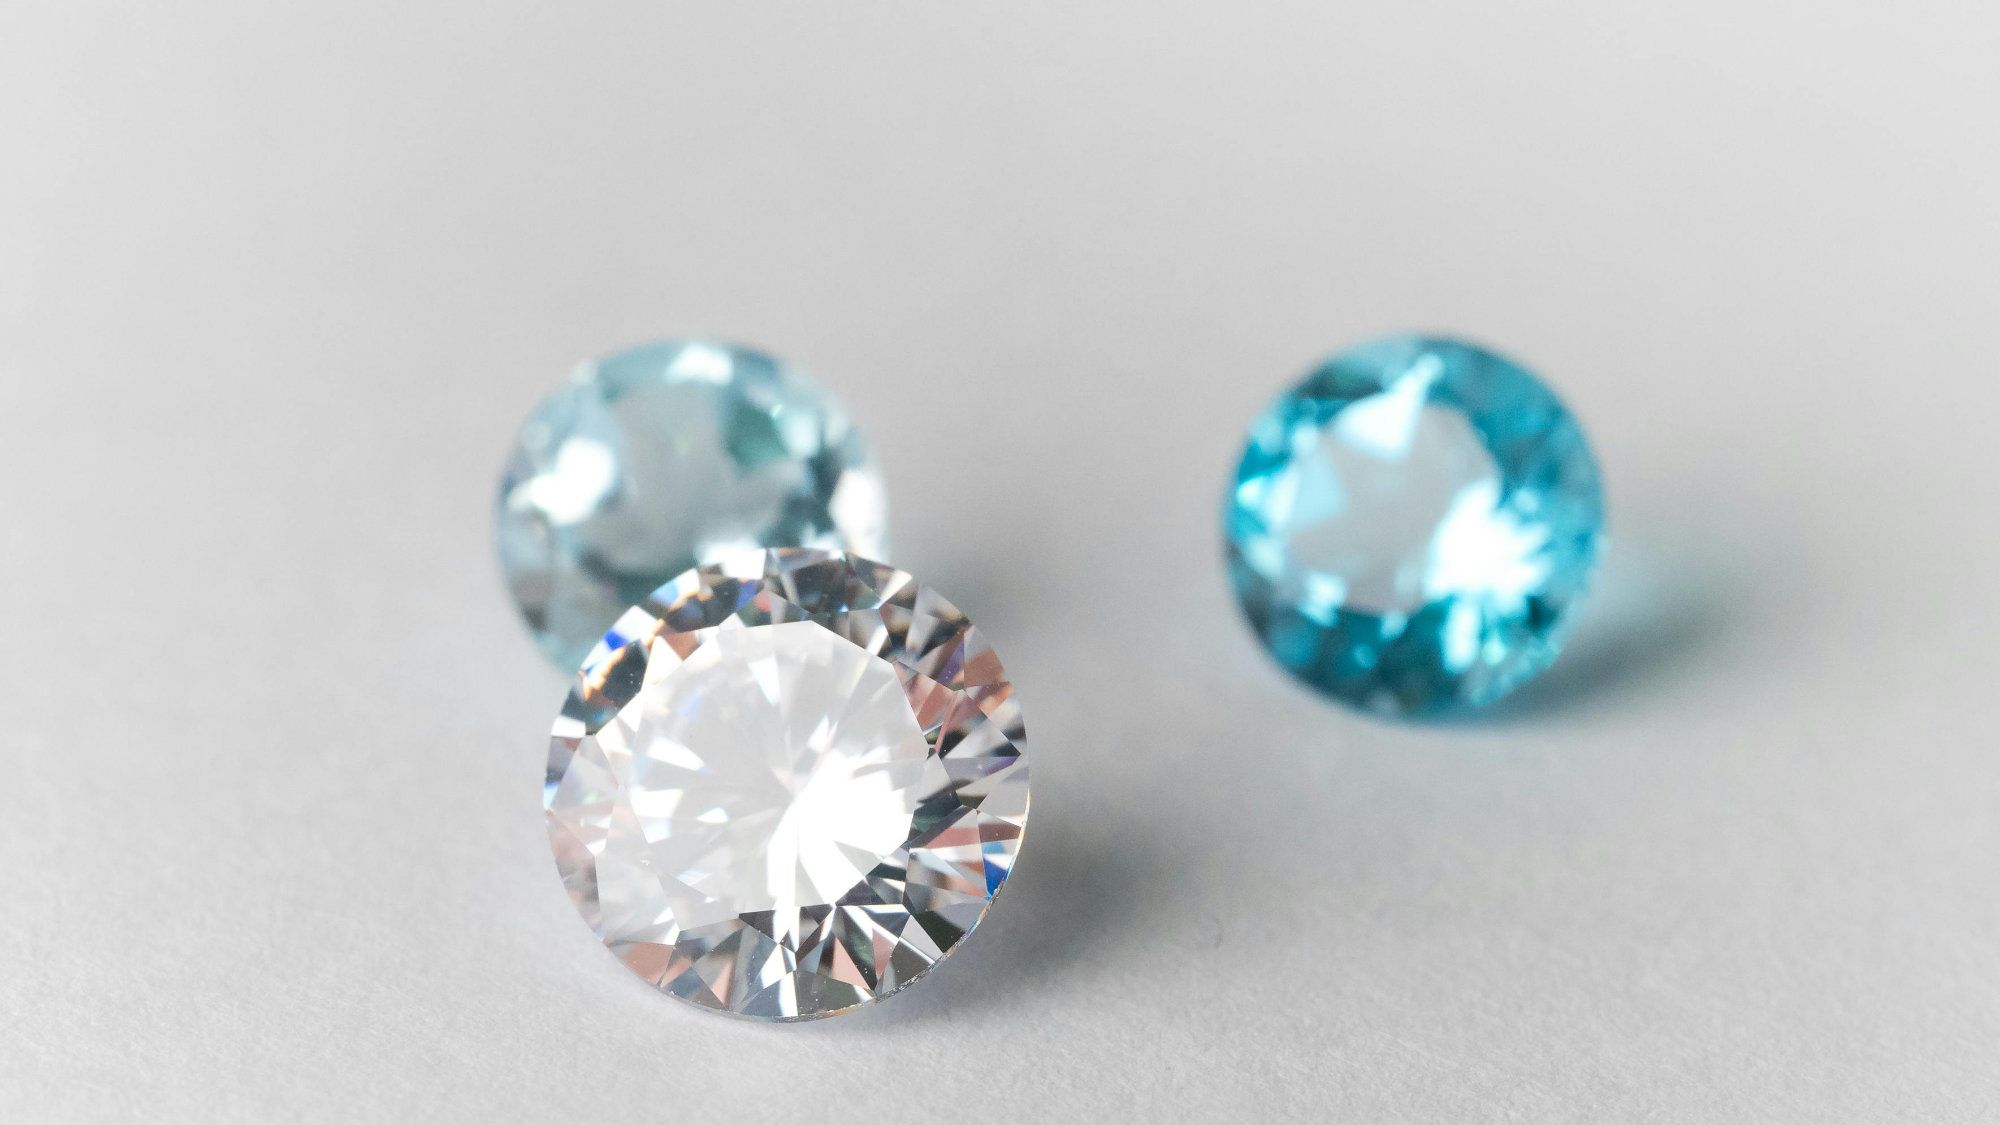
Before picking up a tool, you need to understand the two types of stones you'll use in jewellery, which dictate the kind of setting you'll be able to use:
- Cabochons: These have smooth, domed tops with flat bottoms. These are the "entry-point" for beginners and are almost always Bezel Set.
- Faceted Stones: Cut with many flat "facets" and a pointed bottom (the pavilion). These require Seat Cutting and are used in Claw, Flush, or Grain settings.
Core setting styles
Bezel Setting (The Foundation)
A ribbon of metal (the bezel) surrounds the entire perimeter of the stone. A "bezel pusher" is then used to compress the metal over the stone's "girdle" (its widest point). Best for Turquoise, Moonstone, Onyx, and stones with organic shapes.
Claw (Prong) Setting
Small posts or "claws" are notched and bent over the stone. This style allows the most light to enter the stone, making it the standard for diamonds and high-clarity gems.
Flush (Gypsy) Setting
The stone is sunk into a hole drilled directly into thick metal until the top of the stone is level with the surface. The surrounding metal is then "burnished" over the edge.
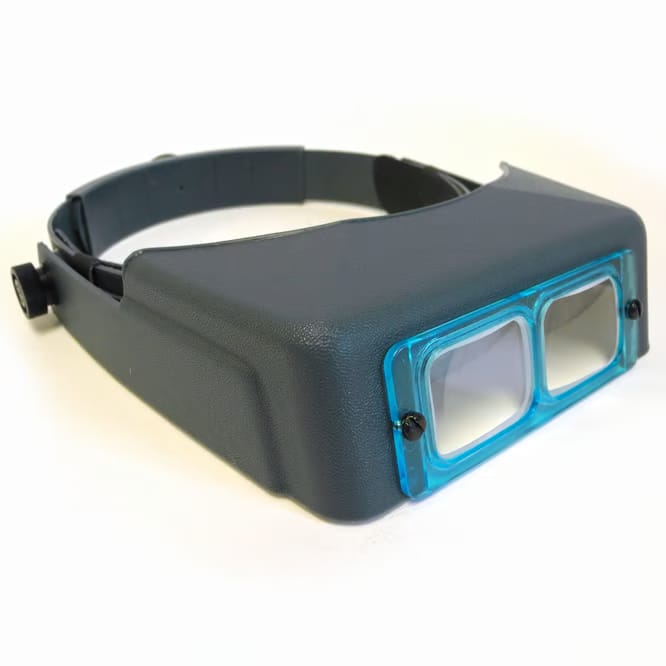
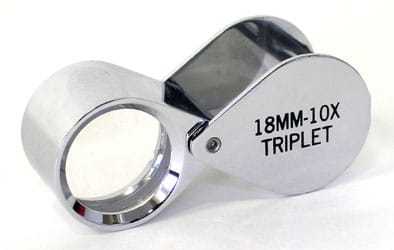
Magnification (The 10x rule)
The gap between the metal and your stone can be microscopic, and if you can't see it, you can't close it. This equipment will provide clear magnification that means you can produce strong joins.
- 10x Triplet Loupe: For quick inspections, but not you probably won't want to use it while you work as it needs a spare hand.
- Optivisor/Headband Magnifier: This is the bit of kit for hands-free work, allowing you to use both hands for pushing and burnishing.
The 5-step setting workflow
- Preparation: Measure your stone with digital calipers. Ensure the hole or bezel is roughly 0.1mm smaller than the stone for a "friction fit."
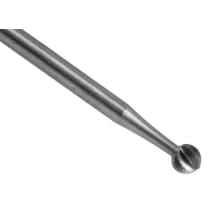
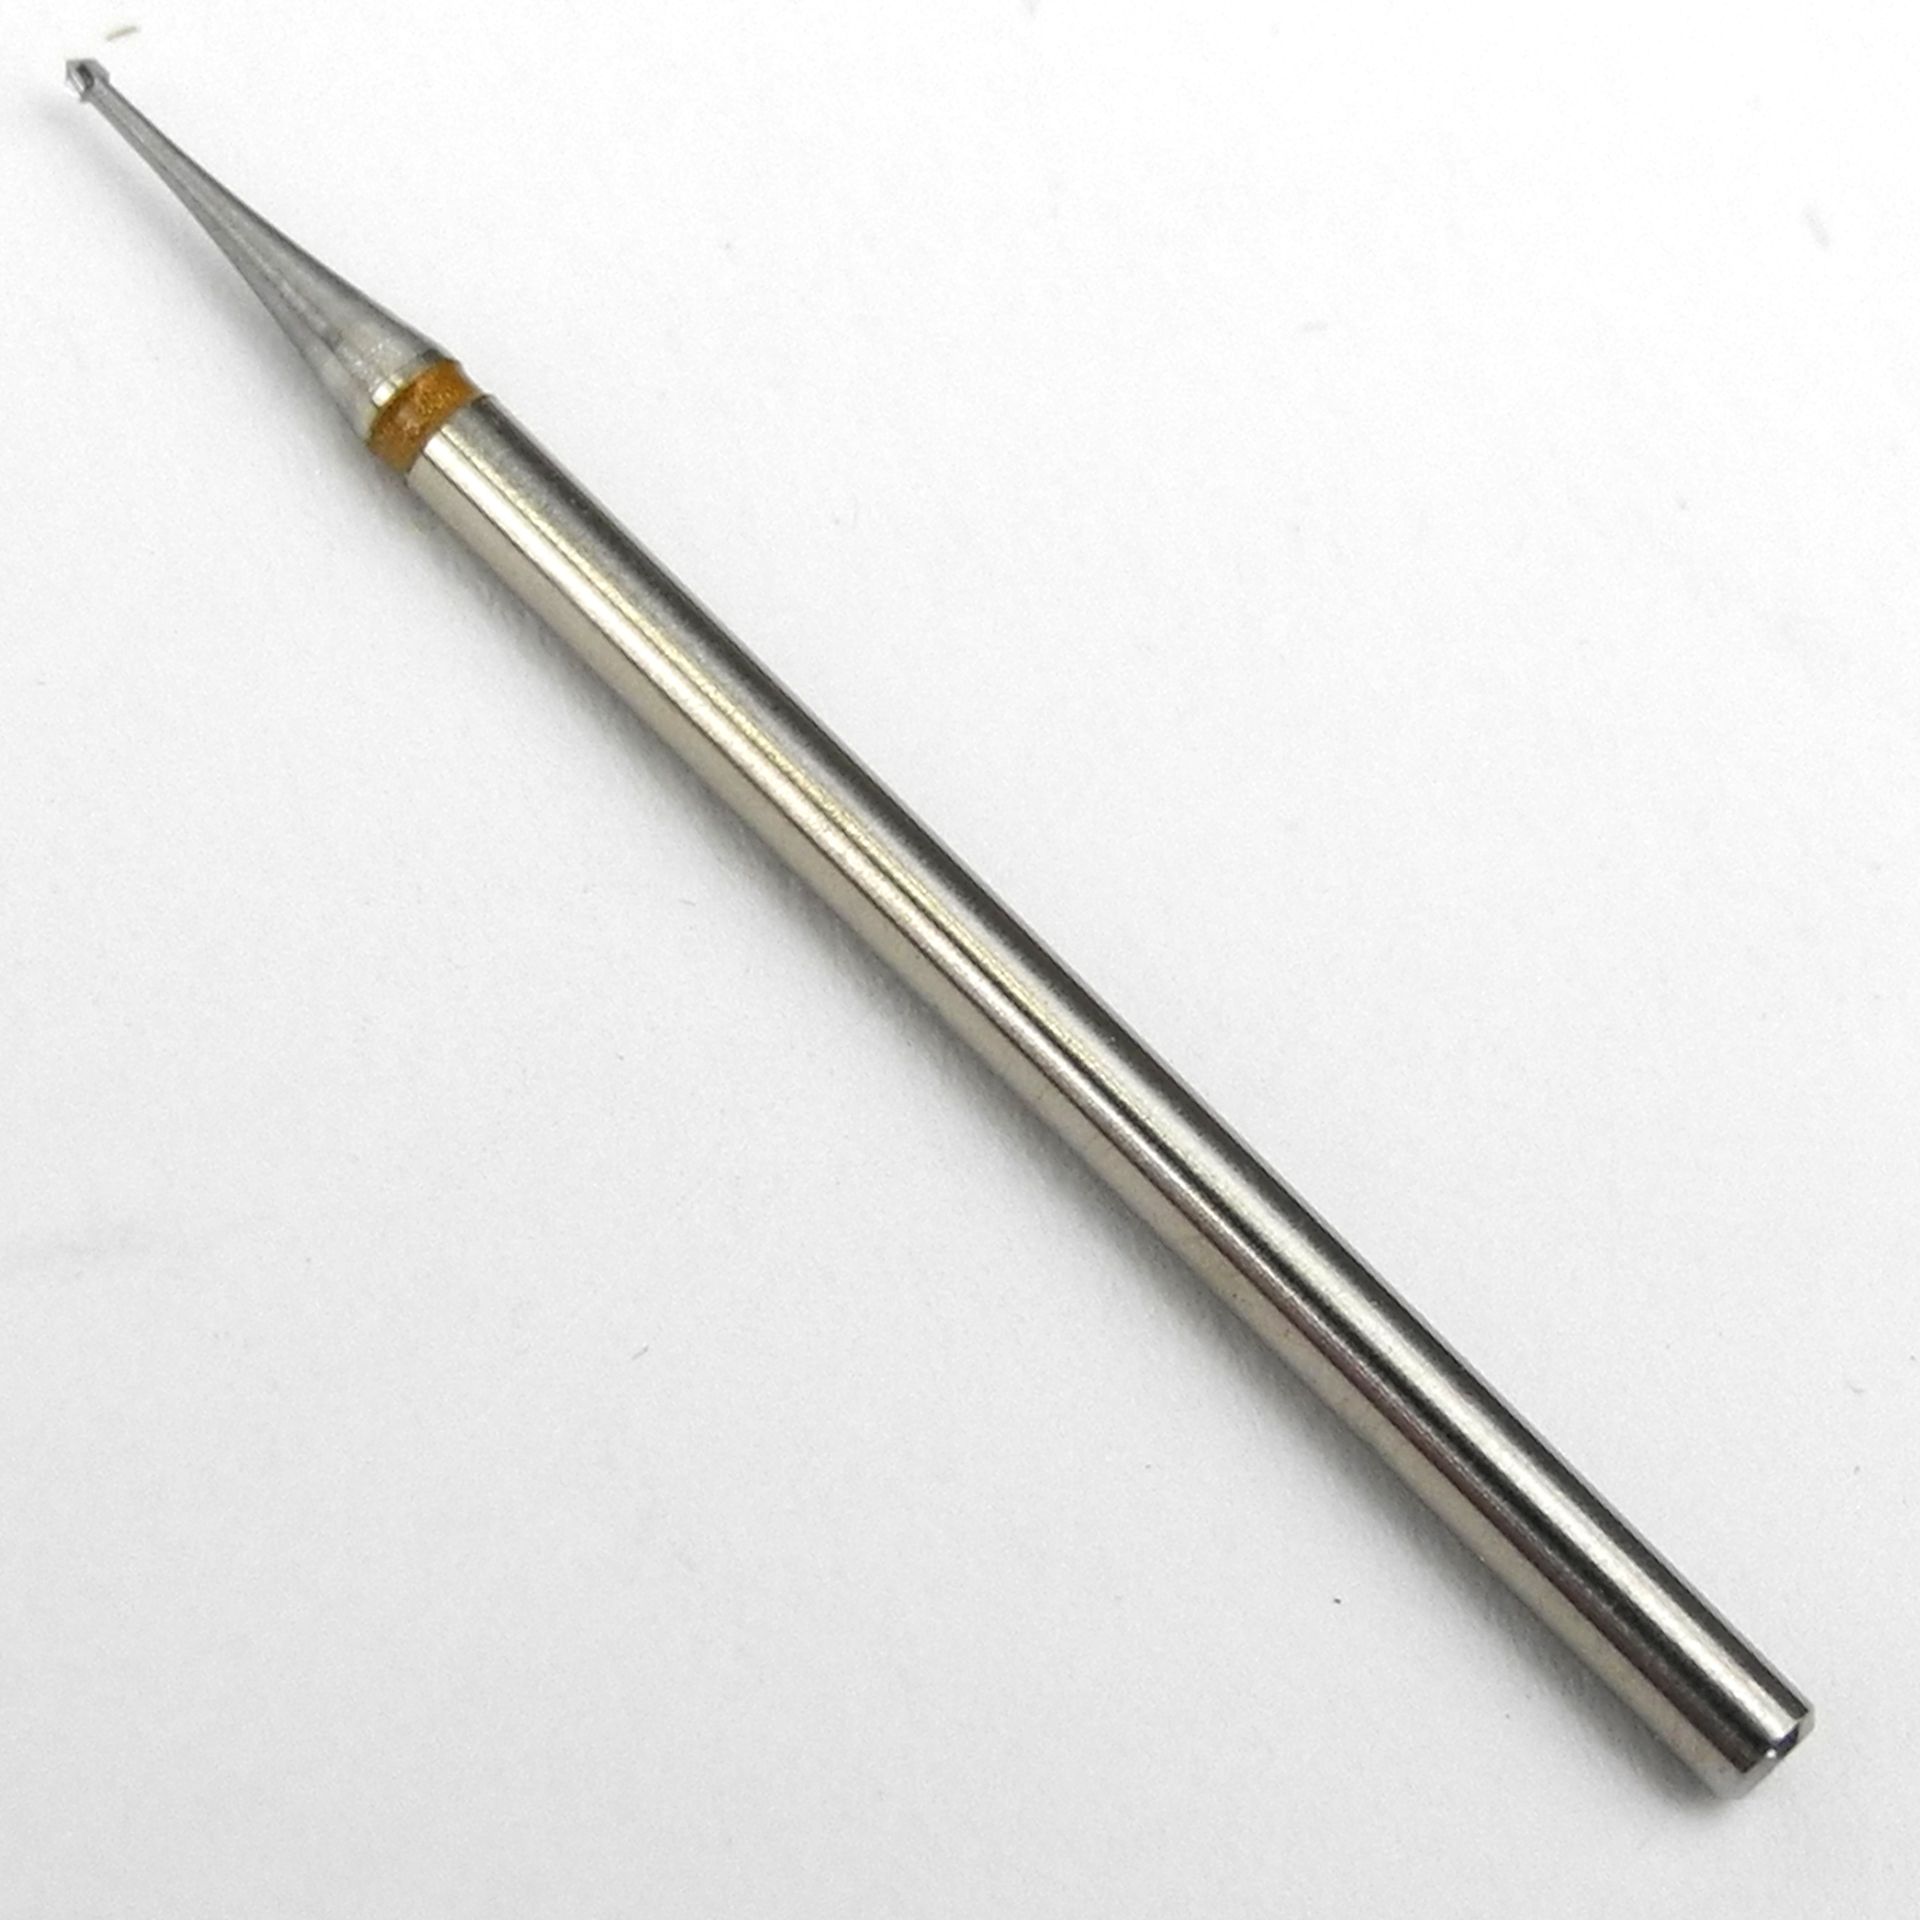
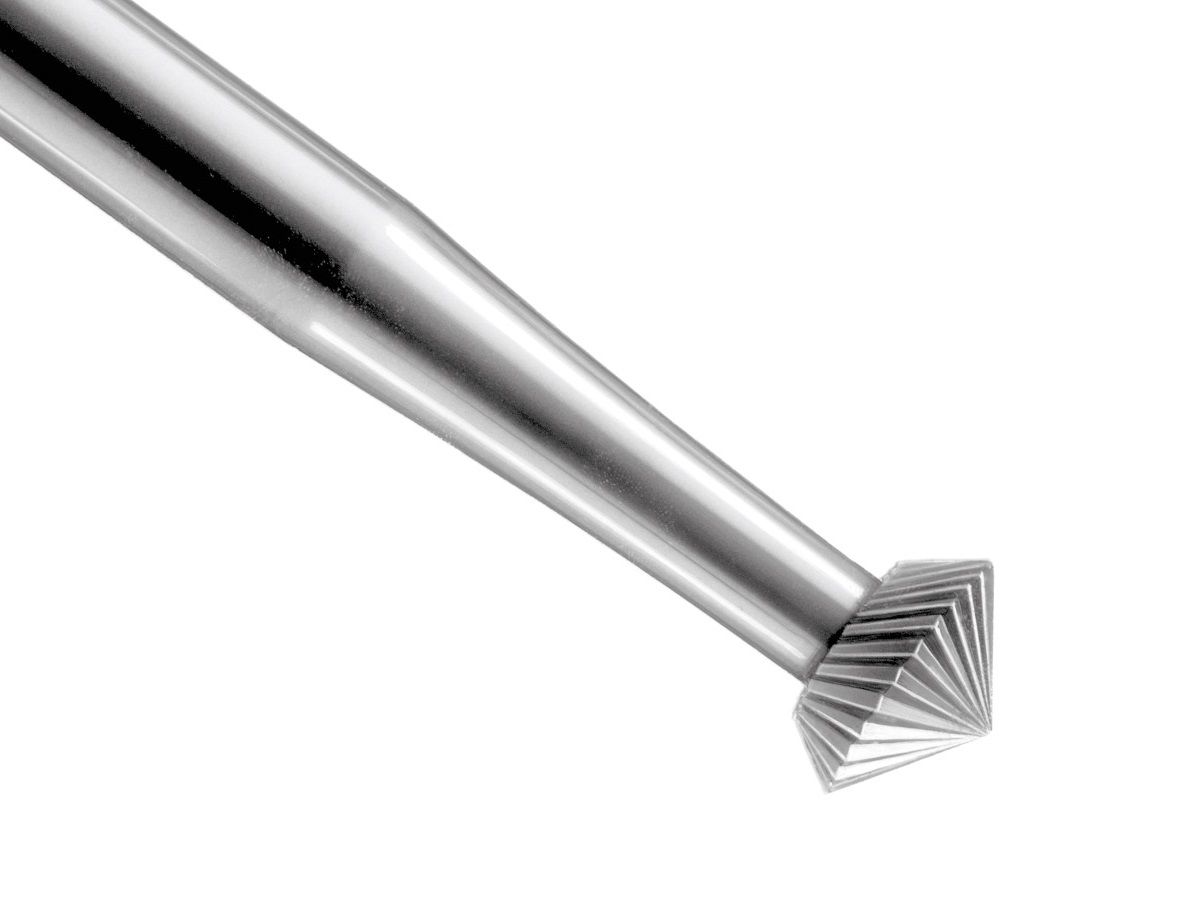
- Cutting the Seat: Use your burs to create a ledge. The stone should sit perfectly level and not "wobble" when pressed with a toothpick.
- The Drop: Place the stone. It should stay in place by tension alone before you even move the metal.
- Closing the Metal: Use a Bezel Pusher or Pillar File (with the end polished) to move metal. Work in "North-South-East-West" points to ensure the stone stays centered.
- Burnishing: Use a hardened steel or tungsten Burnisher to rub the metal edge. This compresses the molecules, making the metal shiny and "locking" it against the stone.
Troubleshooting: avoiding cracked gems
| Problem | Cause | Solution |
| The Stone Chips | You hit the stone with a steel tool or applied pressure to a "point" rather than the girdle. | Always push metal toward the stone, never down on top of it. |
| Metal "Springs Back" | The metal is too hard or work-hardened. | Soften the setting with heat before inserting the stone. |
| Stone is "Rattling" | The seat was cut too deep or the metal wasn't pushed far enough. | Use a burnisher to "chase" the metal closer, or tighten the bezel walls. |
Pro tips for new businesses
- The "Toothpick Test": Before finishing, press a toothpick against the edge of the stone and try to rotate it. If it moves even a fraction, it will eventually fall out.
- Finish First: Polish your jewellery before setting the stone. Once the stone is in, it’s much harder to reach the metal directly underneath the setting without damaging the gem.
- Invest in a Micromotor: Unlike a standard pendant motor, a micromotor offers high torque at low speeds - critical for the delicate control needed when cutting seats in gold or platinum.
A recommended progression path
This is the recommended order to attempt jewellery setting – mastering each stage will give you a greater chance of success when you move on to the next.
- Level 1: Bezel setting round cabochons in silver.
- Level 2: Tube setting small faceted stones (CZs or Sapphires).
- Level 3: Claw setting and Flush setting into thick bands.
Visit our guide to jewellery making for more help
We've put together a comprehensive resource that covers everything you need to start making professional-quality jewellery.