
Jewellery files, abrasives and sanding explained
A mirror polish is only ever as good as the work that comes before it. Polishing compounds are brilliant at bringing up a shine, but they can't remove deep file marks, scratches or solder lines. If those are still there when you reach the polishing mop, they'll still be there when you've finished, only shinier.
That's why experienced jewellers spend far more time on the pre-polishing stages than on polishing itself. The idea is simple: start with a coarse tool to shape and refine, then work through progressively finer abrasives, each one removing the scratches left by the last, until the surface is smooth and ready to polish.
In this guide, we'll explain each stage in turn:
- Files and needle files to shape the metal and remove excess.
- Emery sticks and sanding papers to remove file marks and refine the surface.
- Abrasive wheels to speed up sanding with a pendant motor or micromotor.
- Finishing compounds to take out the last fine scratches before polishing.
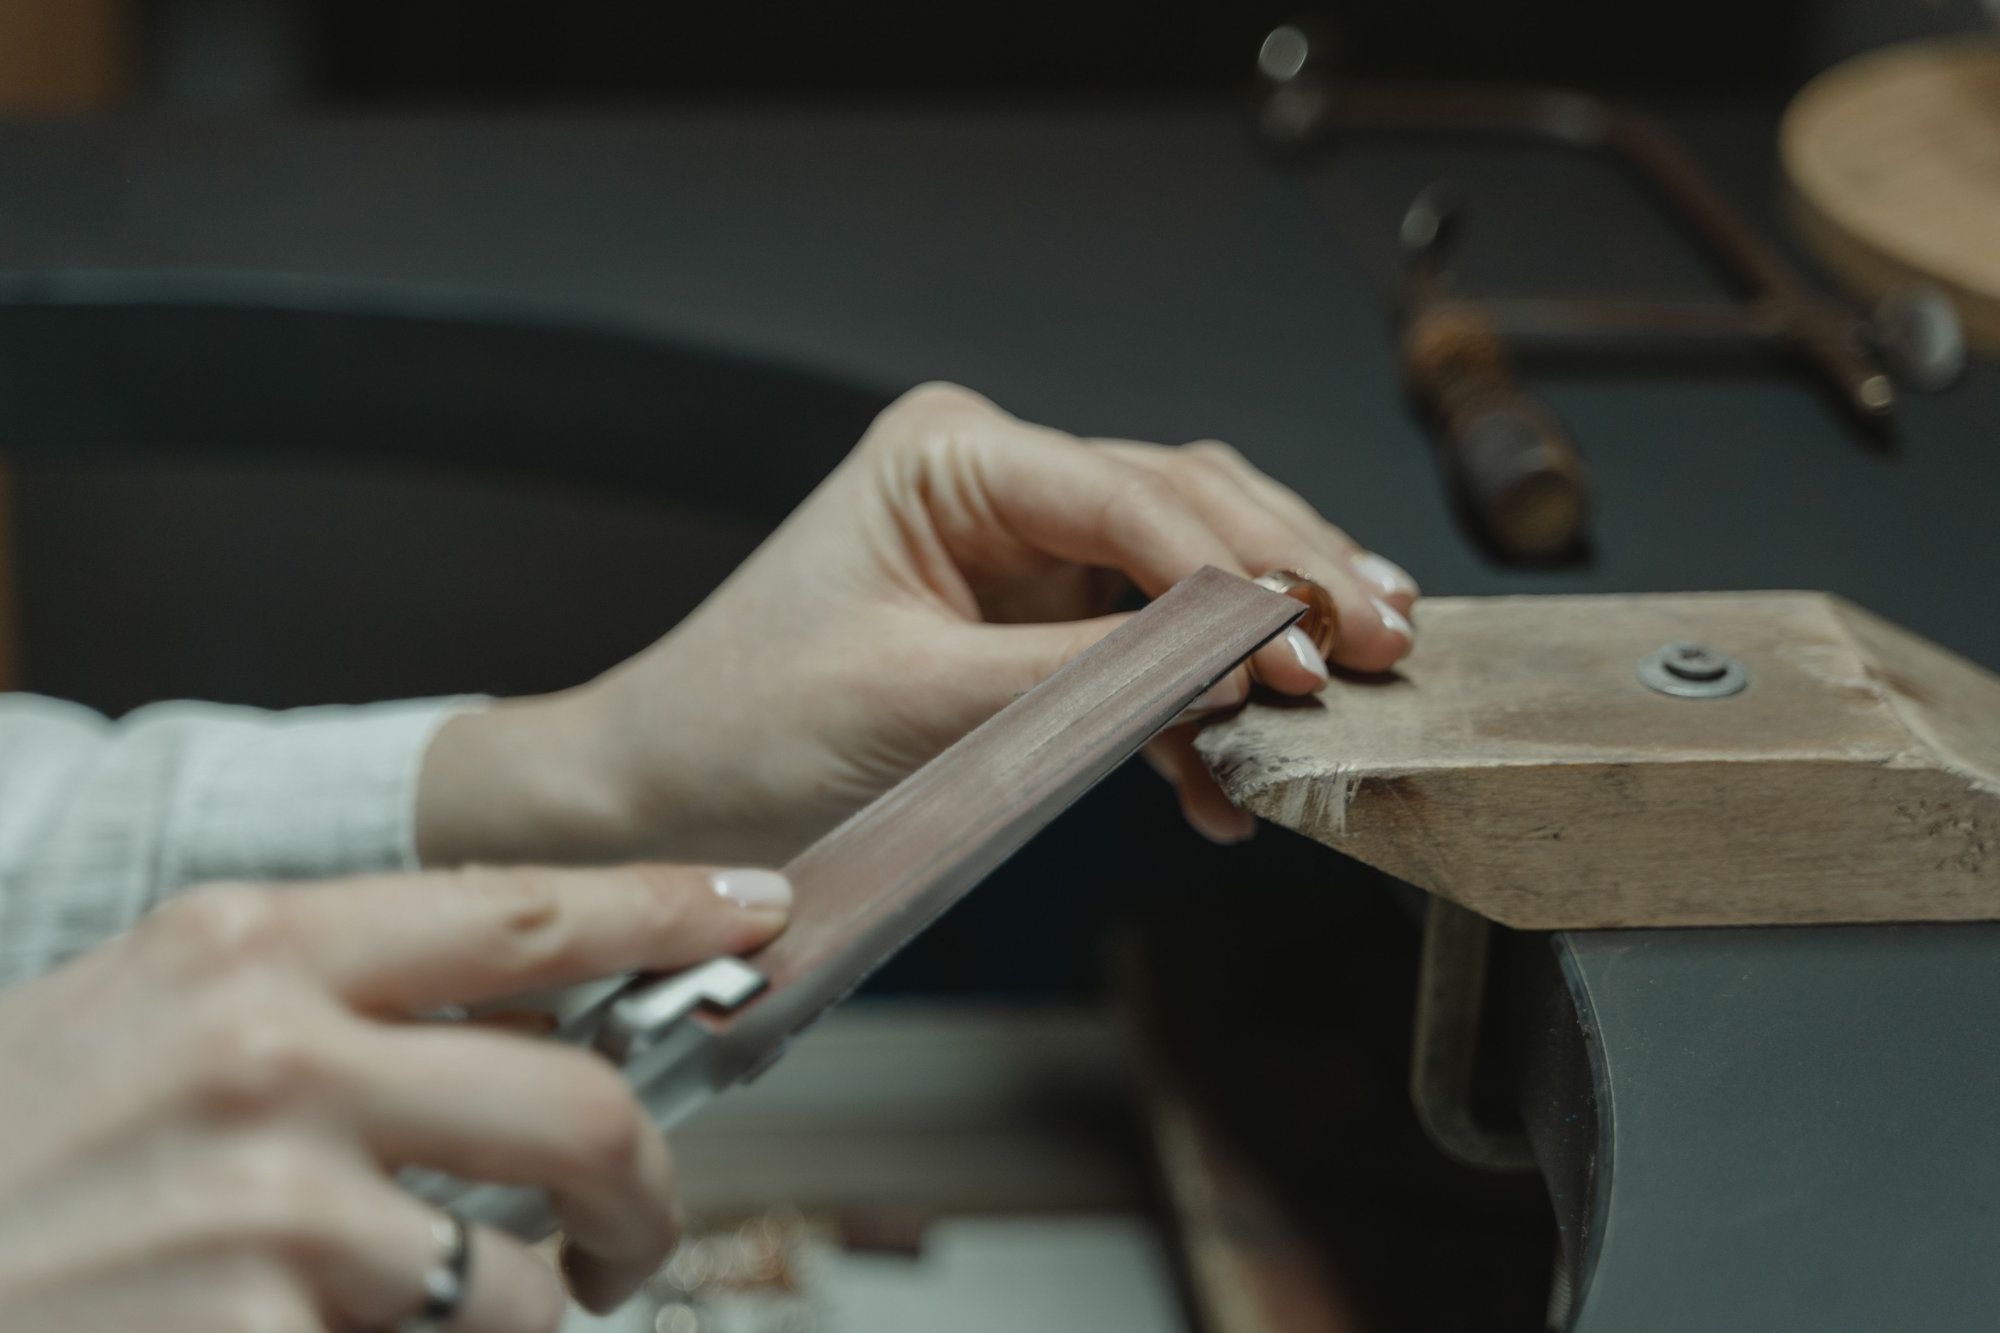
Files and needle files
Files are the first and coarsest stage of finishing. They're how you shape a piece, true up edges, remove saw marks and blend in solder seams. Get this stage right and every step after it becomes quicker and easier.
Understanding file cuts
Jewellers' files are graded by their "cut", which tells you how coarse or fine the teeth are. Swiss-pattern files use a numbered system where the lower the number, the coarser the file:
| Cut | Coarseness | Best for |
| 00 and 0 | Coarse | Removing metal quickly and rough shaping |
| 1 and 2 | Medium | General shaping and refining; a cut 2 is a good all-round choice |
| 3 and 4 | Fine | Smoothing and refining before sanding |
| 5 and 6 | Very fine | Delicate detail and a smooth finish ready for emery |
If you're building a set from scratch, a cut 2 hand file and a set of cut 2 needle files will cover most everyday jobs.
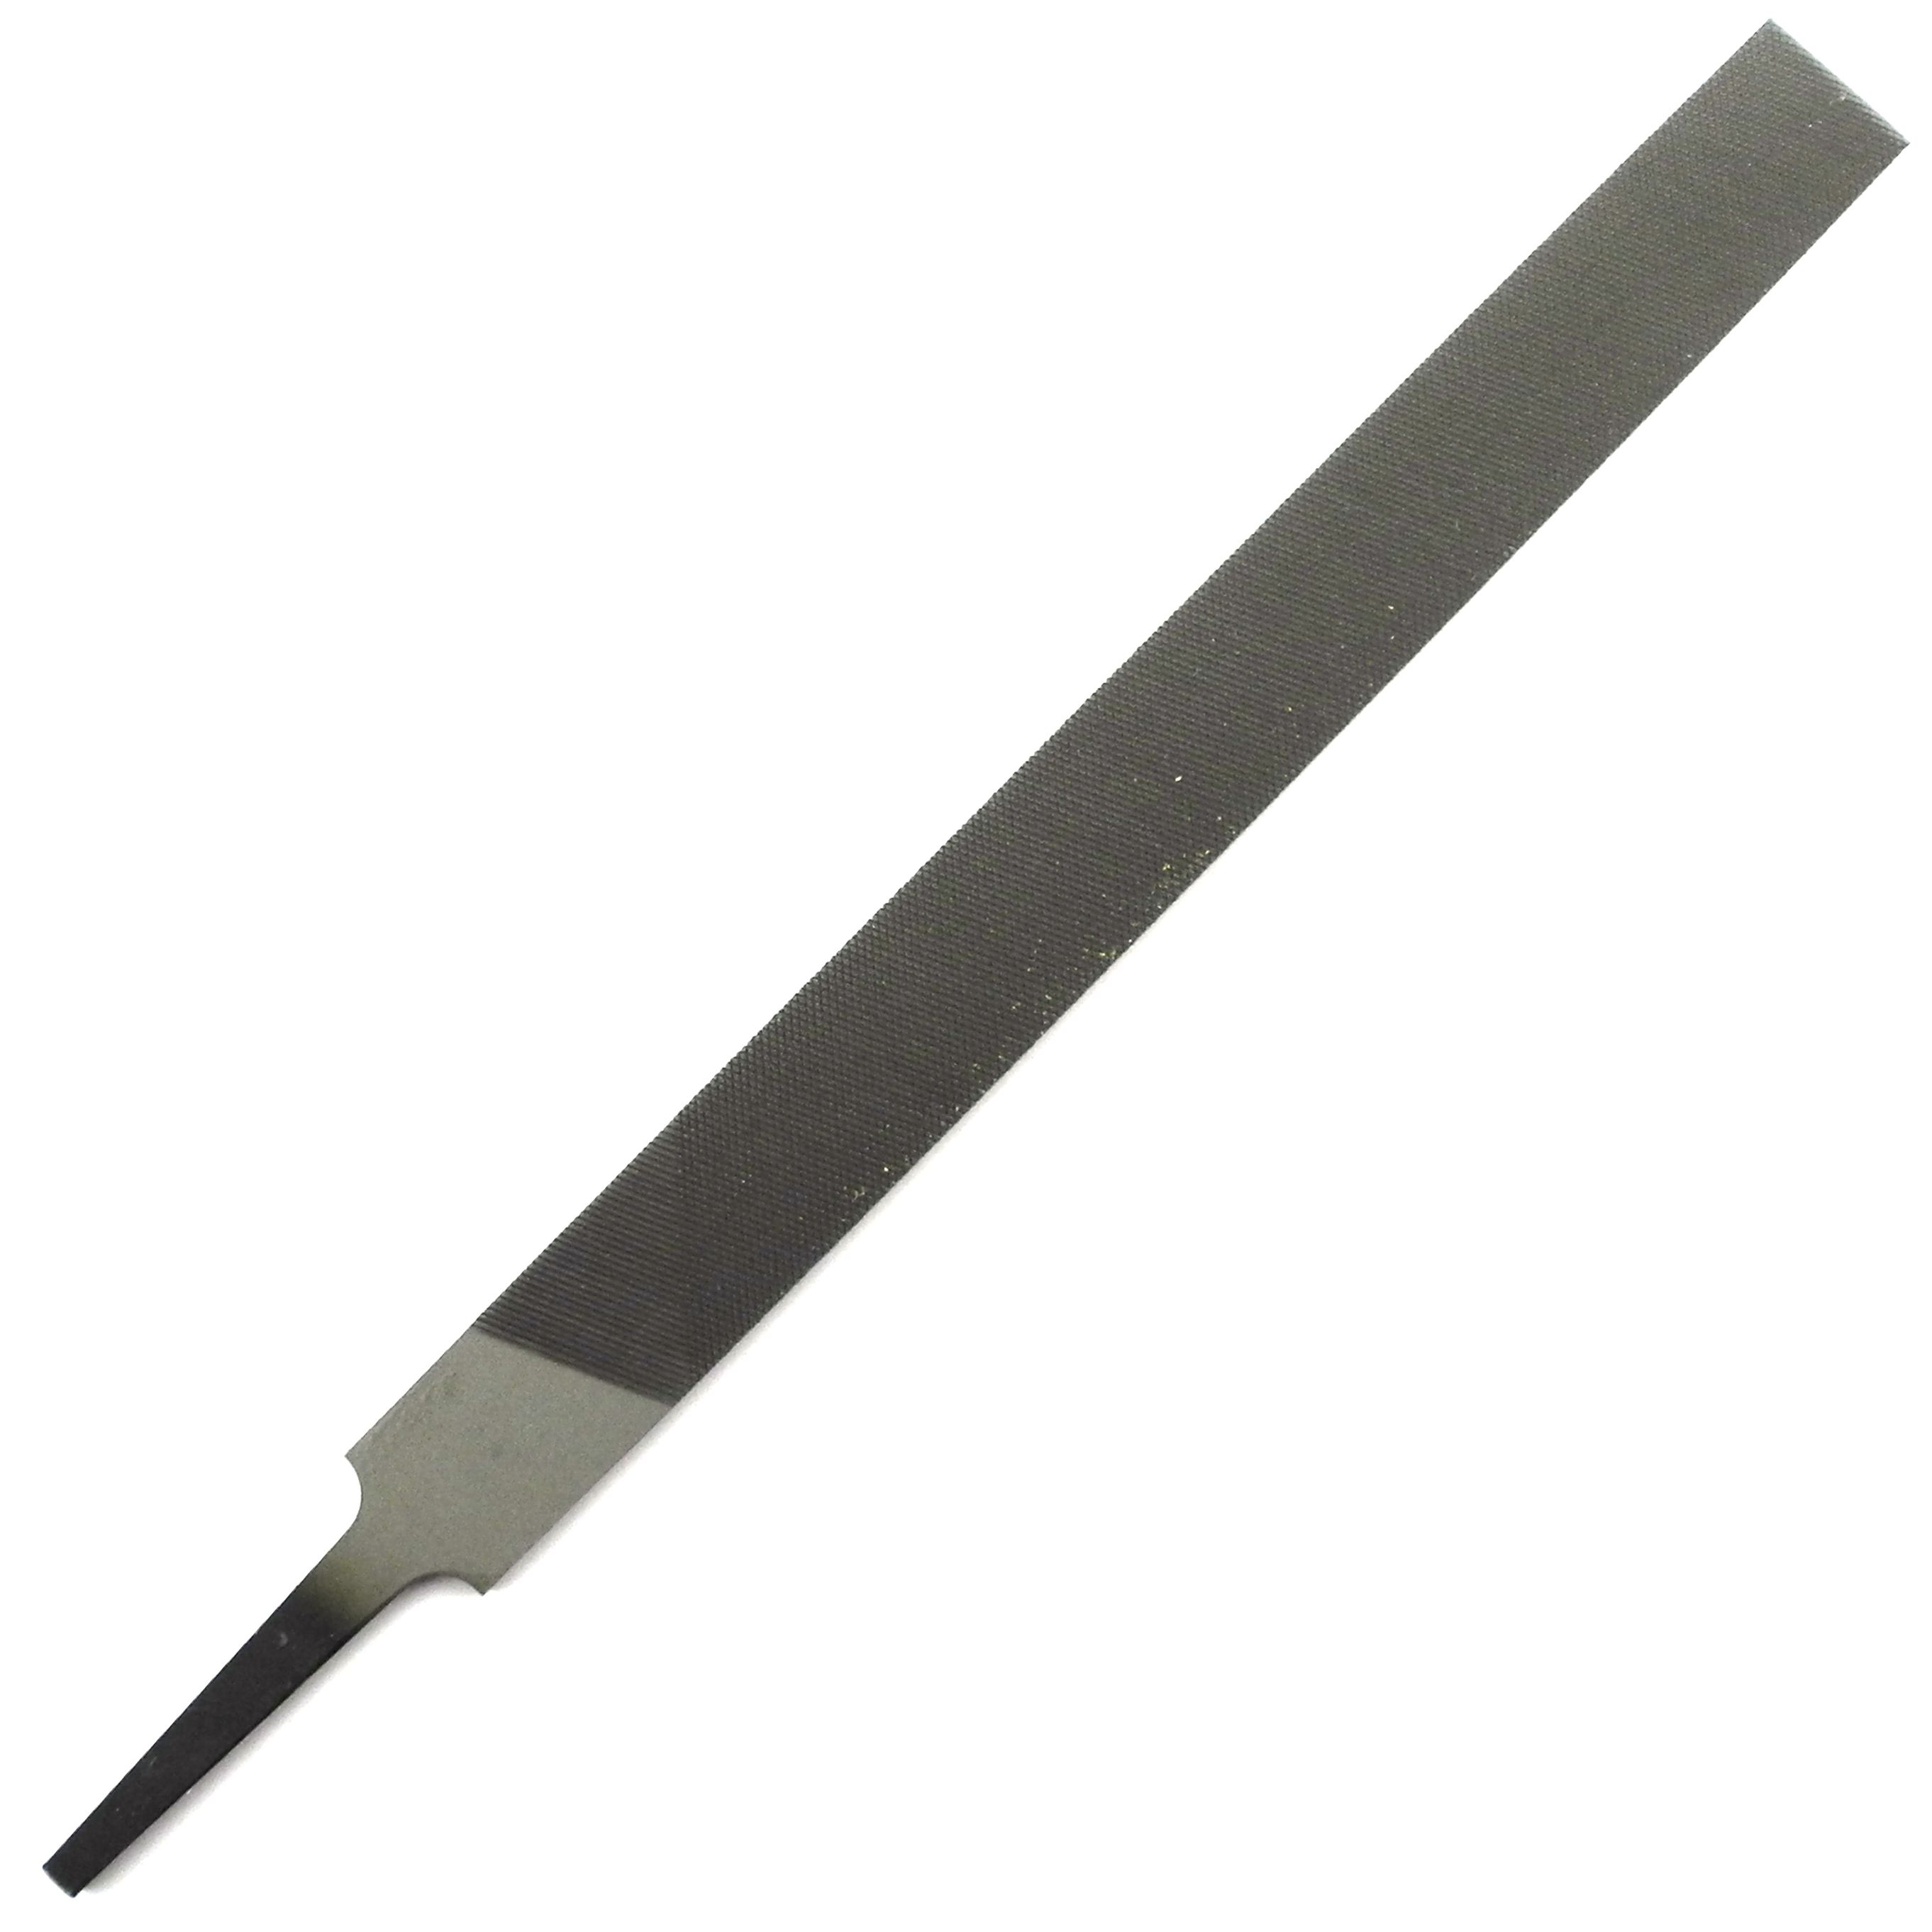
Hand files
Hand files are the larger files, usually 15cm to 20cm long, and they're ideal for flat surfaces, straight edges and the outside of rings. The two shapes most jewellers use daily are:
- Flat files, for straight edges and flat surfaces.
- Half-round files, with one flat face and one curved face. The curved side is perfect for the inside of rings and concave curves.
Needle files
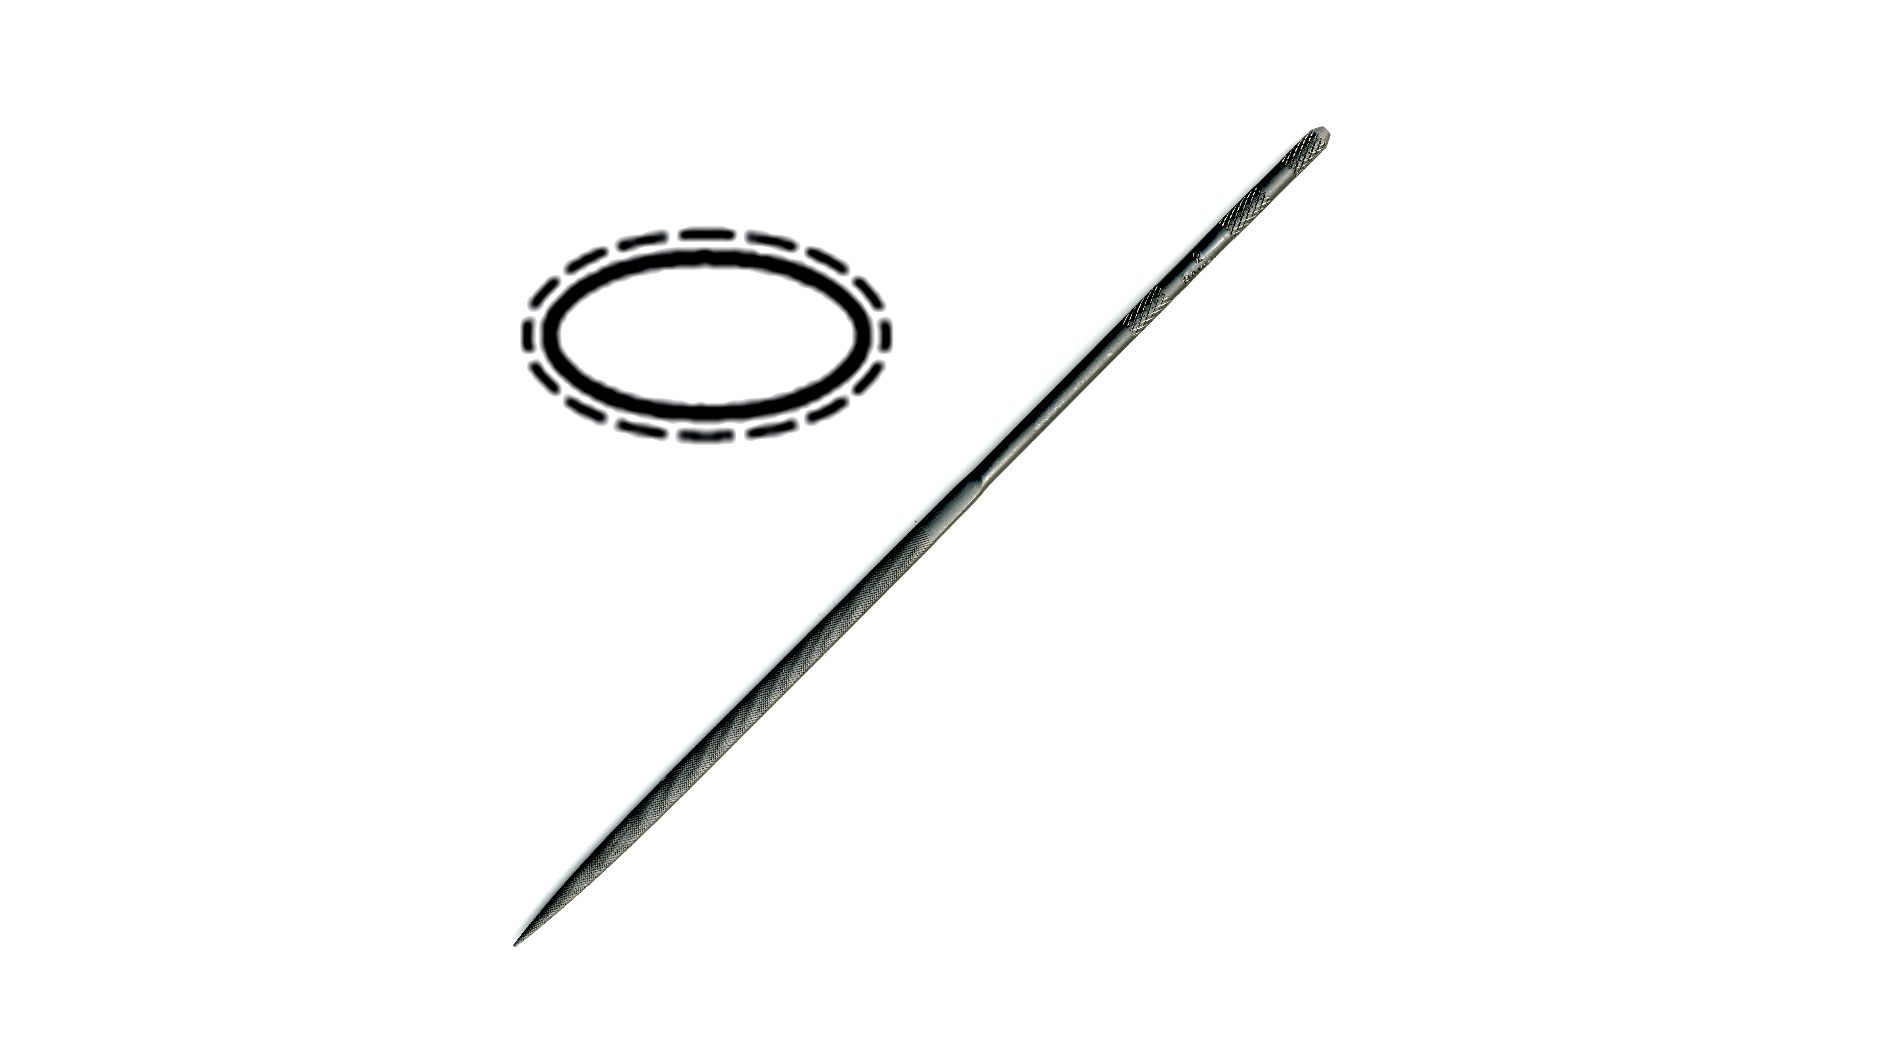
Swiss needle files are smaller, finer files for detailed work, pierced shapes and areas a hand file can't reach. They come in a wide range of profiles, including:
- Round, for enlarging holes and filing tight inside curves.
- Half round ring, for small rings and gentle inside curves.
- Threesquare (triangular), for sharp inside corners and V-grooves.
- Square, for square corners and slots.
- Knife edge, for narrow slots and fine V-shaped cuts.
- Barrette, which has teeth on one face only, so you can file into a corner without marking the wall next to it.
How to file jewellery properly
- File on the push stroke. Files only cut as they move forward, so apply light pressure going away from you and lift slightly on the way back.
- Support your work against the bench peg, so the piece doesn't chatter (small marks caused by the piece vibrating while being filed) or bend.
- Keep the file flat to the surface you're working on, or you'll round off edges you meant to keep crisp.
- Change direction regularly. Filing at an angle to your last strokes makes it easy to see where you've reached and which marks are left.
- Move to a finer cut as you get close to your final shape.
Expert filing technique: many jewellers swear by fitting a handle to every file, even small ones. It gives you better control, protects your palm from the tang (the thinner piece of metal that has no file texture), and makes it easier to grab the right file quickly. It's also worth keeping separate files for silver, gold and platinum, as filings left in the teeth can contaminate another metal and cause problems when soldering. Clear clogged teeth with a file card, and collect your filings, as precious metal scrap can be refined.
Emery sticks and sanding papers
Once your piece is shaped, sanding removes the file marks and gradually refines the surface. It's the stage beginners are most tempted to rush, and also the one that makes the biggest difference to the final polish. So don’t give into the temptation to rush it.
Understanding grit
Abrasive papers are graded by grit number. The higher the number, the finer the abrasive and the smaller the scratches it leaves. A typical progression after filing looks like this:
| Grit | Stage | What it does |
| 240 to 320 | Coarse | Removes file marks and evens out the surface |
| 400 to 600 | Medium | Takes out the scratches left by the coarse grit |
| 800 to 1,200 | Fine | Leaves a smooth satin surface |
| 1,500 and above | Very fine | Prepares the surface for a high polish |
You don't need to use every grit, but try not to skip more than one step at a time. Jumping straight from 240 to 1,200 might feel quicker, but the fine paper will take far longer to remove those deeper scratches, if it removes them at all.
Wet and dry paper (silicon carbide) is a popular choice because it can be used dry for speed or with a little water to reduce dust and give a finer finish.
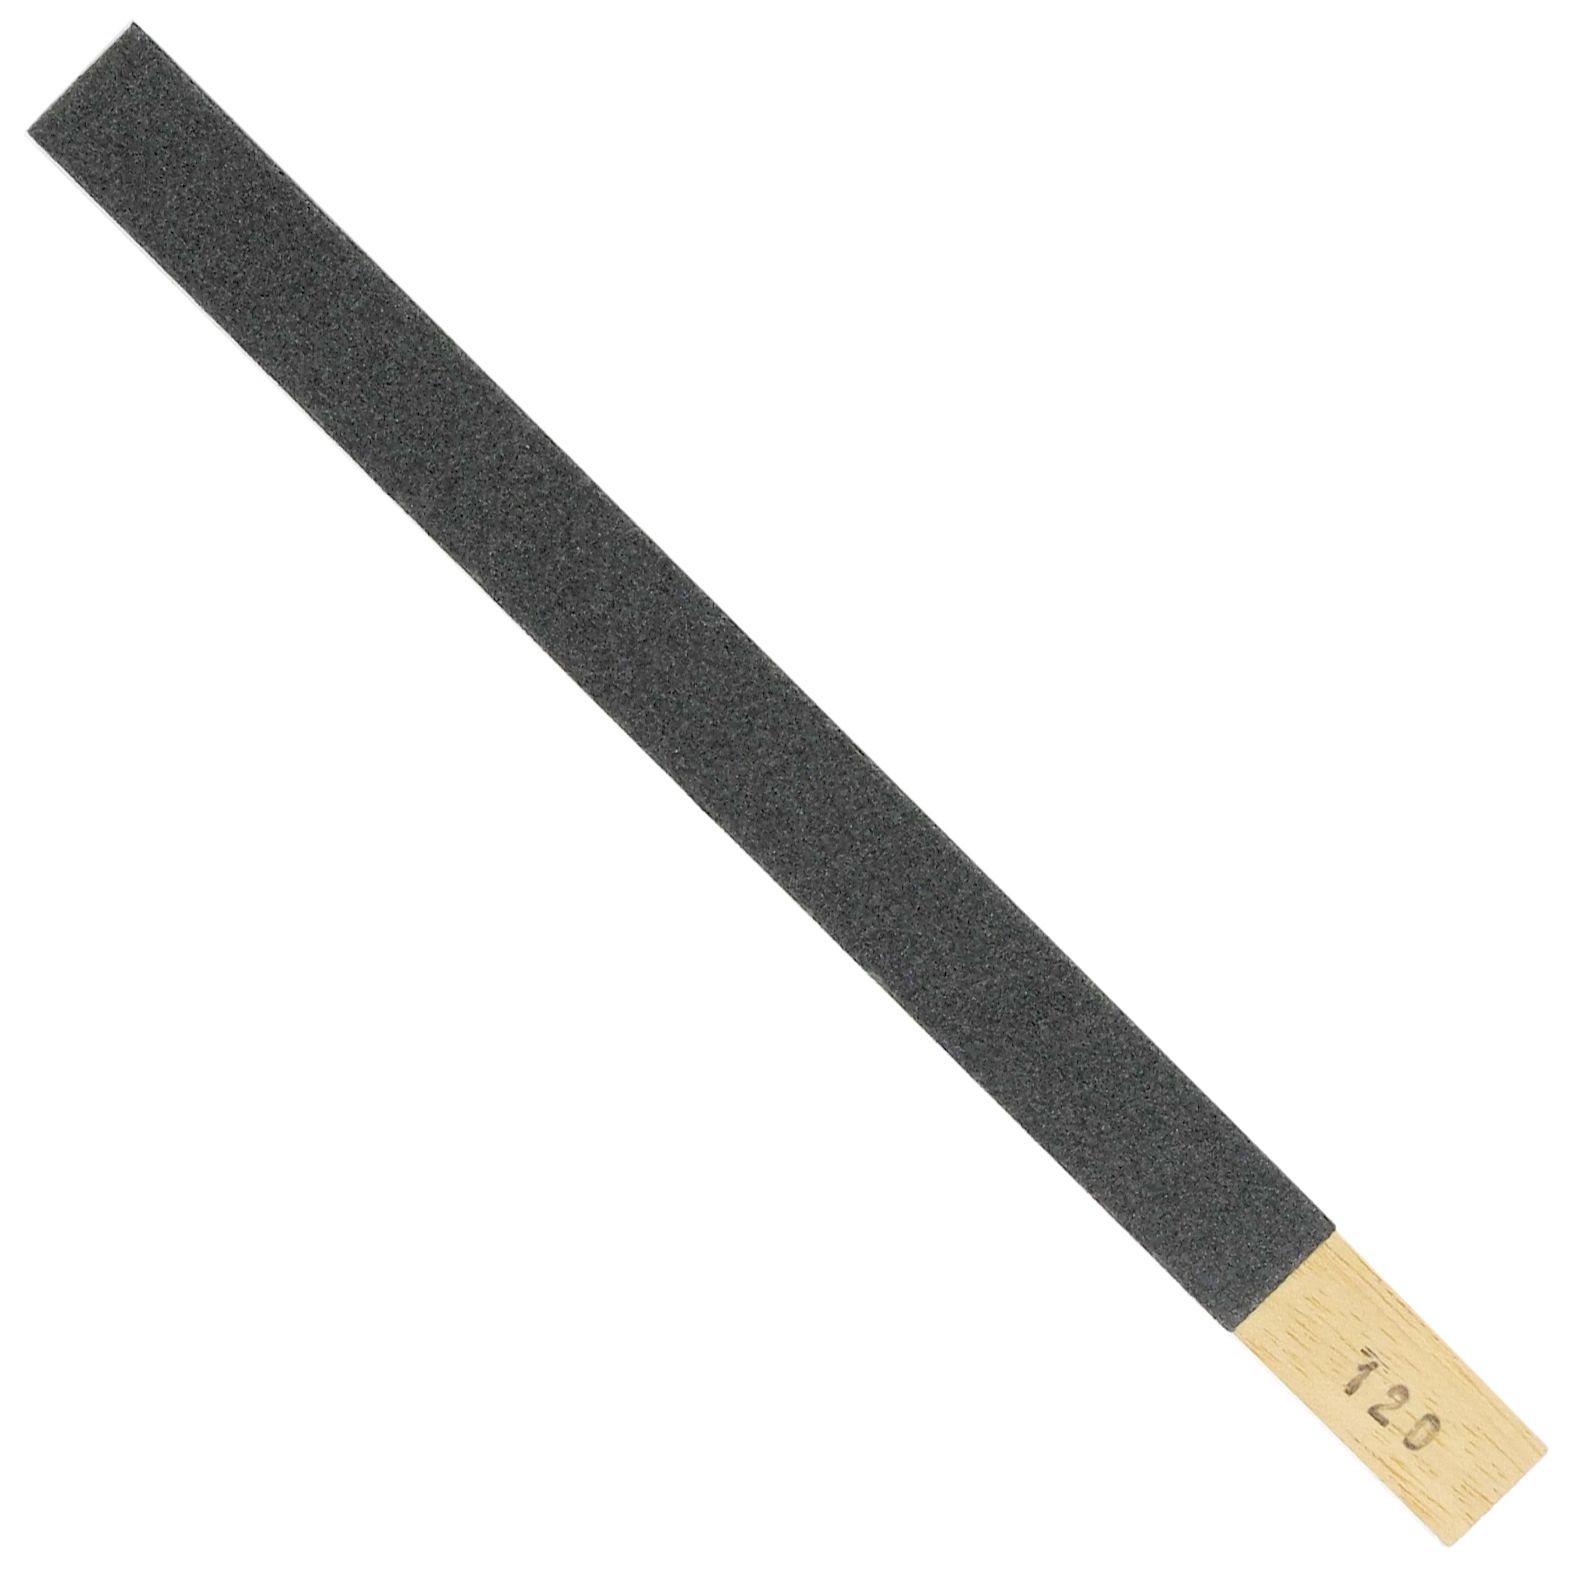
Emery sticks
Emery sticks are flat or shaped sticks wrapped in abrasive paper. They work like a file, but sand rather than cut, and they give you a firm, flat surface that keeps edges crisp and faces level. Half-round and ring sticks are available for curved surfaces and the inside of rings.
Many jewellers also make their own by wrapping abrasive paper tightly around a flat piece of wood, a dowel or even an old file, held in place with double-sided tape. It's an inexpensive way to have a stick ready for every grit, and you can simply tear off the worn layer to reveal fresh paper underneath.
Other sanding options
- Abrasive cords and tapes are ideal for cleaning up inside pierced shapes and holes. Thread them through and draw them back and forth like dental floss.
- Garryflex abrasive blocks are flexible rubber blocks with abrasive throughout, handy for removing light scratches and giving a soft satin finish.
- Abrasive stones are useful for flat surfaces and for smoothing hard-to-reach areas.
How to sand well
- Change direction with every grit. Sand at 90° to the scratches left by the previous grit. When all the old lines have gone and only the new ones remain, you're ready to move on.
- Keep your grits separate. A single particle of coarse grit carried onto fine paper will leave a deep scratch across your work. Wipe or rinse the piece between grits.
- Back the paper. Paper held loosely in your fingers will round off edges and soften detail. Use a stick or block wherever you can.
- Check under good light or with a loupe before moving on.
Expert sanding technique: a common piece of advice in workshops is that if you can still see a scratch after sanding, it'll look ten times worse after polishing. A high polish acts like a mirror and shows up every flaw, so it pays to be patient here.
Abrasive wheels
Abrasive wheels do the same job as sanding papers, but powered by a pendant motor or micromotor. They save a lot of time on larger pieces and are especially useful for reaching awkward areas such as the inside of rings, around settings and between details.
Types of abrasive wheel
You'll find the full range in our abrasive wheels section. Colour codes vary between manufacturers, so always check the grit for the brand you're using rather than going by colour alone.
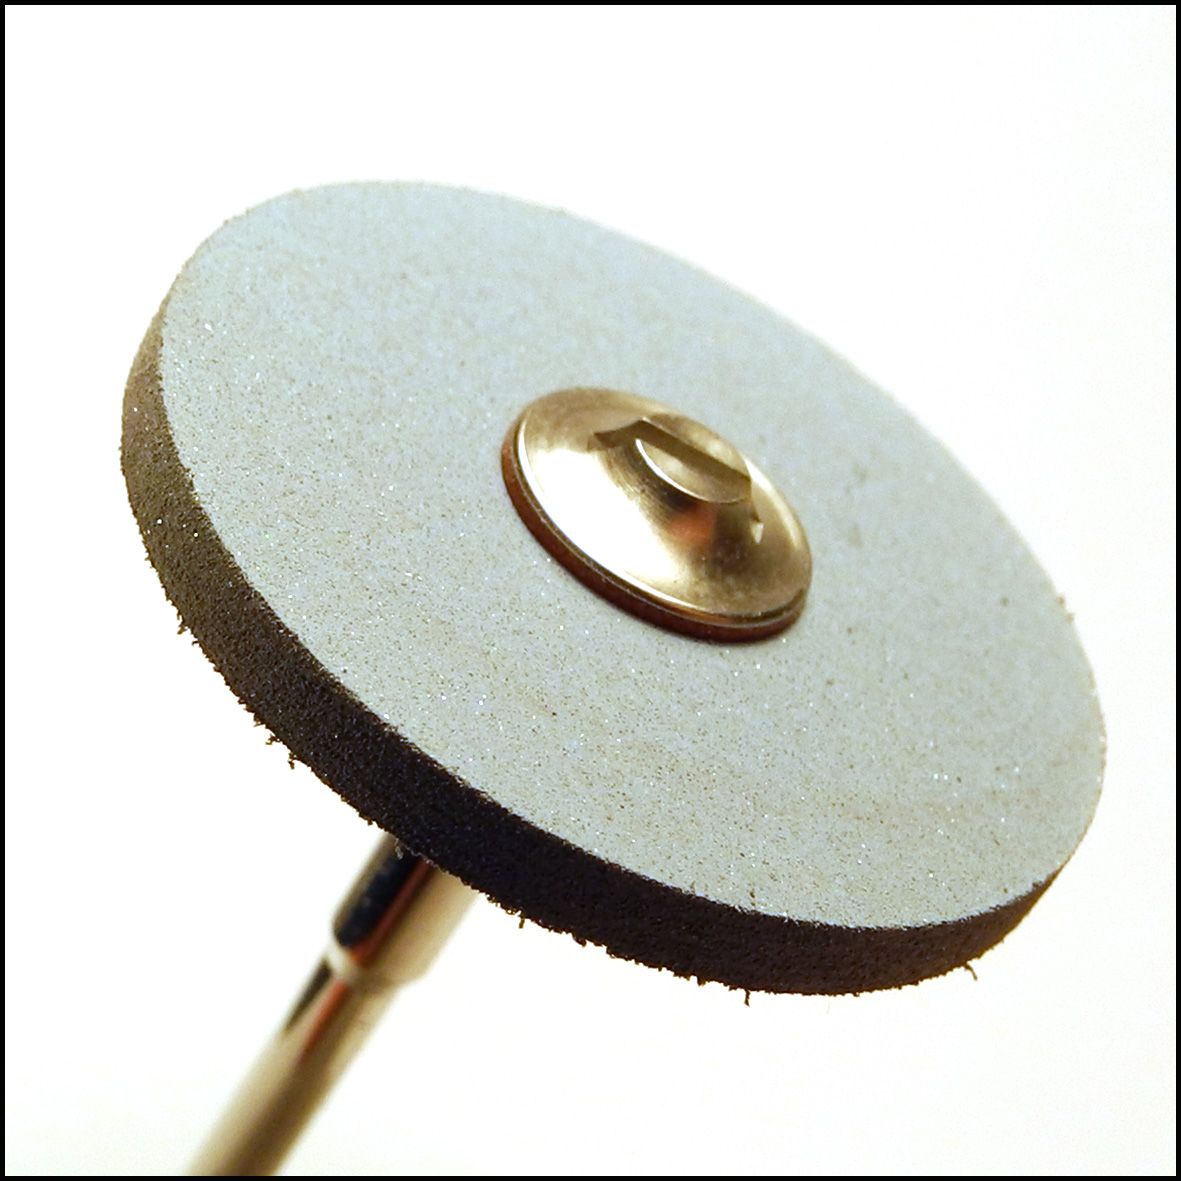
Rubber and silicone wheels have abrasive mixed into a flexible rubber or silicone body. They're usually colour-coded by grit, so you can work from coarse to fine just as you would with papers. Shapes include wheels, knife-edge wheels, cylinders, cones and points for detailed areas.
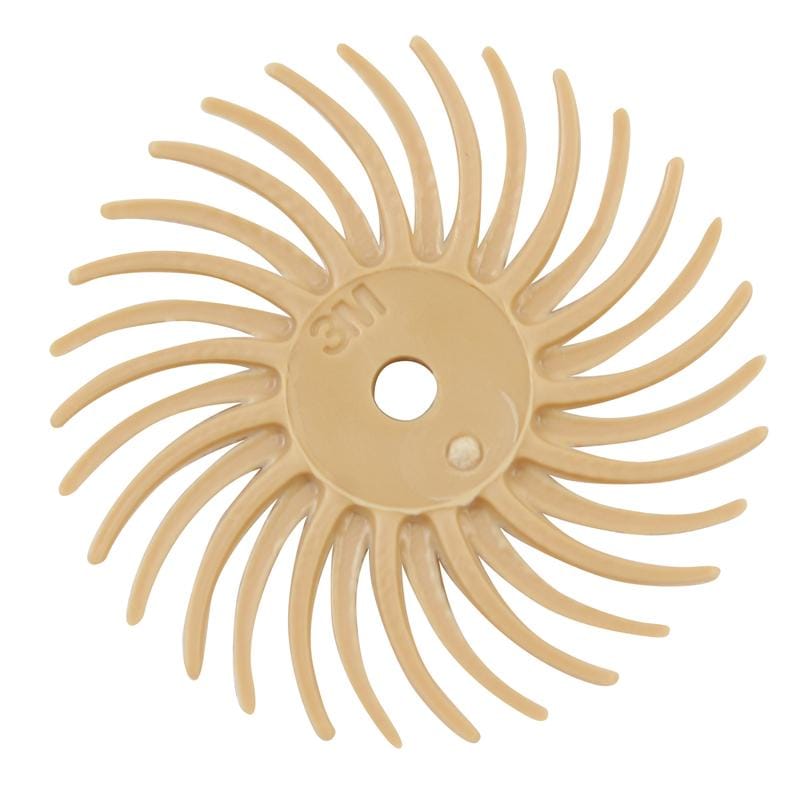
Radial bristle discs have flexible abrasive bristles that reach into textures, crevices and pierced work without flattening detail. They're often stacked several at a time on one mandrel.
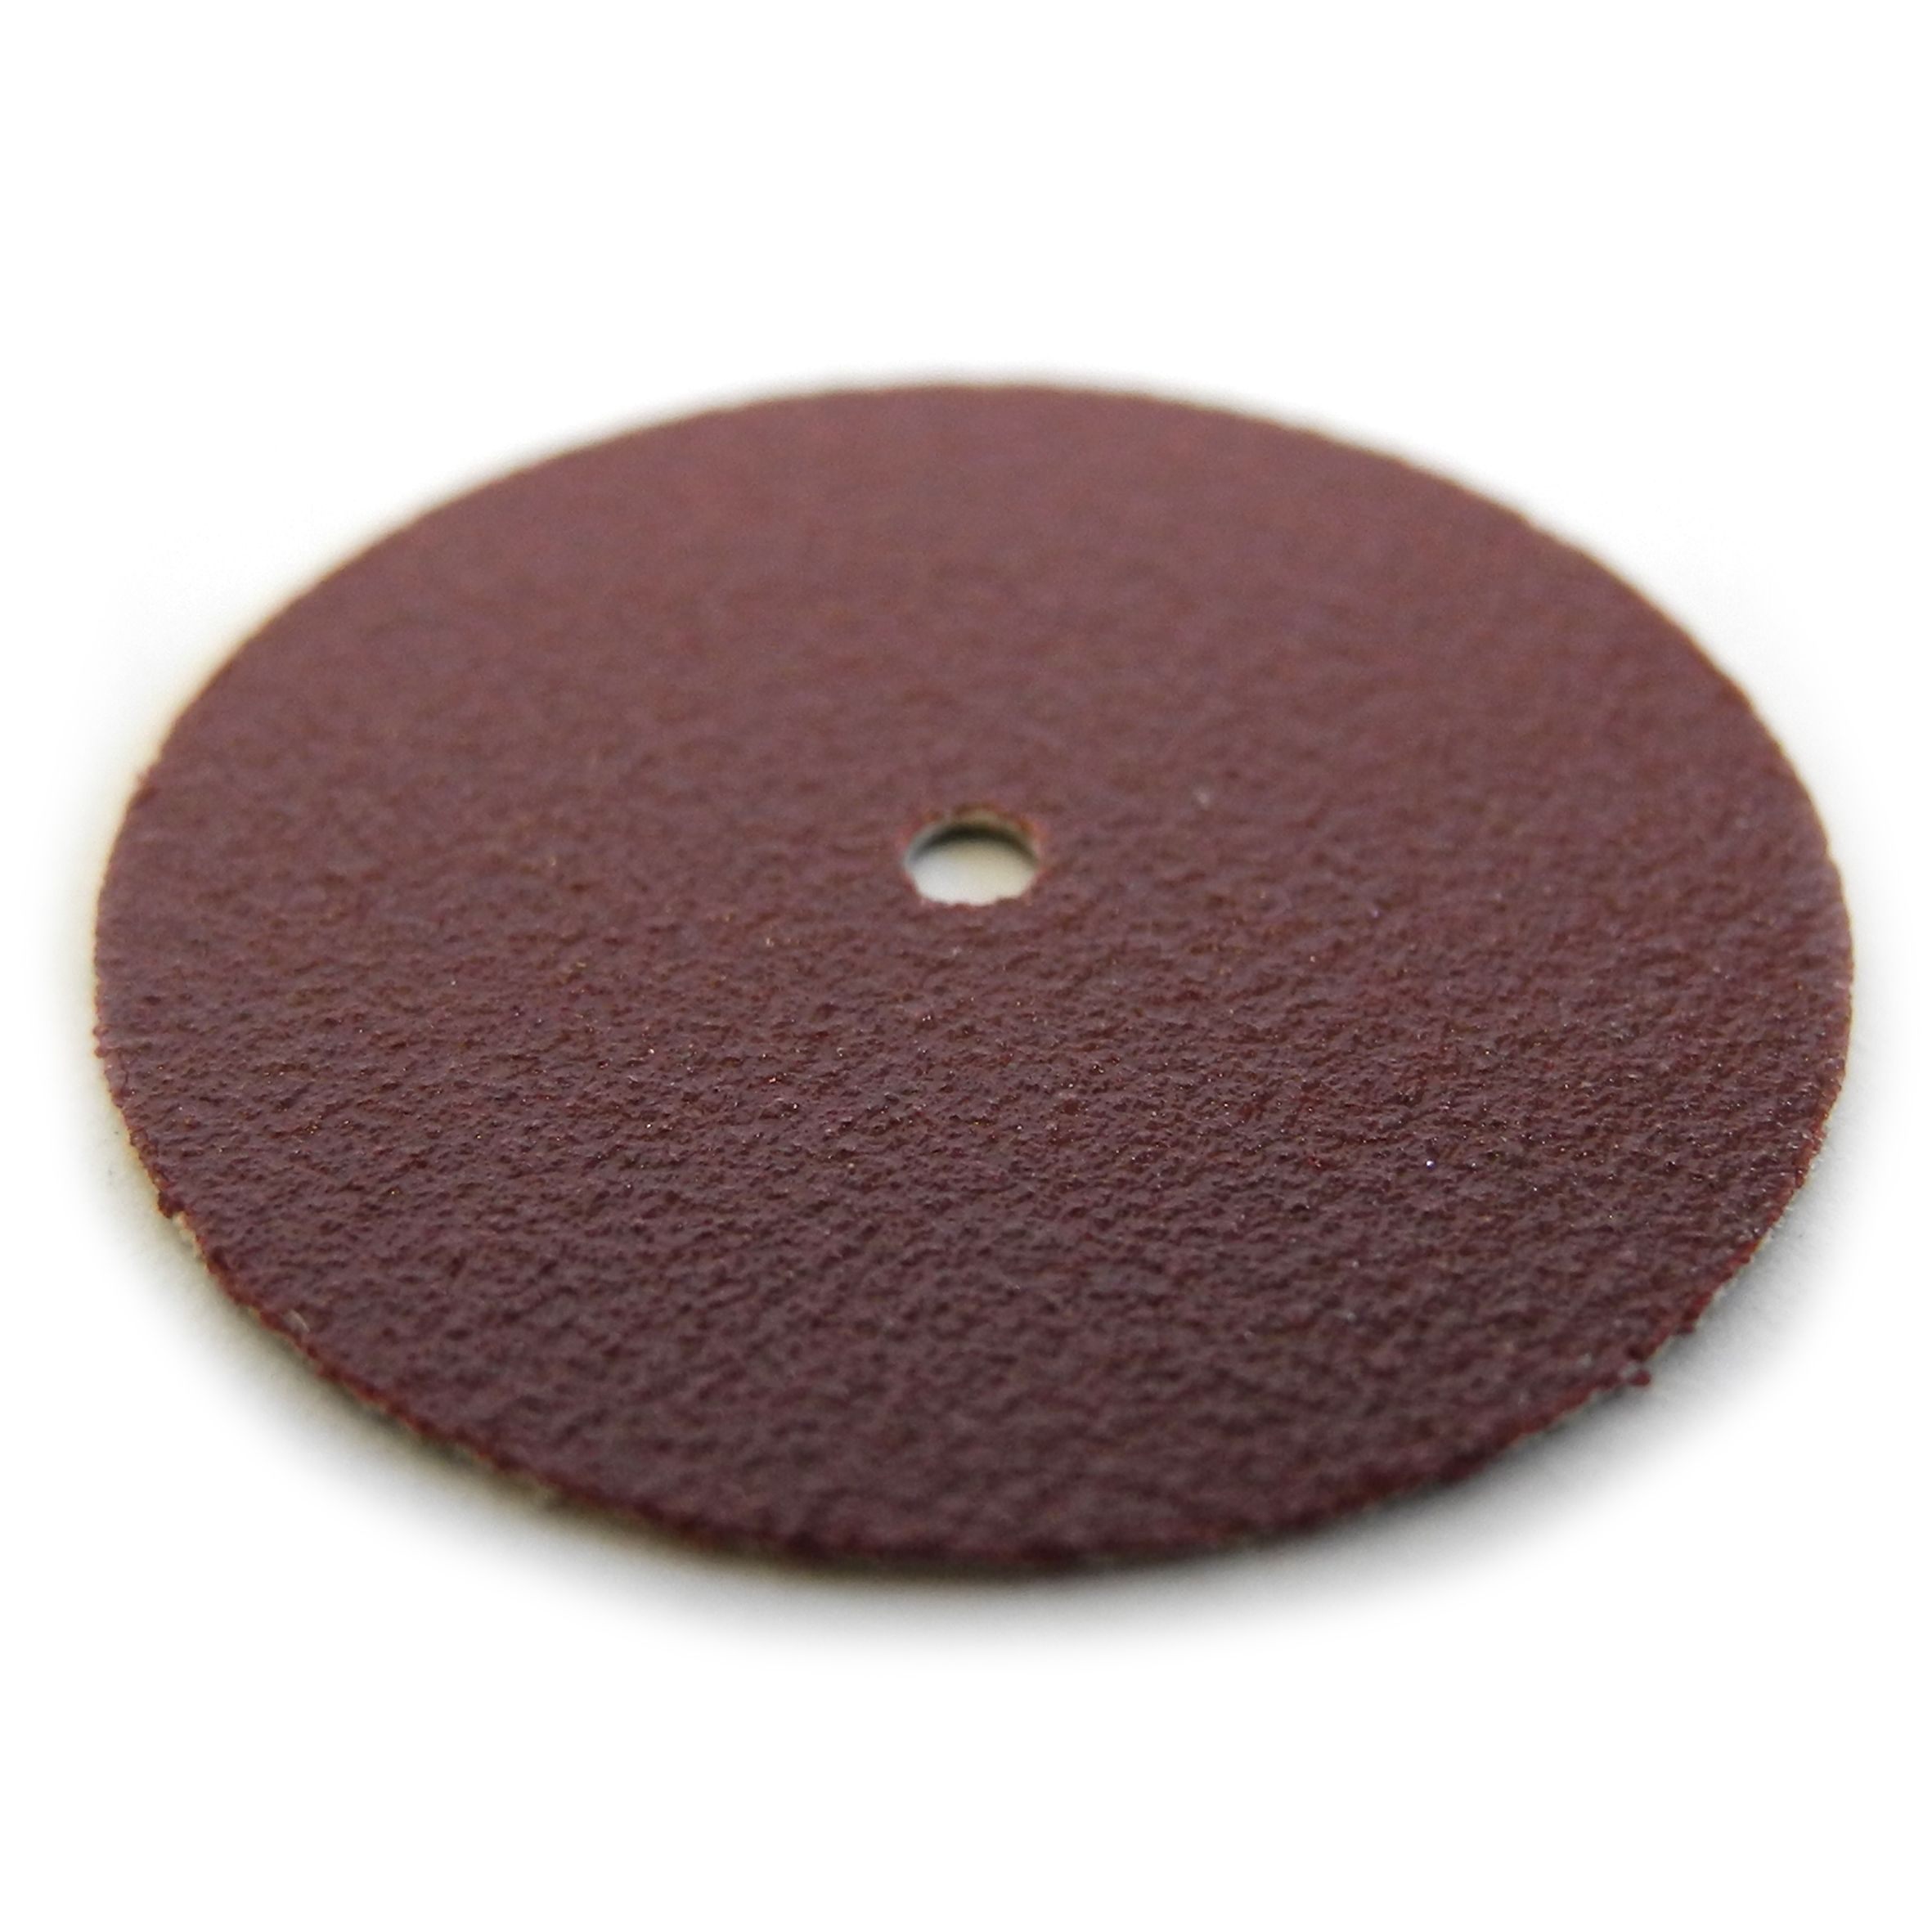
Sanding discs and split mandrels let you use abrasive paper on your motor. A split mandrel holds a strip of paper wound around it, which is handy for the inside of rings.
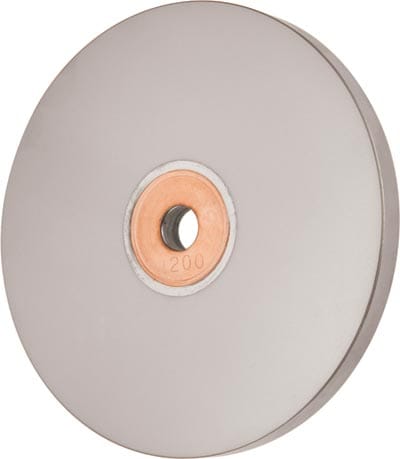
Diamond wheels are much harder and longer-lasting, and they're used on very hard materials such as platinum, steel and some stones.
How to use an abrasive wheel and pendant motor
- Let the wheel do the work. Light pressure gives a better finish. Pressing hard wears the wheel quickly, heats the metal and can leave grooves.
- Keep the piece moving. Holding the wheel in one spot will create a dip or flat that's hard to remove.
- Find the right speed. Moderate speed usually works best. Too fast and rubber wheels can smear, overheat or break apart.
- True up worn wheels by running them gently against a coarse abrasive stone or a dressing stone, so they keep a clean, even edge.
- Work through the grits in the same coarse-to-fine order you'd use with papers.
Expert filing technique: always wear safety glasses, tie back long hair and keep loose sleeves out of the way when working with a motor. Small wheels can break or fly off a mandrel at high speed, and it's surprisingly easy for a piece to be snatched out of your fingers if the wheel catches an edge. Many jewellers work with the wheel turning away from any edges for exactly this reason.
Finishing compounds
Finishing compounds are the bridge between sanding and polishing. They're applied to a polishing mop or brush and contain a fine abrasive that removes the last tiny scratches left by your finest sanding paper, leaving a smooth, bright surface that's ready for a final high polish.
Cutting compounds and polishing compounds
Compounds broadly fall into two groups:
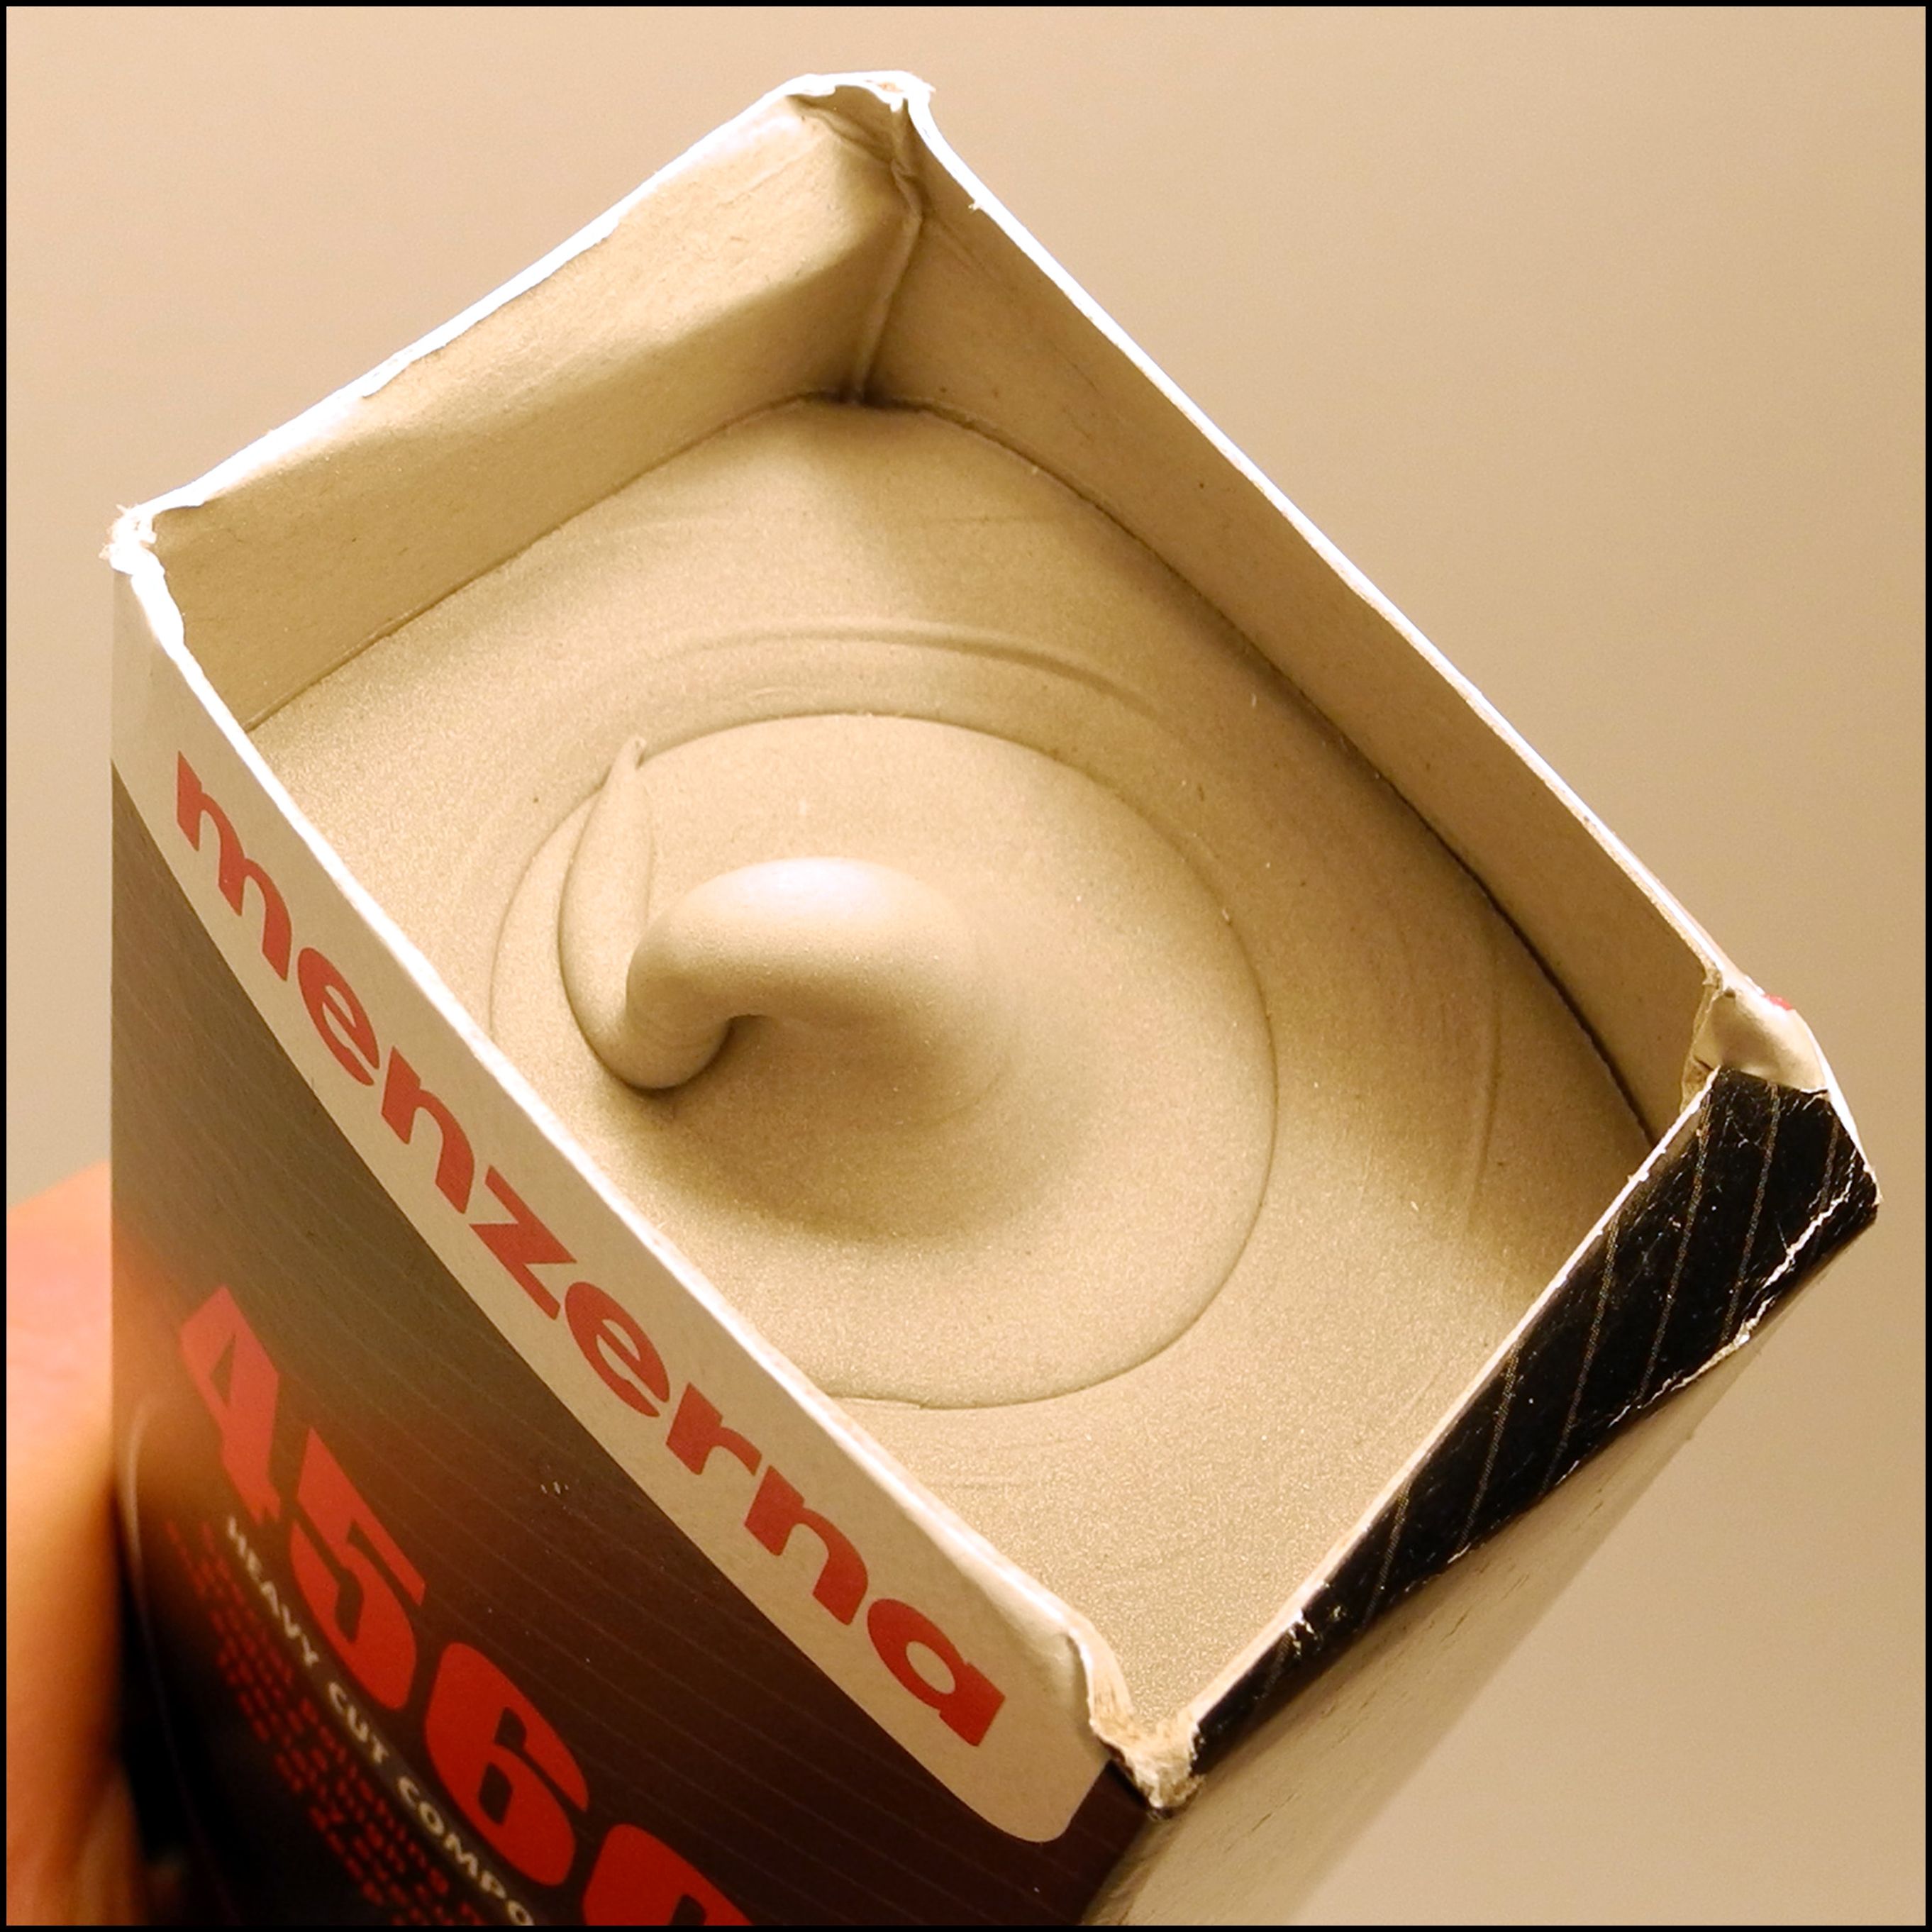
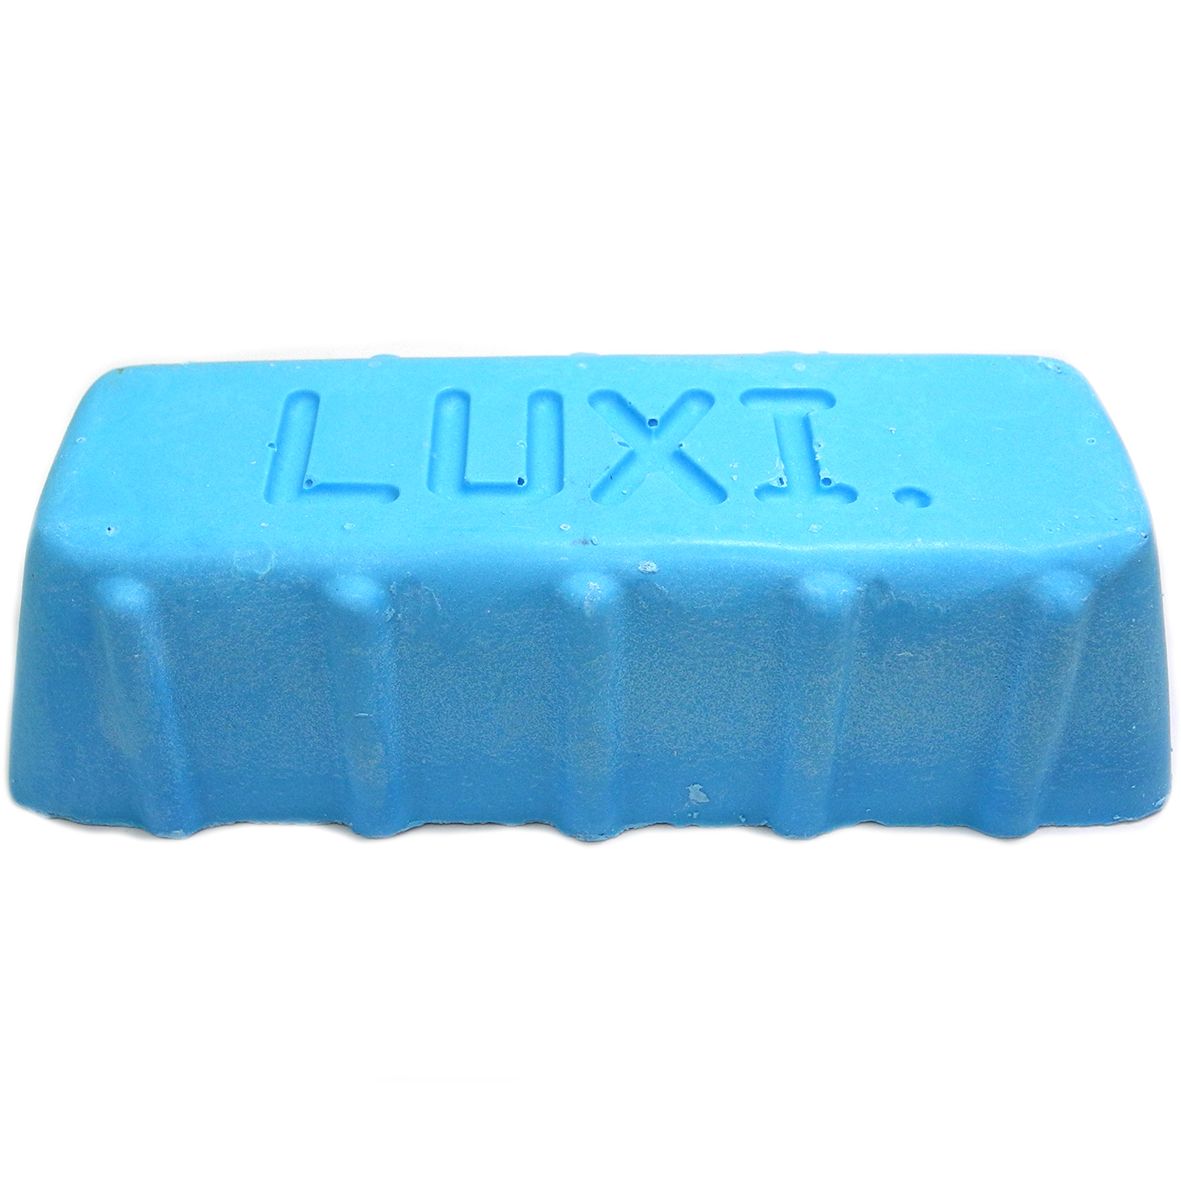
Cutting (or pre-polishing) compounds, such as Tripoli, contain a coarser abrasive. They do the heavy lifting, taking out fine scratches and evening out the surface.
Polishing compounds, such as rouge, are much finer. They bring up the final mirror shine once the cutting stage is complete.
Some compounds are made for specific metals, for example harder compounds for platinum and steel, so check that you're using the right one for your work. You'll find a range of compounds, mops and brushes in our polishing mops, compounds and accessories section, and polishing motors for larger workshops.
How to use finishing compounds
- Charge the mop. With the mop spinning, press the compound bar against it briefly. A little goes a long way; too much just clogs the mop and smears onto your work.
- Hold the piece below the centre of the mop, on the side spinning down towards you, so that if it's snatched it's thrown down and away rather than up at you.
- Keep the piece moving with light, even pressure, and turn it to work every surface.
- Clean the piece thoroughly before moving on to a finer compound. Warm soapy water or an ultrasonic tank will remove the residue.
Expert finishing compound technique: keep one mop for each compound and label it, so coarse cutting compound never ends up on your final polishing mop. And never polish chains, or anything with a loop that could wrap around the spindle, freehand on a polishing motor. Wrap chains around a board or hand-polish them instead.
Jewellery finishing checklist
- Work from coarse to fine, and don't skip more than one step at a time.
- Remove every scratch before moving on. Each stage should only have to remove the marks left by the one before it.
- Change direction with each grit so you can see when the old scratches have gone.
- Keep abrasives and mops separate to stop coarse grit contaminating finer stages.
- Back your paper with a stick or block to keep edges crisp and surfaces flat.
- Clean your work between stages, especially before polishing.
- Be patient. Time spent on pre-polishing always shows in the finished piece.
Get everything you need from HS Walsh
From Swiss needle files and emery sticks to abrasive wheels and finishing compounds, we stock everything you need to take a piece from rough to ready for polishing. Browse our jewellers' files and abrasives ranges to build your finishing kit, or call our friendly team on +44 (0)1959 543660 for advice.